
Solutions
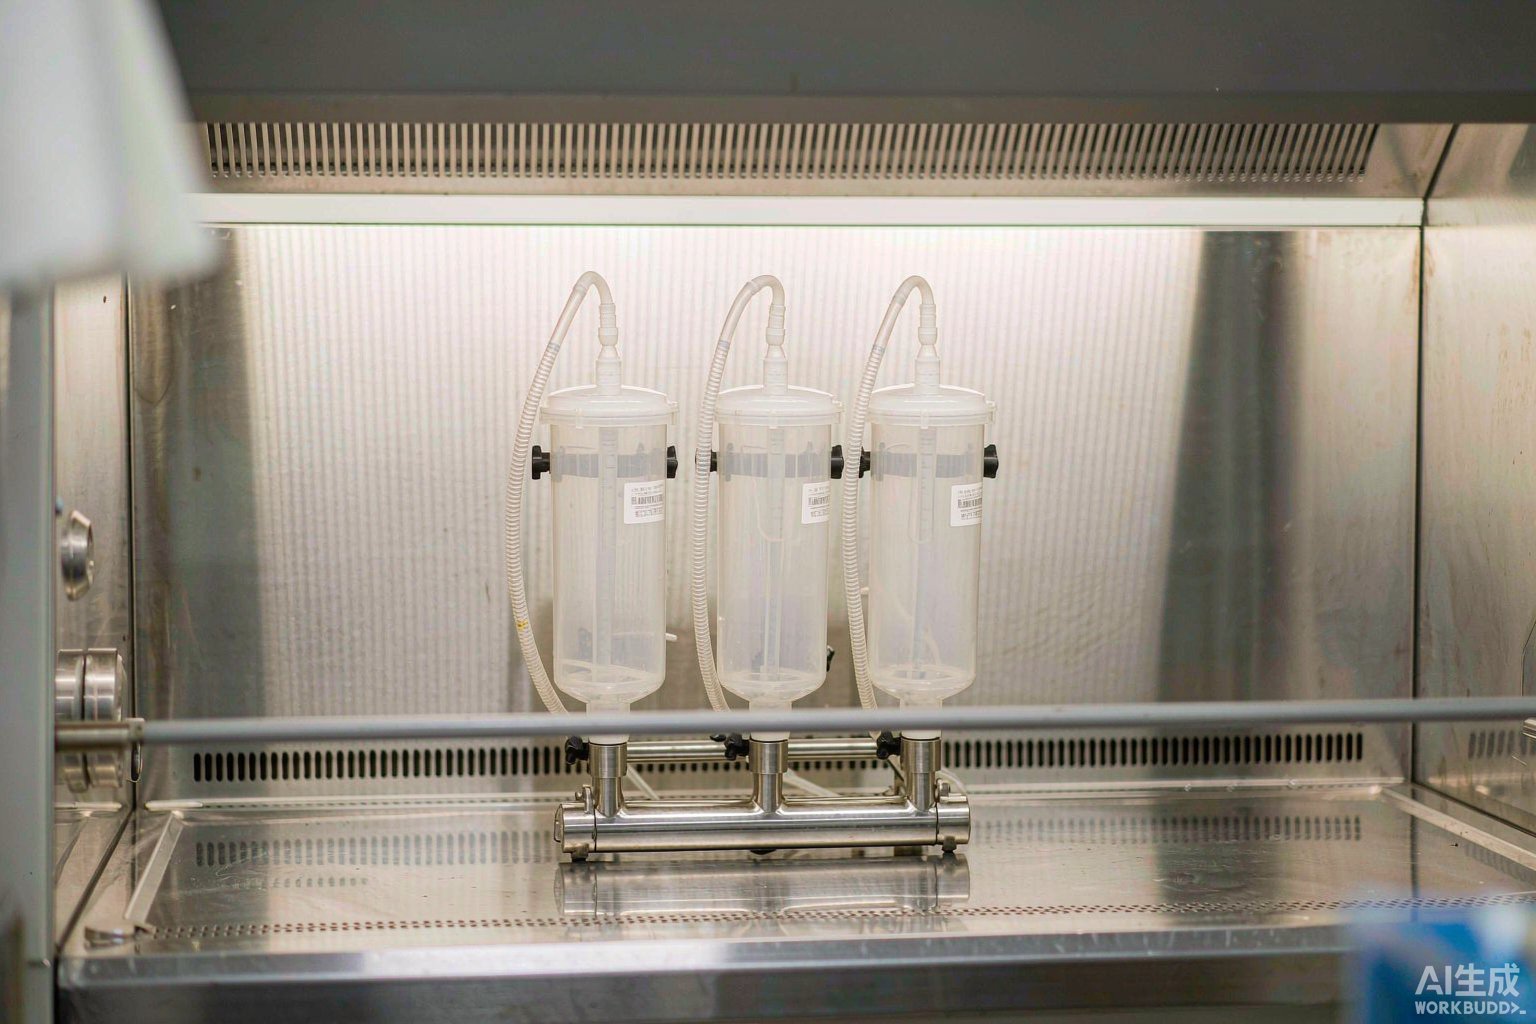
For label selection for sterility test membrane filtration culture devices, the decision order is to look first at both ends of the temperature chain, not the storage temperature of the test specimen: one end is 121 °C autoclaving (culture media, rinse fluids, reusable filter components, and inactivation of viable culture-containing materials after testing), and the other end is 14-day dual-temperature humid incubation (30–35 °C for aerobic and anaerobic bacteria, 20–25 °C for molds and yeasts, totaling 336 hours). Only materials that are simultaneously checked for all four ratings in the official material guide—liquid nitrogen -196 °C, freezer -80 °C, hot water 100 °C, and autoclaving 121 °C—cover this complete temperature chain; materials resistant only to -40 °C and above neither cover the 121 °C sterilization rating nor apply to the -80 °C specimen stage, and low-temperature performance cannot be used to infer high-temperature humid performance. This article presents, in order, the four temperature endpoints, adhesion treatment for low-surface-energy plastic interfaces, transparent viewing windows and readout exclusion zones, geometric differences among specimen containers, three-segment coding design, DataMatrix size calculation and ribbon matching, a six-step labeling SOP, and troubleshooting methods for six typical failure modes.
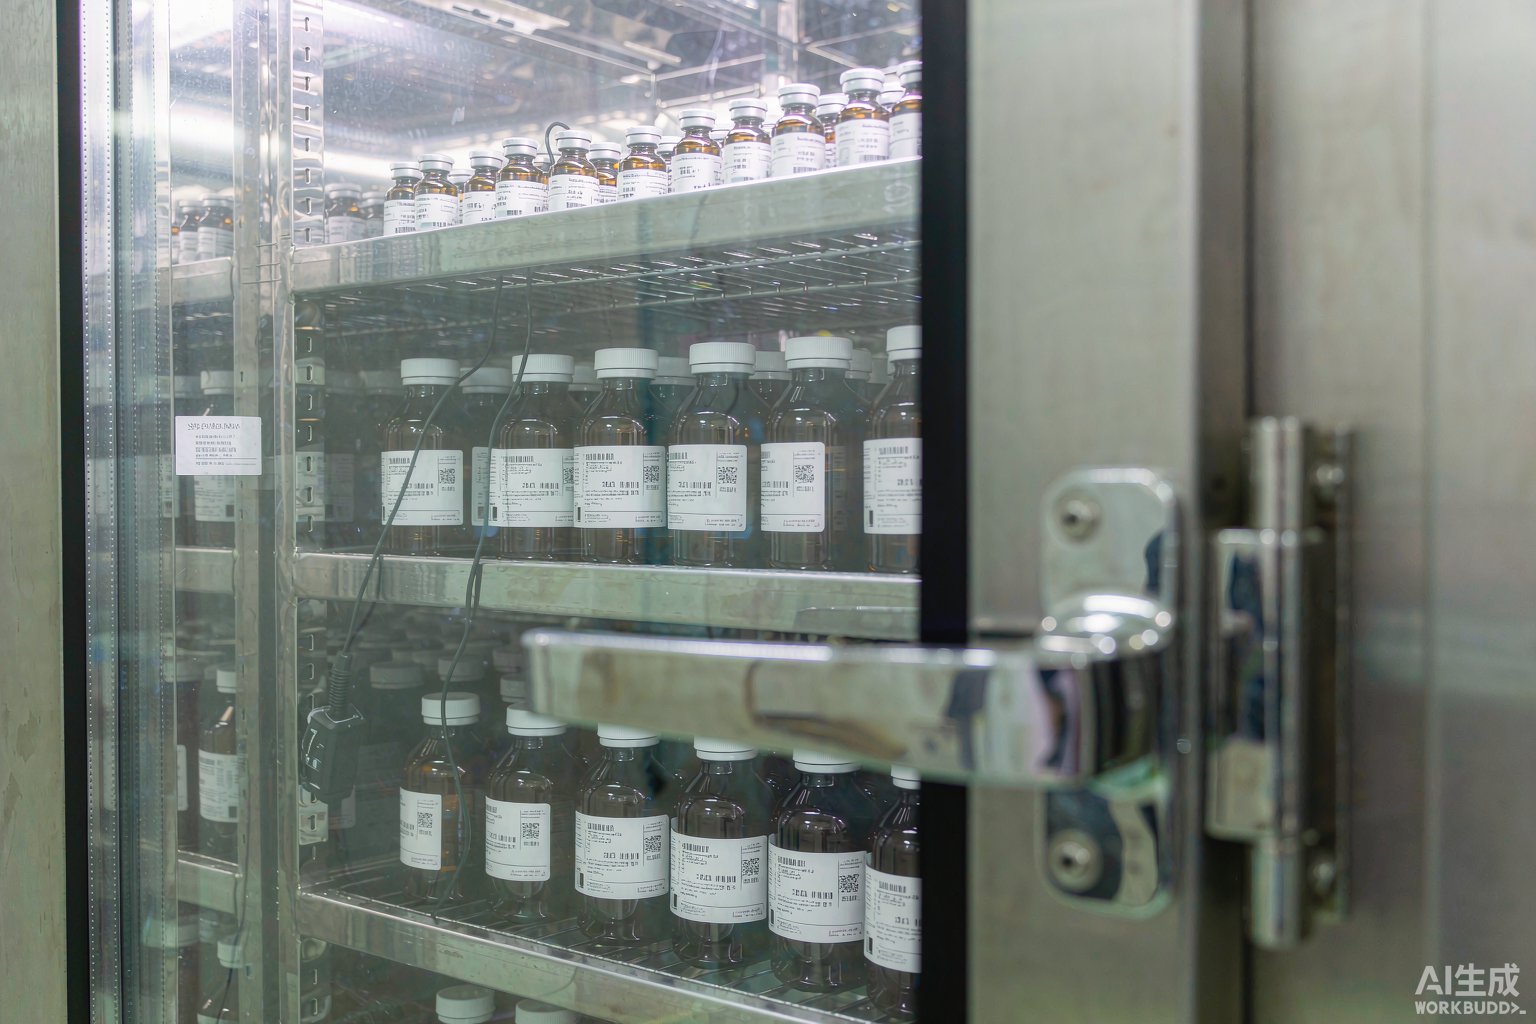
How to choose stability study retention sample labels? First calculate the highest temperature/humidity end clearly, then schedule the sampling time points. The accelerated condition of 40 °C ± 2 °C/75% RH ± 5% requires continuous exposure for 6 months; its air dew point is approximately 34.7 °C, and every door opening causes condensation on the chamber walls and sample surfaces, placing far greater stress on the adhesive layer and printed layer than the -20 °C frozen end. Therefore, materials rated only for -40 °C or above cannot be used directly in the accelerated chamber. The determination sequence is: accelerated end 40 °C/75% RH → long-term end 25 °C/60% RH or 30 °C/65% RH → refrigerated 2–8 °C and frozen -20 °C ± 5 °C → three extreme endpoints of stress testing (60 °C, 25 °C/90% RH, 4500 lx ± 500 lx) → reverse-order scheduling of sampling time points and the "expired means void" rule → coding structure and barcode symbology size calculation. The article provides a material threshold comparison table for the four main temperature/humidity lines, a 0/3/6/9/12/18/24-month time point matrix, a method for calculating retention sample quantity and label quantity (36 units × 2 labels × 1.3 ≈ 94 labels), three labeling prohibitions, and size calculation conclusions for Code 128 and DataMatrix on two formats: 50 × 30 mm and 80 × 60 mm.
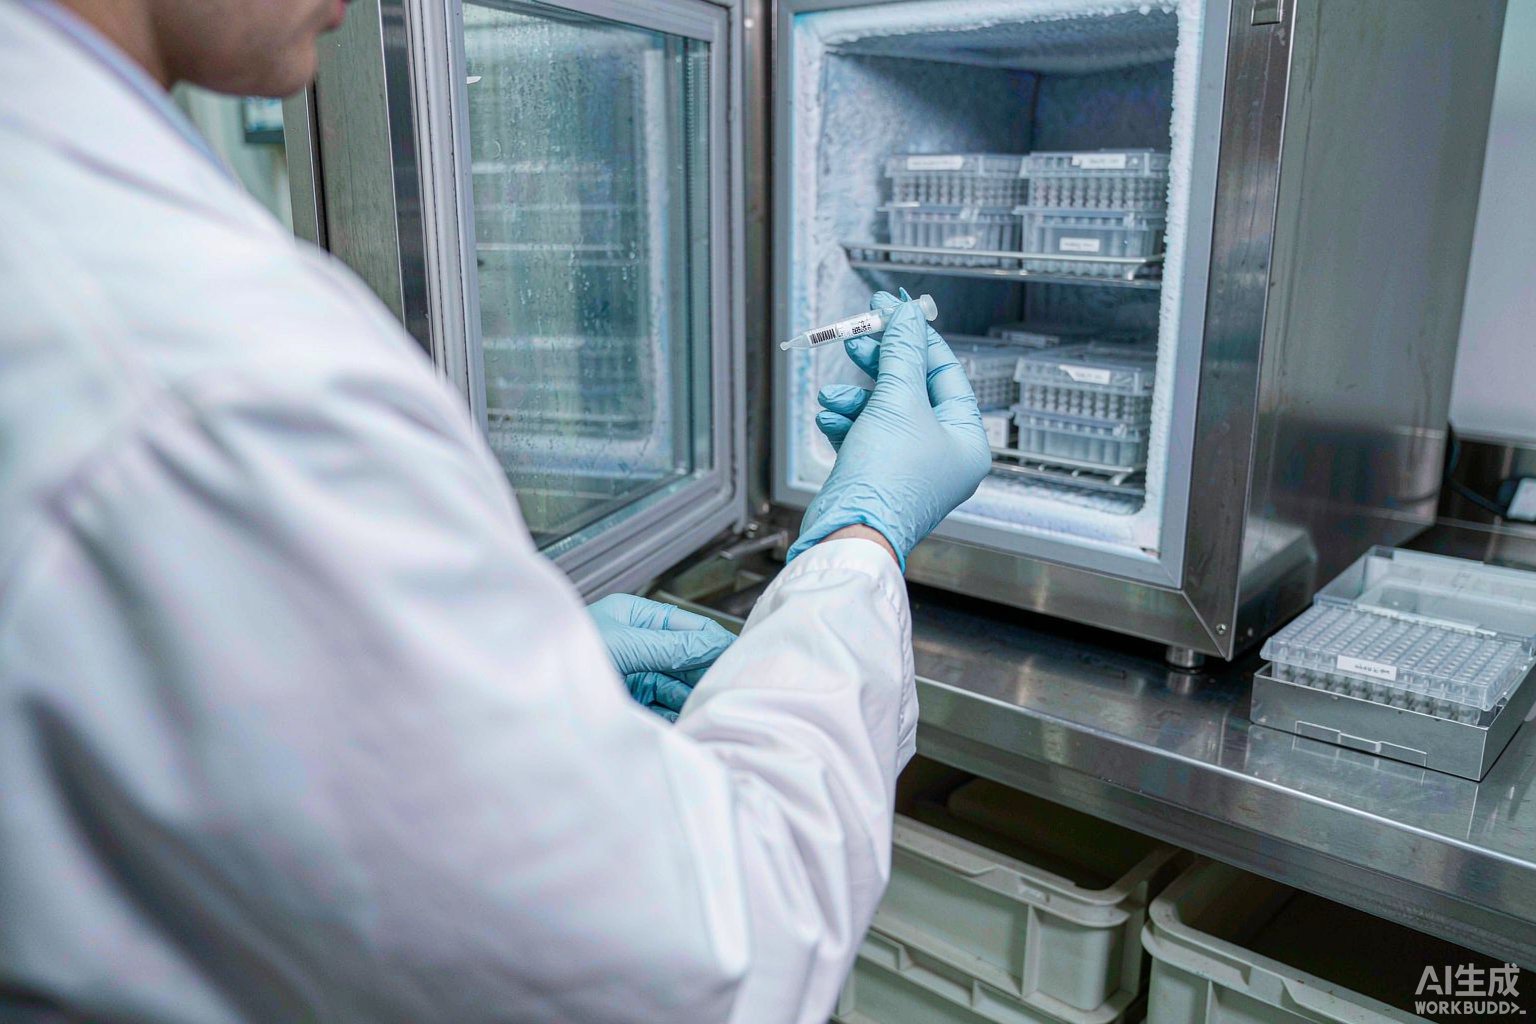
How to choose labels for aliquot tubes of antibodies, enzymes, and recombinant proteins? Calculate area first, then temperature: a 0.2 mL thin-wall tube allows a wrap-around arc length of about 12 mm, and a 1.5 mL tube about 21 mm. Once the area is fixed, the symbology, font size, and number of fields are all constrained; then confirm the material against the official material guide table using the intersection of endpoints across the three temperature tiers 2-8 °C, -20 °C, and -80 °C; finally, design a traceable structure for freeze–thaw counts. This article provides geometry calculation tables for three types of aliquot containers, an official temperature-tier matrix for seven materials, a nine-item field checklist, a comparison of three freeze–thaw counting schemes, size calculations for DataMatrix and Code 128, secondary labeling after reconstitution of lyophilized powder, a six-step SOP, and troubleshooting for six types of failure, corresponding to the requirements of ISO 20387:2018, ISO/IEC 17025:2017, ISO 15189:2022, ISO 13485:2016, ISO/IEC 15415/15416, GB/T 2792-2014, GB/T 4851-2014, and GB 19489-2008.
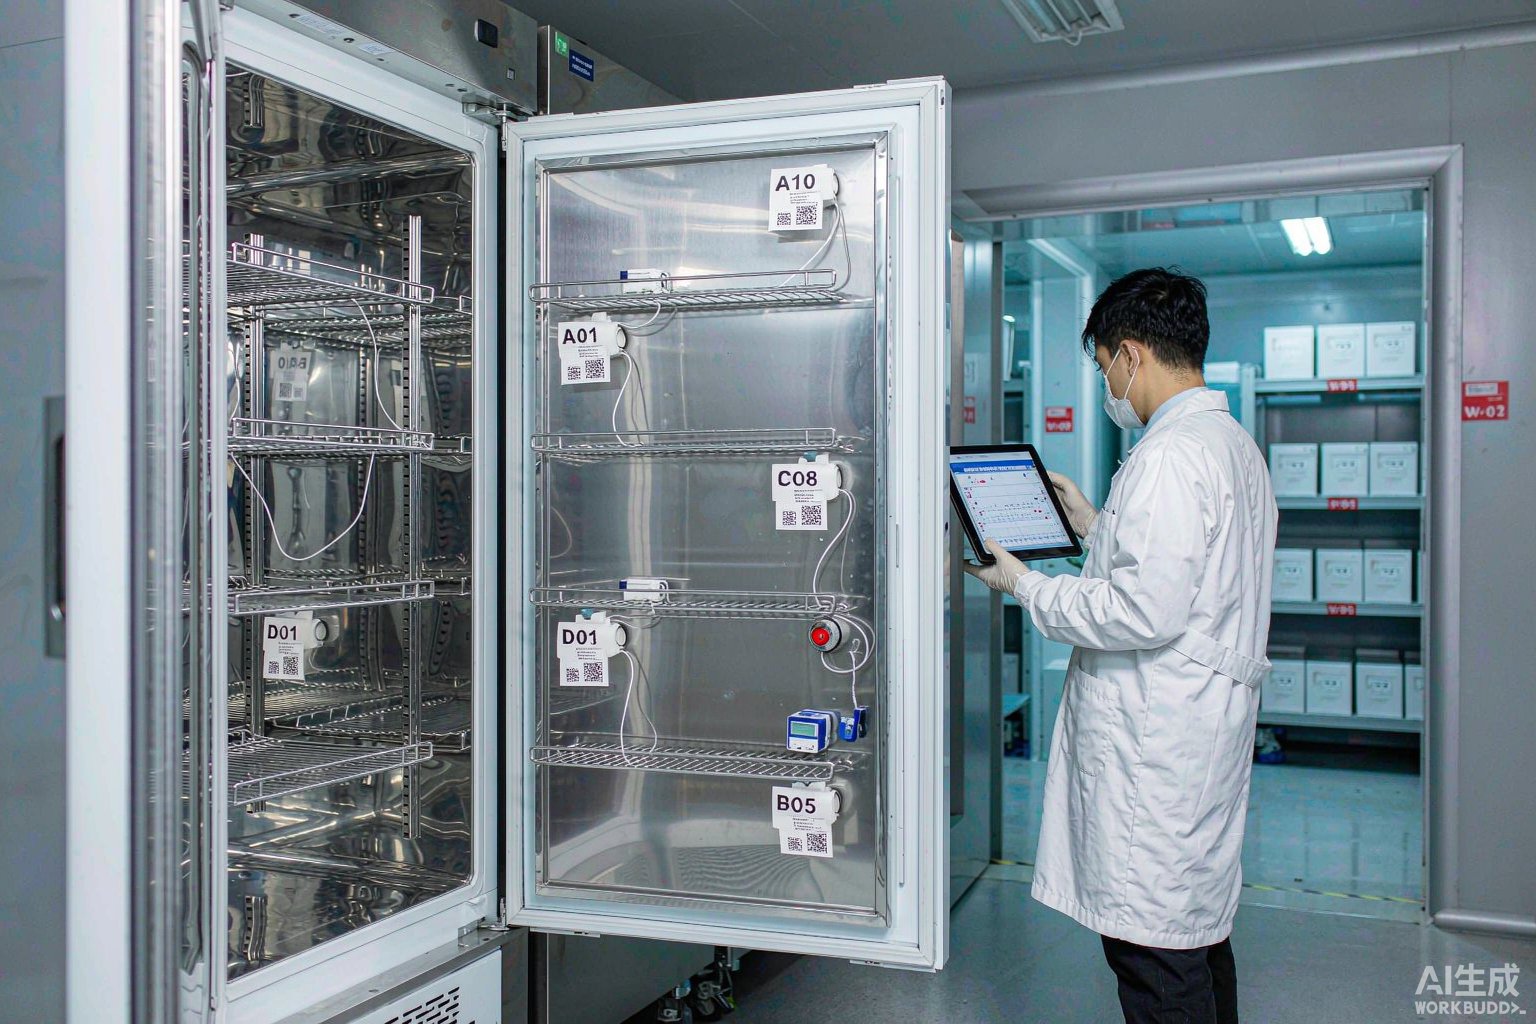
For cold-chain temperature distribution mapping, the selection order for placement labels is the reverse of that for specimen tube labels: do not start by asking what the lowest temperature is; first ask how many times per year the label must cycle from the lowest temperature back to ambient. This article gives three decision rules: first, take the intersection of temperature grades based on the bidirectional extremes (both the steady-state minimum temperature and the defrost peak temperature must be covered); second, allow redundancy in the face stock and adhesive based on the number of alternating cycles; third, select materials by point lifecycle, separating permanent points, semi-permanent points, and external reference points. It also includes a placement method combining a uniform grid with key-point overlay, a 14-digit segmented point code, a size calculation comparison of DataMatrix and Code 128, an official material temperature grade matrix, surface preparation for four types of liner bonding interfaces, a six-step implementation process, and troubleshooting for seven types of failure, along with the corresponding requirements of ISO/IEC 17025, ISO 20387, ISO 15189, GSP, GB/T 2792, and GB/T 4851.
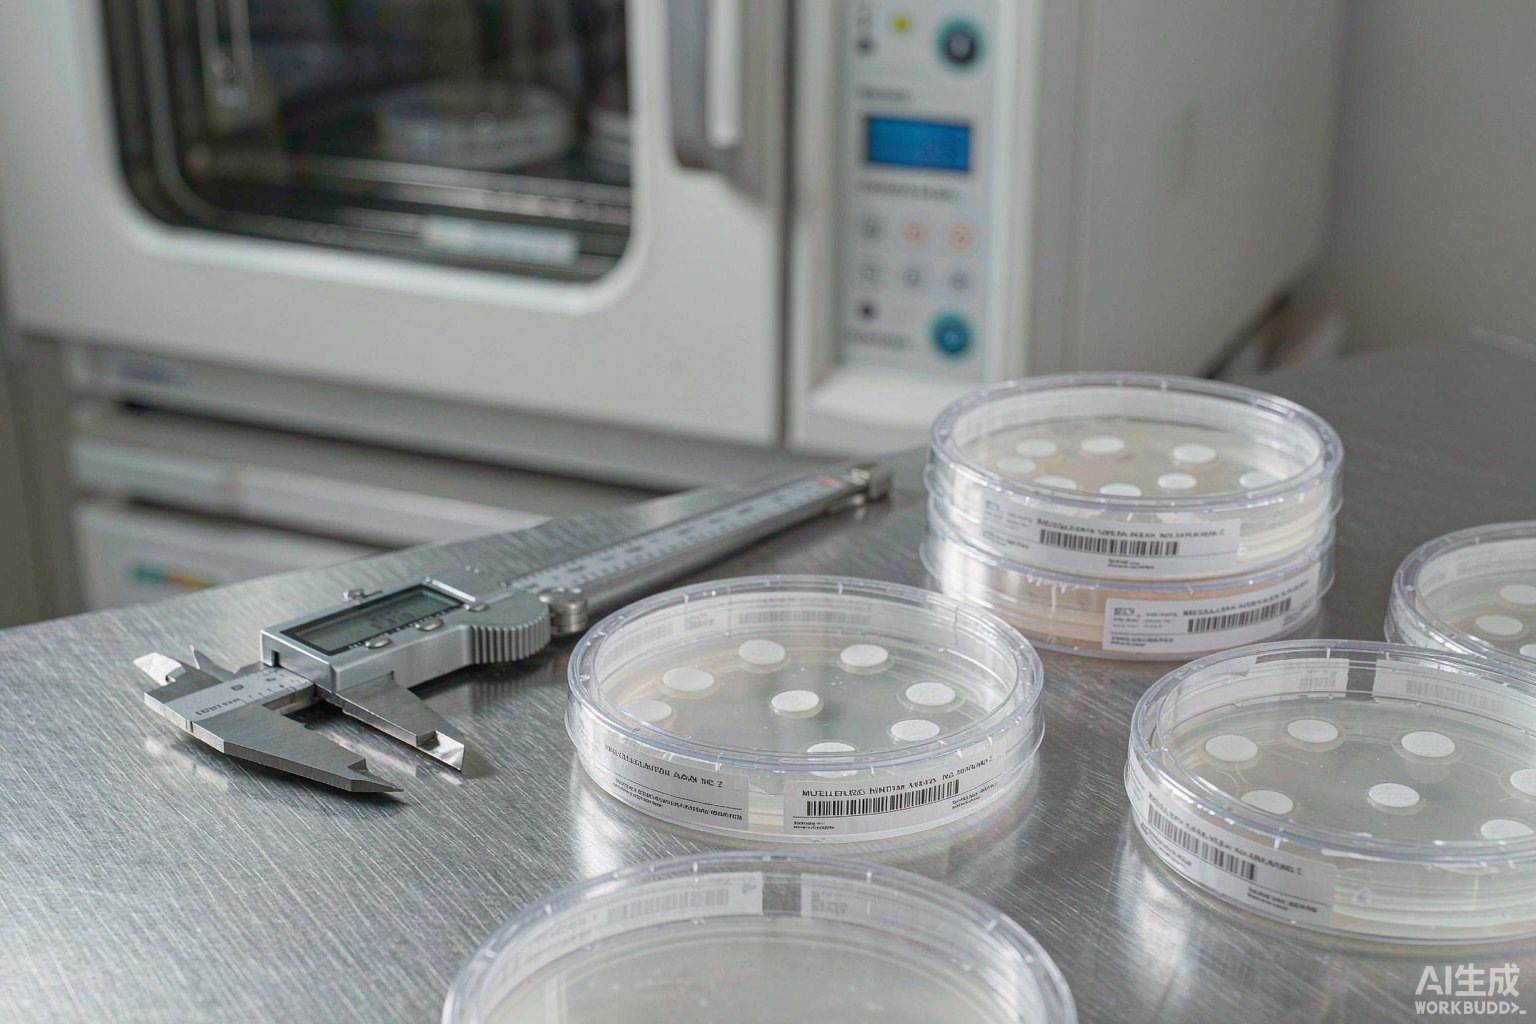
Label selection for antimicrobial susceptibility test (AST) plates follows the reverse order of a biobank: a biobank looks at the minimum temperature first, whereas an AST plate looks at the reading surface first—after incubation, the zone of inhibition is measured through the bottom of the dish from the back of the plate, and once a label covers the reading area, that plate's result is void with no remedy. This article presents a five-step determination: first, confirm that the inverted position means the label can only be applied to the outer wall of the dish bottom (lids get swapped and mismatched); second, work back from the requirement that the center-to-center distance of the discs be no less than 15 mm from the plate edge to derive the outer edge of the reading area, yielding a safe labeling annulus of radius 38–44.5 mm and a maximum label height of 6.5 mm; third, given the height limit, abandon 1D barcodes in favor of 18×18 or 20×20 DataMatrix; fourth, given the 35 °C high-humidity main body and −20 °C disc storage, select a room-temperature-grade material; fifth, given disinfectant wiping and 121 °C disposal, specify the face stock and resin-based thermal-transfer ribbon. Included are the official material matrix, a dual-label scheme with one label on the dish bottom and one on the lid, a six-step implementation workflow, and troubleshooting for five failure types, with explicit clarification that biohazard markings and culture collection registration belong to the statutory layer and must not be covered by the self-applied layer.
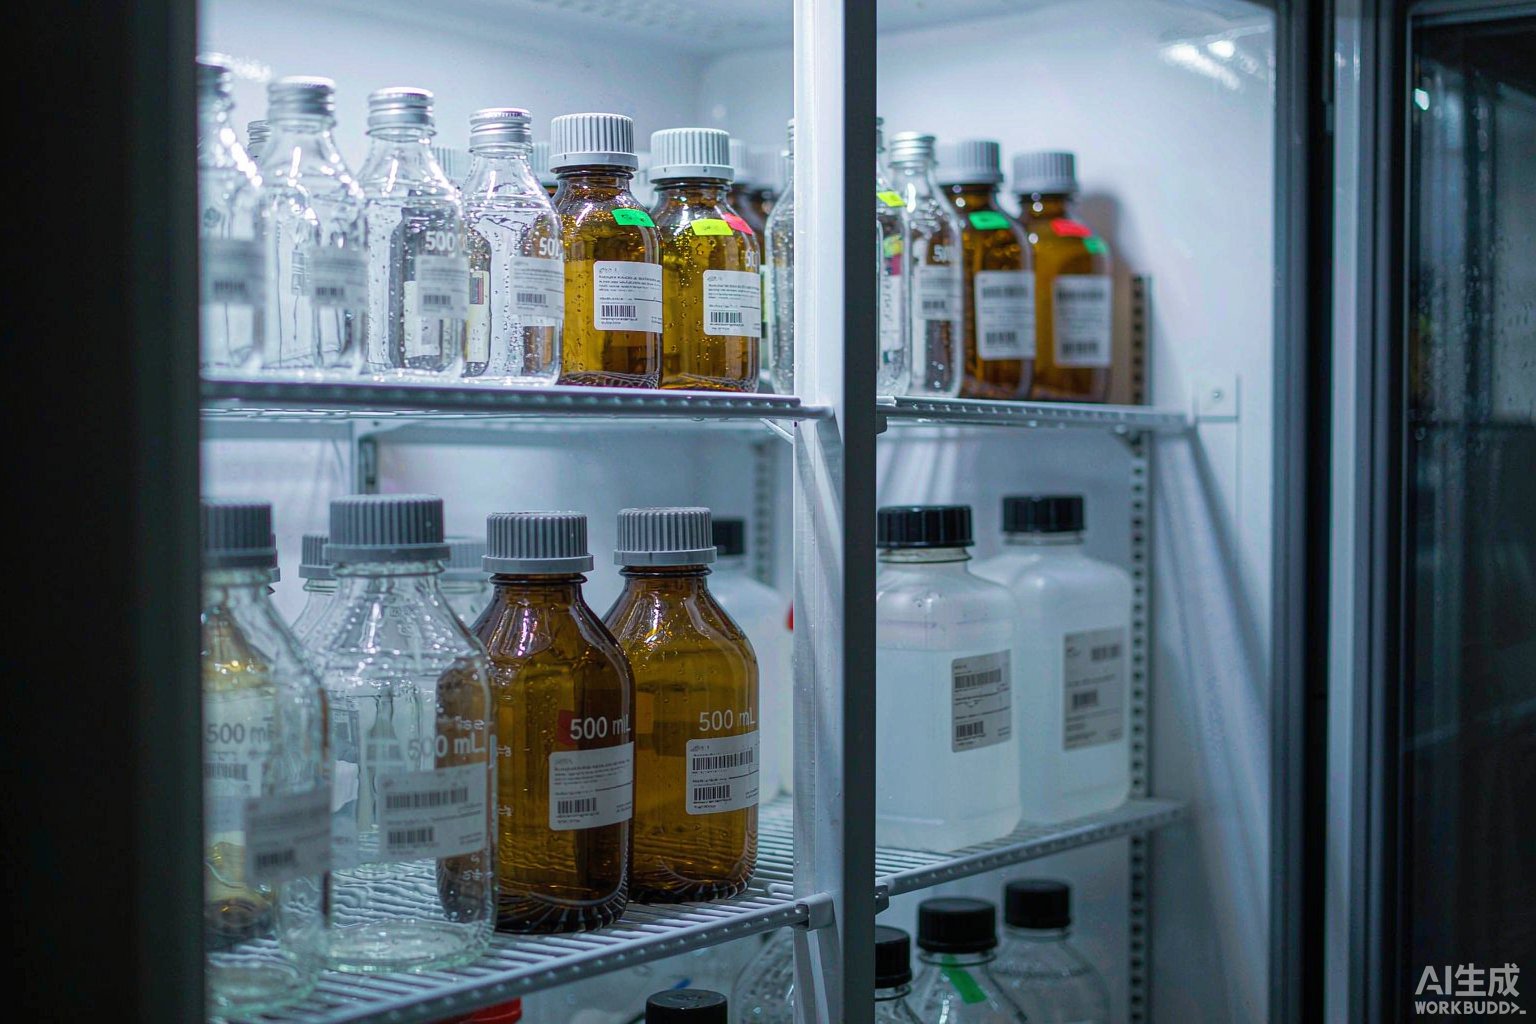
The label selection sequence for cell culture media bottles is the opposite of that for biobanks: biobanks look at the minimum temperature first, while media bottles look at the moist-heat interface first—the same bottle cycles daily between a 2–8 °C refrigerator and a 37 °C water bath, and the interfacial water film formed by repeated condensation on the bottle body is the primary cause of label edge lifting and detachment. This article presents a four-step assessment: first, whether the label will be immersed in a water bath (for 56 °C serum heat inactivation, select the hot-water grade; for 37 °C prewarming only, select the ambient grade); second, whether it will go into freezing (−20 °C aliquoting only requires a −40 °C or higher grade; the LN₂ grade is unnecessary); third, the bottle geometry (a 500 mL round bottle has an outer diameter of approximately 86 mm and a circumference of approximately 270 mm, which is 6.6 times the circumference of a 13 mm blood collection tube, leaving ample room for a 20-digit 1D barcode); fourth, the liquid type and shelf life (complete medium should be used within 2 weeks; serum should avoid repeated freeze–thaw cycles). The labeling exclusion zones are also specified—screen-printed graduations and the liquid-level viewing window must not be covered, and labels must not wrap around the entire circumference. An official material matrix, a six-step implementation workflow, and five categories of failure troubleshooting are included.
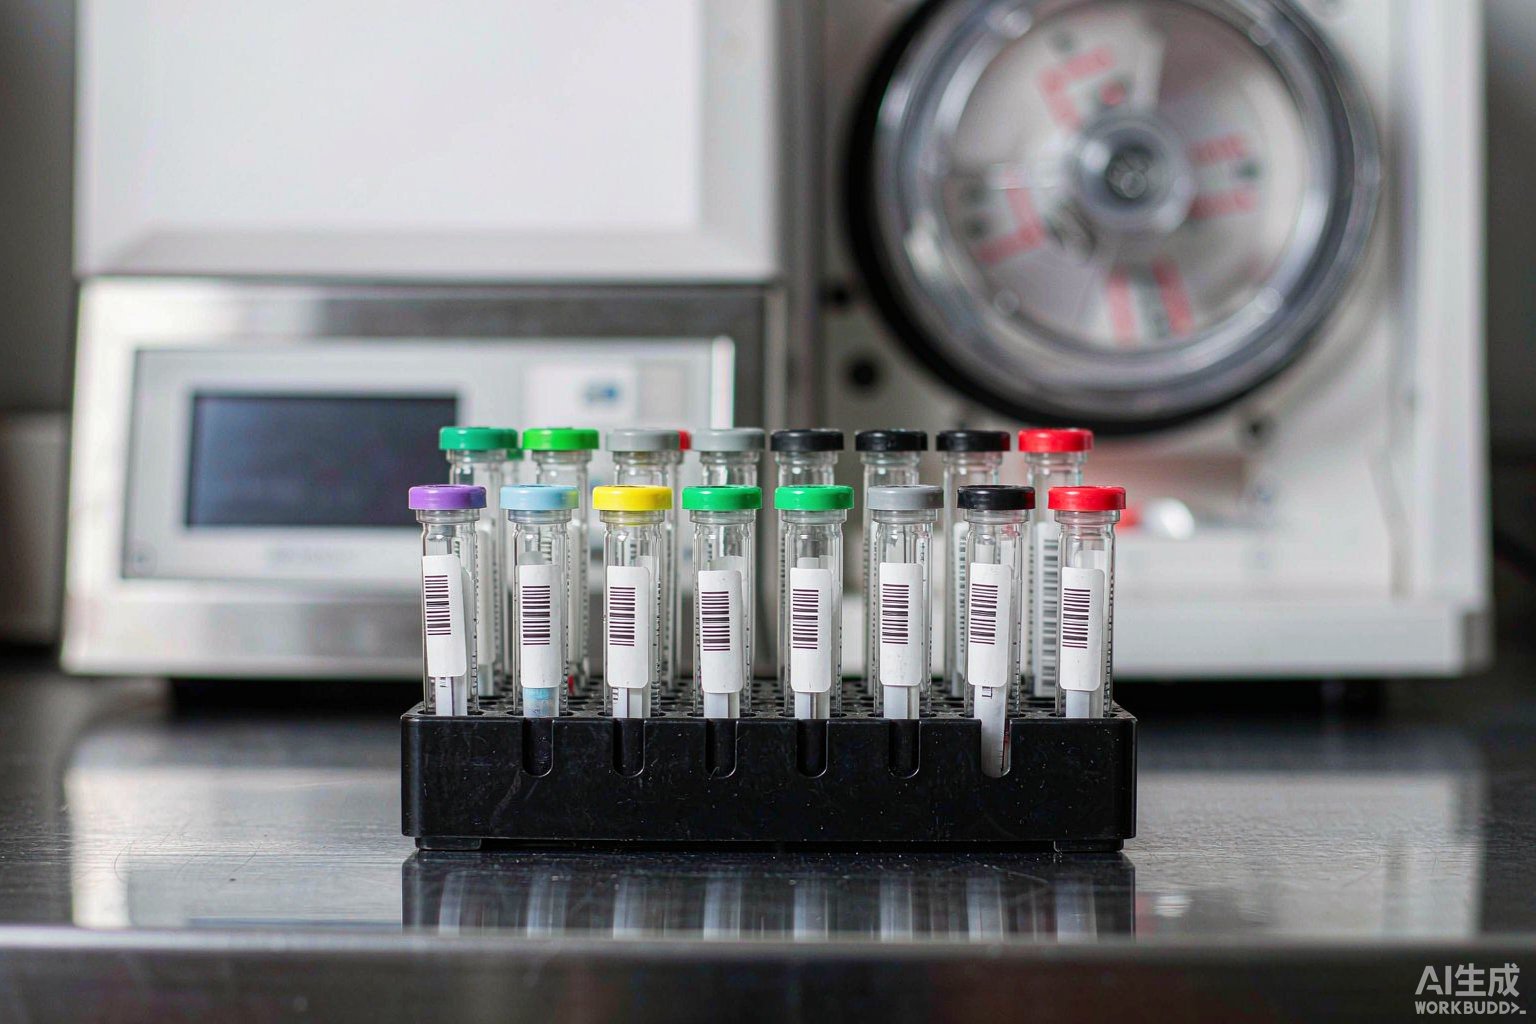
The label selection sequence for vacuum blood collection tubes is the reverse of that for biobanks: the first constraint is not temperature, but the additive type and test item represented by the tube cap color code. This article presents a six-step selection method—first, check the tube cap color code to determine the non-coverable zone; second, check the tube diameter geometry to determine label size (a 13 mm tube has a circumference of approximately 40.84 mm; label width 30–40 mm, height 20–30 mm; wrap-around and folding are prohibited); third, check the centrifugation conditions (separator gel clot activator tubes typically 1300–2000 ×g, 10 min) to determine the adhesive system and labeling position; fourth, check the temperature chain (18–25 °C temporary storage, 2–8 °C refrigerated for 7 days, −70 °C long-term retention) to determine the material grade; fifth, check disinfection wiping and blood exposure to determine face stock and ribbon (thermal transfer with resin-based ribbon, matte surface for barcode area); sixth, check the code system and pre-examination process traceability (ISO 15189:2022 clauses 7.2.4.4 d, 7.2.5, 7.2.6.1 a, 7.2.7; keep 1D barcode digits within 10; if exceeded, switch to DataMatrix 24×24). Also clarify the compliance boundary of the self-adhesive layer: the tube cap color code and the original manufacturer's label belong to the primary layer; BradyLAB (BRD) does not provide or cover these; the self-adhesive layer only handles four functions: location numbering, specimen status, retention period, and secondary identification of aliquots.
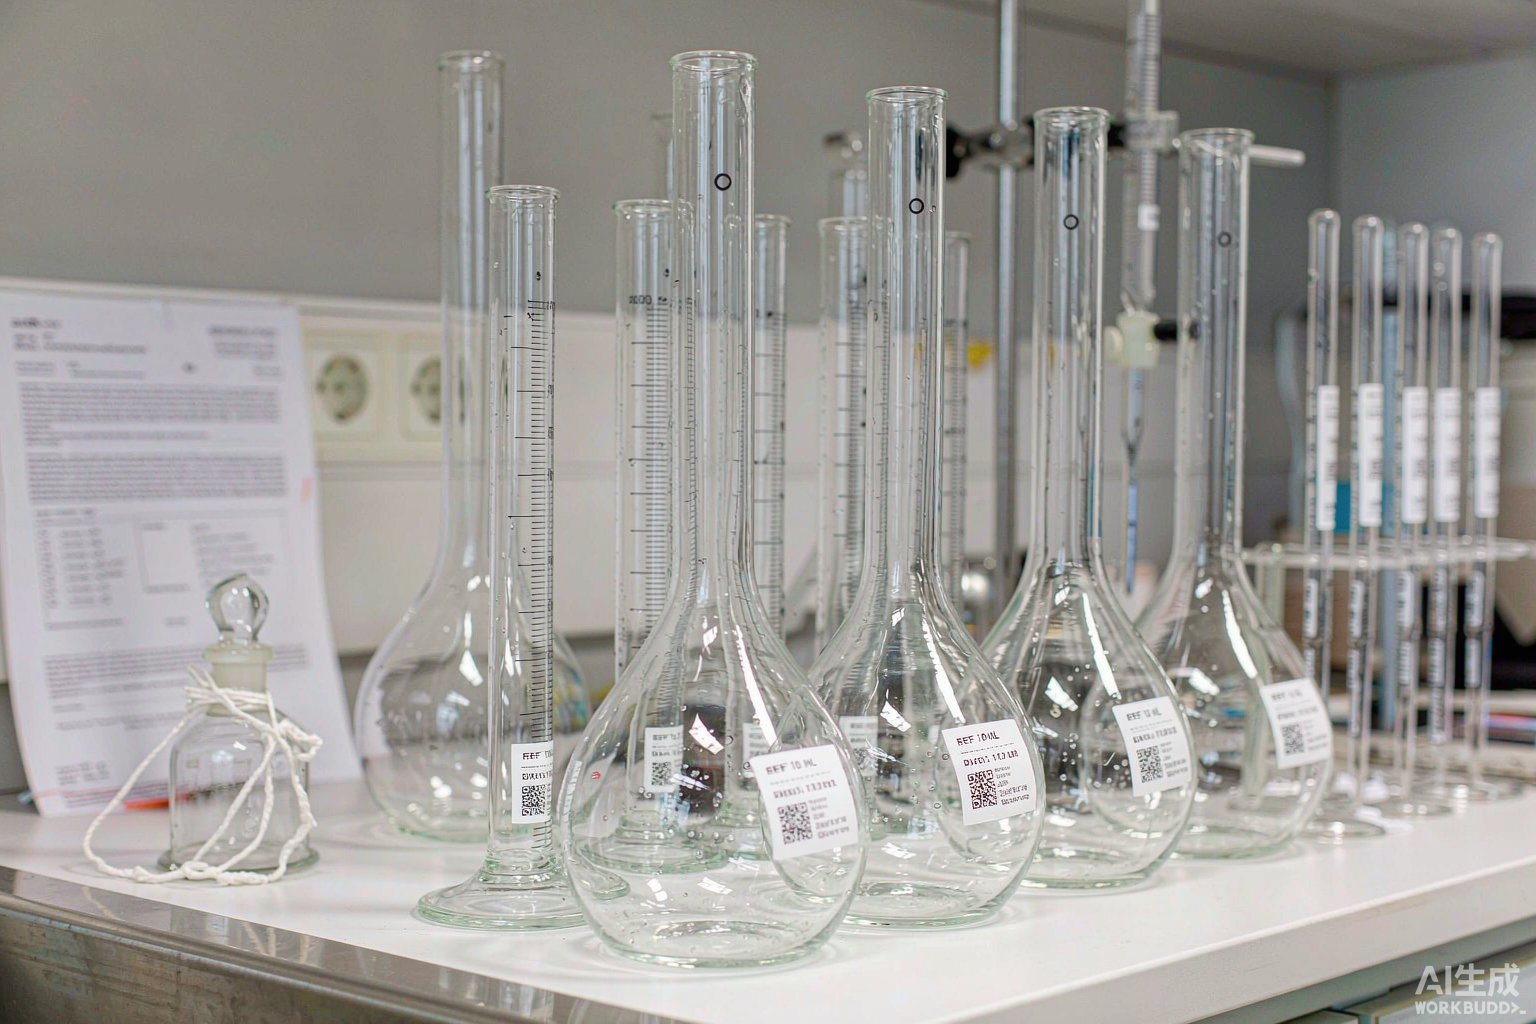
Bottom line first: glassware label selection is the opposite of biobank labeling. The primary constraint is not temperature but the legally defined reading zone—the graduation line at the neck of volumetric flasks, the single mark on pipettes, and the graduated section of burettes must never be covered. The second constraint is that the field set carries metrological identity (unique ID, class, nominal capacity, calibration date, expiry date) rather than specimen identity. The third is chemical exposure to chromic acid cleaning solution and strong bases, and only last come temperature and sterilization level. The main operating condition is dry use at ambient 20 °C. Based on JJG 196-2006, this article provides A/B class capacity tolerances and the 3-year calibration interval, calculation formulas for the labelable window of four types of volumetric ware, a selection matrix transcribed item by item from the official material guide table, the criterion that narrow tubes must use DataMatrix, the boundary condition that dry-heat sterilization requires post-sterilization labeling, as well as a six-step implementation process and troubleshooting for six types of failure.
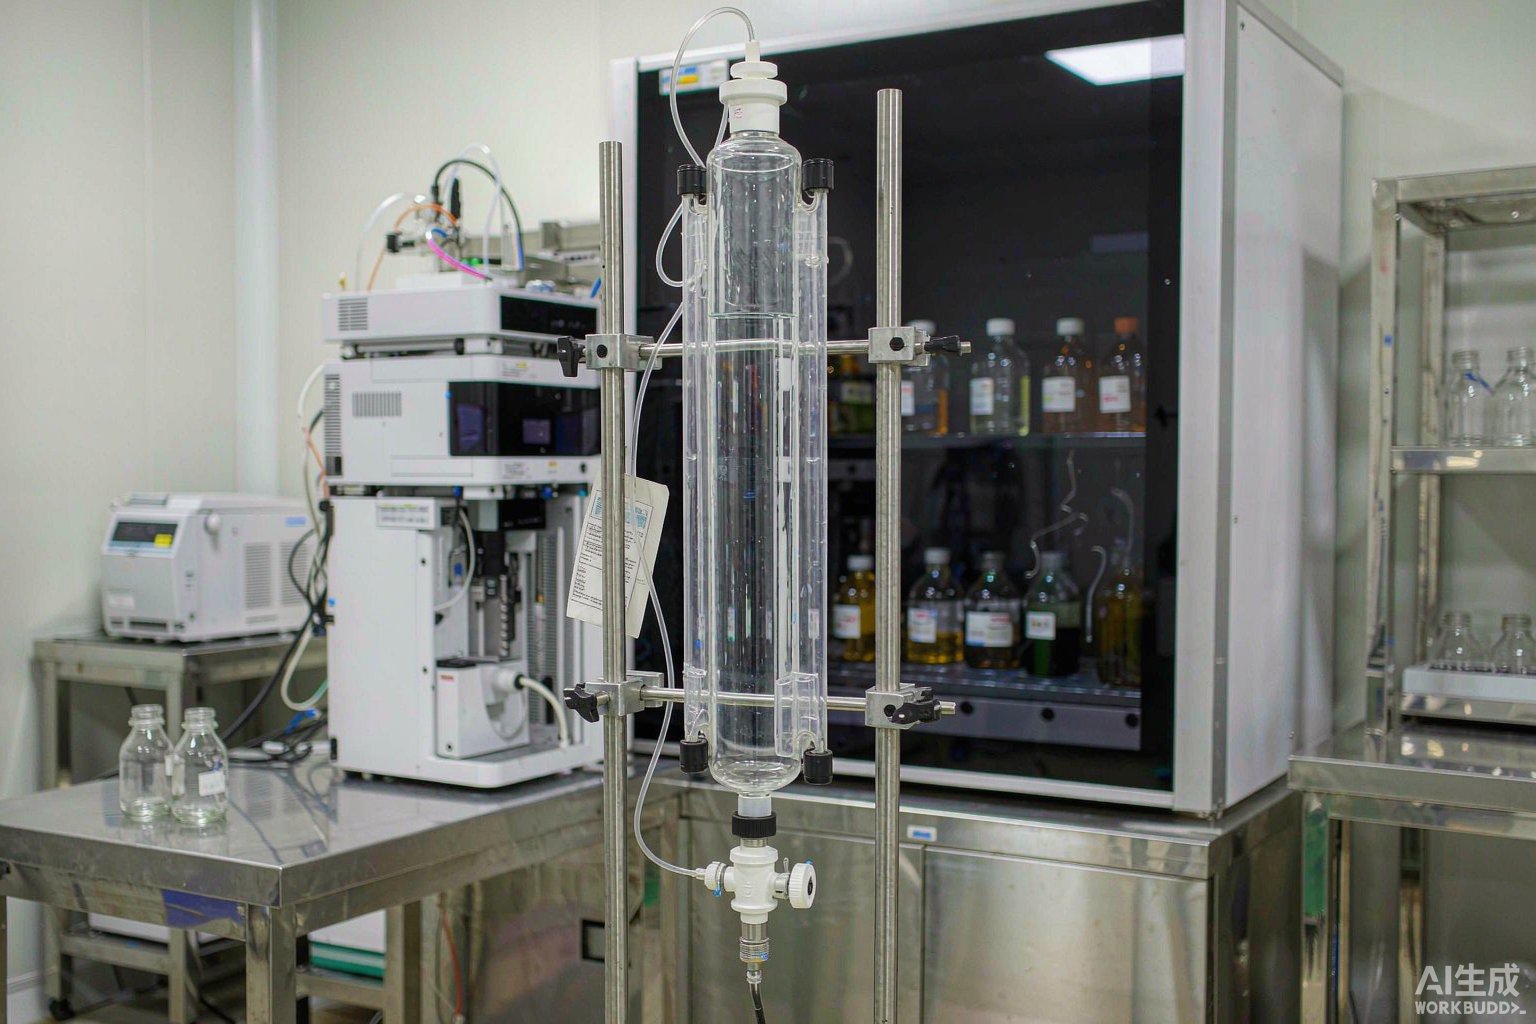
Bottom line first: column labeling selection is the opposite of biobank labeling—the primary constraint is not temperature but chemical exposure from clean-in-place (CIP) and storage solutions: 0.5–1.0 M sodium hydroxide, 30% isopropanol, and long-term immersion in 20% ethanol are the main causes of label failure; the second constraint is that the column observation window and bed height marking lines must not be occupied—only narrow strips can be applied to the column body, with the full field set delegated to column rack tags; temperature ranks only third, because the entire process runs mostly between 2–8 °C and ambient. This article provides a list of six categories of chemical exposure, a calculation of labelable width for columns with inner diameters of 16/26/50 mm, a nine-item field set, a selection matrix transcribed item by item from the official material guide table, printing guidelines for thermal transfer with resin-based ribbons, criteria for adopting QR code systems on narrow columns, and a six-step implementation process aligned with the current Good Manufacturing Practice equipment status labeling provisions, plus troubleshooting for six categories of failure.
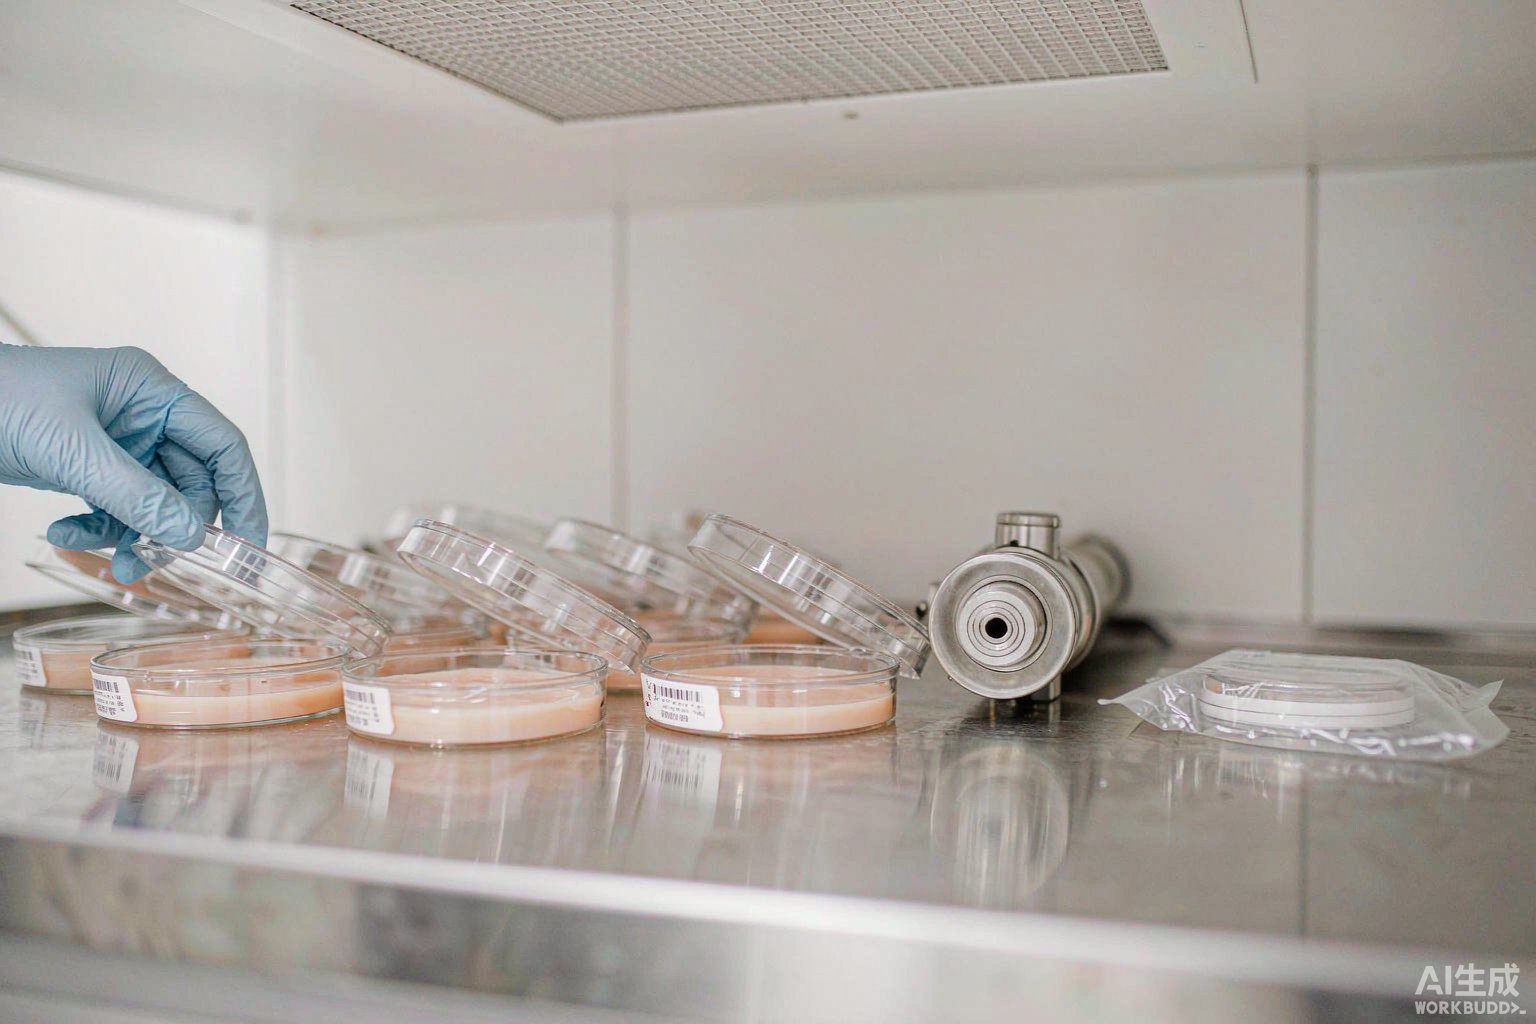
Conclusion: The selection sequence for cleanroom environmental monitoring sampling labels is the opposite of that for biobank labels—the first constraint is not the minimum temperature, but "unique sampling point code + monitoring type"; the second is the geometry of the adherend; and only the third is the temperature rating. Based on GB 50457-2019 and Annex 1 of the Good Manufacturing Practice for Drugs (2010 Revision), this article provides an actionable path: first determine sampling points according to the minimum number of sampling points NL=√A and generate non-repeating codes (different cleanliness levels within the same room must be listed in separate sequences); then determine the symbology according to the geometric window of settle plates φ90 mm × 15 mm, contact plates φ55 mm, and swab sampling tubes with an outer diameter of 15–17 mm. A 20-digit code using Code 128 with a narrow module of 0.19 mm has a symbol width of approximately 52 mm, which would wrap nearly one-third of the way around a φ55 mm contact plate and cross the handheld position; therefore, contact plates and narrow-diameter sampling tubes should all use DataMatrix with a 24×24 module, X=0.30 mm, and a side length of approximately 7.2 mm. Subsequently, select the material grade according to the four-stage temperature chain—2–8 °C storage, 18–26 °C and 45%–65%RH exposure, 30–35 °C (TSA, no less than 2 d) or 20–25 °C (SDA, no less than 5 d) incubation, and 121 °C moist heat sterilization for no less than 30 min before disposal. The highest grade across the entire process is 121 °C, so labels that must accompany the plate through the entire sterilization process should be selected at that grade. The article provides an official material temperature grade matrix, a carrier geometry window table, a symbology comparison table, a six-step implementation SOP, and troubleshooting for five types of failure, and explains the numbering inheritance rules when isolated strains are transferred to -80 °C or -196 °C preservation.
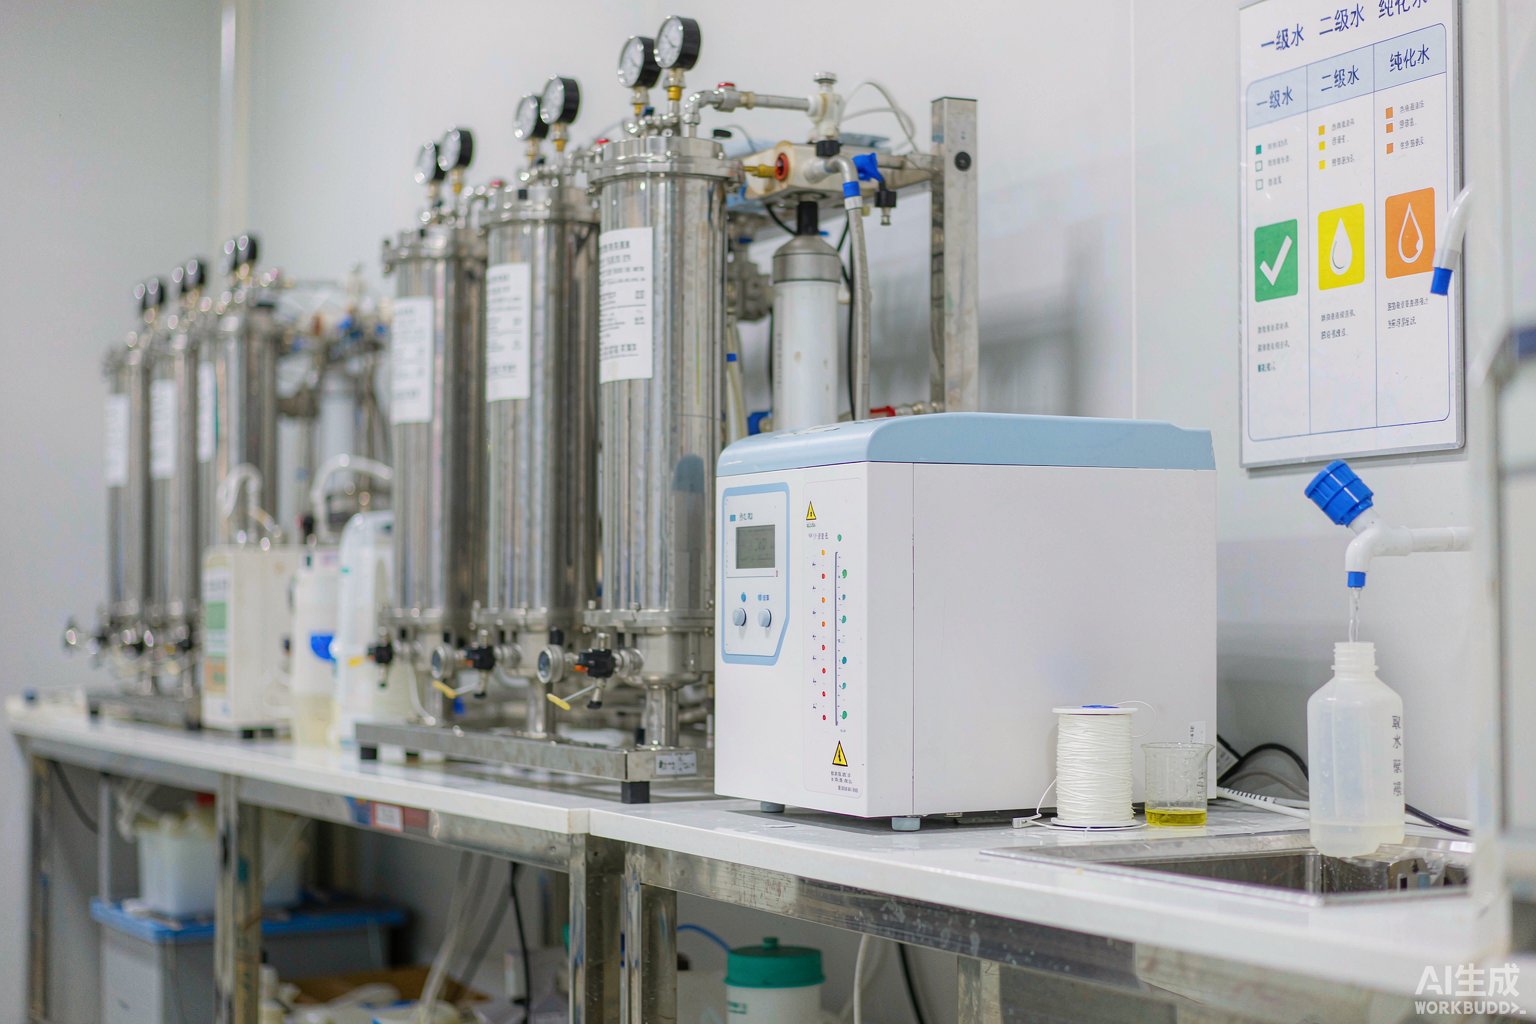
Conclusion: The label selection sequence for laboratory pure water and ultrapure water systems is the opposite of that for biological sample cryogenic labels—the primary constraint is not the minimum temperature, but the combination of "water grade, time-dependent degradation, and disinfection chemical exposure." This article provides an actionable path based on the GB/T 6682-2008 three-grade water specifications: first, classify Grade 1, 2, and 3 water by conductivity (at 25 °C) not exceeding 0.01, 0.10, and 0.50 mS/m, and assign grades to sampling points; then make the sampling time a mandatory field, because ultrapure water with a theoretical limit of 18.2 MΩ·cm at 25 °C can rise in conductivity from 0.055 μS/cm to above 0.25 μS/cm within 1 hour of air exposure, corresponding to a resistivity drop below 4 MΩ·cm and an increase in total ion concentration of more than 4.5 times; next, determine the grade by disinfection method—pasteurization at 80–85 °C, hydrogen peroxide 0.5%–3%, peracetic acid 0.1%–0.5%, sodium hypochlorite 50–200 mg/L; the disinfection segment must use hot-water 100 °C grade materials and switch to resin-based thermal-transfer ribbons; finally, select Code 128 or DataMatrix based on the geometry of the labeled surface. The article provides an official material temperature grade matrix, a consumable replacement threshold table, a six-step implementation SOP, and six categories of failure troubleshooting, which can be directly used for labeling upgrades in laboratory pure water rooms.
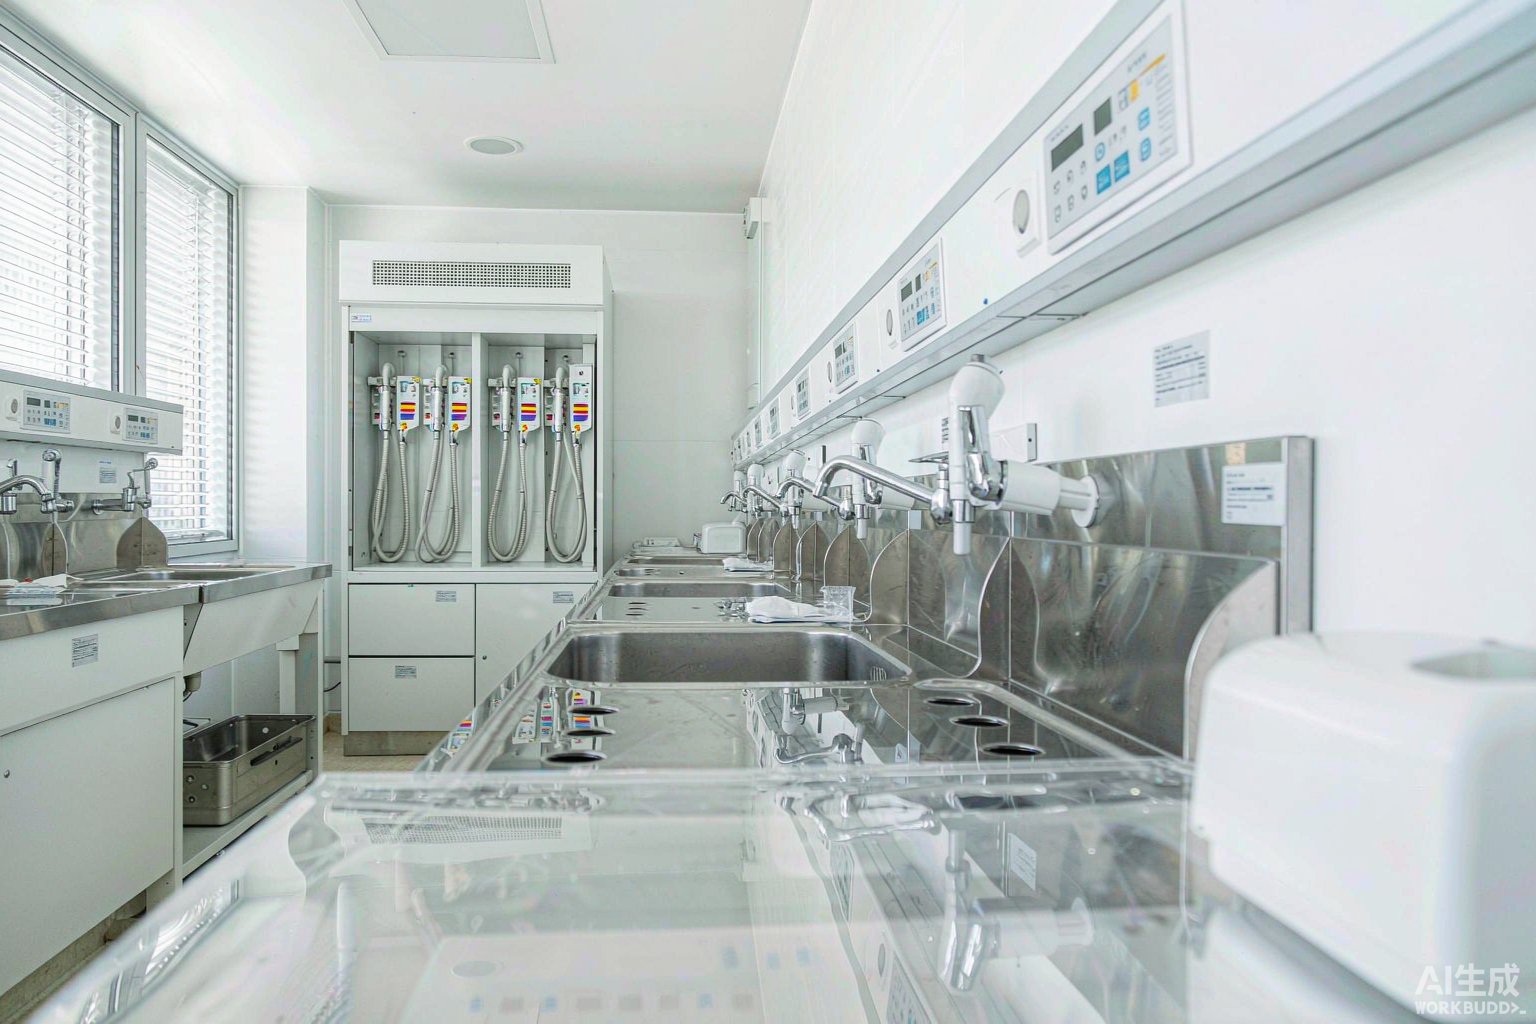
Conclusion first: no industrial label can be applied to the flexible endoscope body itself (insertion tube and control section); traceability information must be moved to four replaceable carriers. According to WS 507—2016 Technical Specification for Cleaning and Disinfection of Flexible Endoscopes, an endoscope cycles daily through the following steps—during pre-cleaning, repeated air and water flushing for at least 10 s; during leak testing, full immersion in water; changing the cleaning solution after every endoscope cleaned; after rinsing, purging the channels with air for at least 30 s; final rinse for at least 2 min; during drying, perfusing all channels with 75% to 95% ethanol or isopropanol and purging with air for at least 30 s; the disinfectant parameters given in Annex B are ortho-phthalaldehyde 0.55% for no less than 5 min, glutaraldehyde at not less than 2% for no less than 20 min for bronchoscopes and no less than 10 min for other endoscopes, and peracetic acid 0.2% to 0.35% for no less than 5 min. No pressure-sensitive adhesive can survive a single shift in this chain. The four carriers are: the storage cabinet (room), positioned by a four-level scheme of cabinet–column–shelf–hanging rod; transport containers, carrying three state layers—contaminated, clean, and temporary storage—that switch daily; disinfectants and containers, marked only with the opening date, concentration verification date, and expiry date, and never covering the original statutory manufacturer label required by GB 15258; and the scan-linked record of patient identification and endoscope number—the specification requires concentration monitoring records to be kept for no less than 6 months and other monitoring data for no less than 3 years. The selection sequence is: first determine the face stock and adhesive system according to the three adherend surfaces—stainless steel, coated steel sheet, and engineering plastics; then determine the printing combination of thermal transfer with resin-based ribbon according to weekly disinfectant wiping and alcohol splashing; finally work backward from the record retention period to define the coding fields.