
How to Select Stability Study Retention Sample Labels: Determine the Highest Temperature and Humidity First, Then the Sampling Time Points
Conclusion first: the primary criterion for stability study retention sample labels is not "can it withstand -20 °C freezing," but "can the barcode still be scanned reliably after 6 months of continuous exposure under accelerated conditions of 40 °C ± 2 °C and 75% RH ± 5%." This is the exact opposite of the conventional biobank logic of "selecting labels by the lowest temperature"—biobanks face one-directional low temperatures such as LN₂ at -196 °C and ULT freezers at -80 °C, whereas stability retention samples simultaneously face three main temperature/humidity lines of 25 °C/60% RH, 30 °C/65% RH, and 40 °C/75% RH, plus two low-temperature ends of 2–8 °C refrigerated and -20 °C ± 5 °C frozen. Among these, the 40 °C/75% RH accelerated end—with the highest temperature, the greatest humidity, and the longest duration—is precisely the end least friendly to the adhesive layer and print layer. When BradyLAB (BRD) performs selection for pharmaceutical QC, CROs, hospital compounding pharmacies, and CDC specimen retention rooms, the determination sequence used is: first define the accelerated-end temperature and humidity, then the long-term end, then review the refrigerated and frozen ends, and finally lock down label quantity and field structure using the sampling time points.
This article provides a six-step determination sequence that can be written directly into retention protocols and SOPs, a material threshold comparison table for the four main temperature/humidity lines, the three extreme endpoints of stress testing (high temperature, high humidity, strong light), the reverse-order arrangement rule for 0/3/6/9/12/18/24-month sampling time points, the calculation method for retention quantity and label quantity, labeling exclusion zones, coding structure and symbology size calculation, and the barcode readability re-verification method after accelerated testing ends.
1. Why Stability Retention Sample Labels Must Start with the Highest Temperature and Humidity End
Placing 40 °C/75% RH first is because its damage to labels is a triple overlay of "temperature + humidity + duration," not a single temperature. Calculated by the Magnus formula, the dew point of air at 40 °C, 75% RH is approximately 34.7 °C; at 30 °C, 65% RH it is approximately 22.7 °C; at 25 °C, 60% RH it is approximately 16.7 °C. This means that inside an accelerated chamber, condensation occurs immediately whenever the temperature of the chamber wall, shelves, or sample surface drops below 34.7 °C—and operations such as sampling, inventory checks, power recovery, and opening the door to transfer samples all pull local surface temperatures downward each time. The control accuracy of constant-temperature/humidity chambers is typically ±2 °C and ±5% RH, and the temperature/humidity recovery time after opening the door is generally on the order of 15 minutes. In other words, condensation is not an occasional event but a normal operating condition that may recur every time the door is opened.
By contrast, the dew point at the long-term end of 25 °C/60% RH is only 16.7 °C, the absolute moisture content at the refrigerated end of 2–8 °C is even lower, and at the frozen end of -20 °C ± 5 °C there is virtually no liquid water. Therefore, "lowest temperature" is not the bottleneck in stability retention sample scenarios; what truly determines label survival is the dew point at the highest temperature/humidity end and the cumulative exposure duration. This is also the greatest divergence between this article and biobank selection logic: biobanks select materials by -196 °C or -80 °C, while retention rooms must select materials by 40 °C/75% RH.
2. Material Thresholds for the Four Main Temperature/Humidity Lines
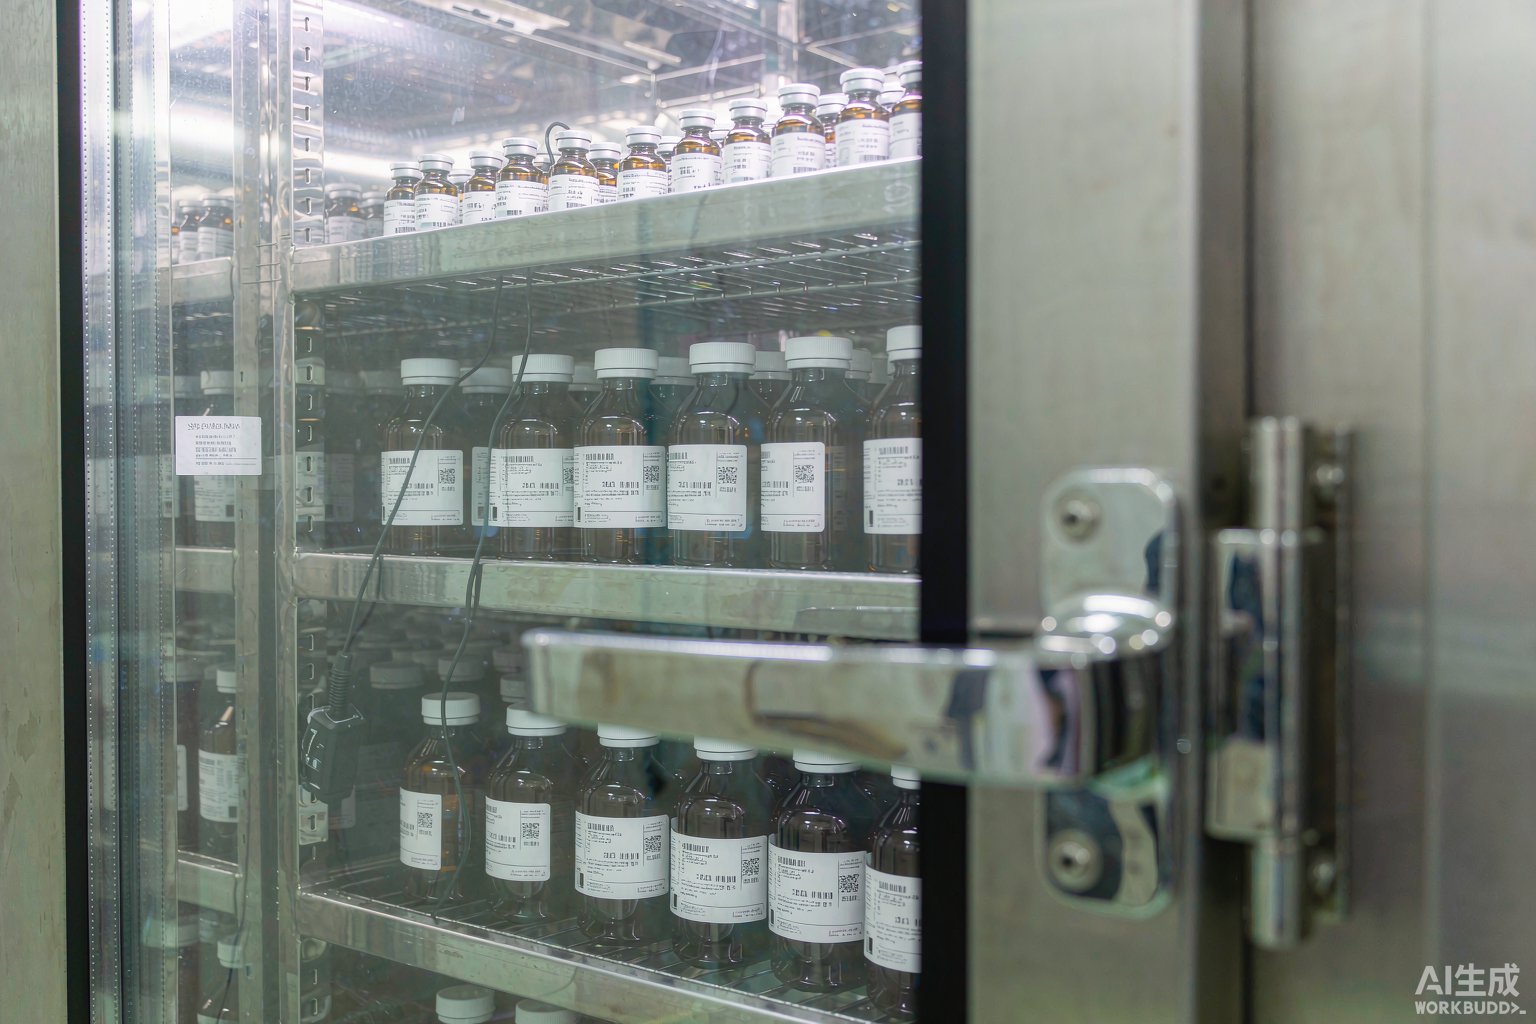
By laying out the temperature/humidity endpoints of the four main lines, it becomes clear which materials can directly enter the protocol and which must be excluded. The determination basis is the temperature tiers given in BradyLAB's official material guide table: four tiers of LN₂ -196 °C, freezer -80 °C, hot water 100 °C, and autoclaving 121 °C, plus the ambient tier. On the temperature dimension alone, 40 °C is below the hot water 100 °C tier, so any material checked for the hot water tier has no temperature obstacle; the real variables are the effects of sustained high humidity at 75% RH and a cumulative duration of 6 months on the adhesive layer, face stock, and print layer, as well as whether the label can still be scanned when accelerated testing ends and the sample is transferred to room temperature for interpretation.
| Study condition | Temperature / humidity setting | Conventional minimum duration | Air dew point (calculated) | Material threshold | Recommendation in this article |
|---|---|---|---|---|---|
| Accelerated test | 40 °C ± 2 °C / 75% RH ± 5% | 6 months | Approx. 34.7 °C | Must fall within hot water 100 °C tier | T629 preferred, T459 / T439 alternatives |
| Long-term test (climatic zone II) | 25 °C ± 2 °C / 60% RH ± 5% | From 12 months | Approx. 16.7 °C | Ambient tier acceptable | T629 / T419 / T625 |
| Long-term test (climatic zone IVa) | 30 °C ± 2 °C / 65% RH ± 5% | From 12 months | Approx. 22.7 °C | Above ambient tier | T629 preferred |
| Intermediate condition | 30 °C ± 2 °C / 65% RH ± 5% | 6 months | Approx. 22.7 °C | Above ambient tier | T629 preferred |
| Long-term refrigerated | 5 °C ± 3 °C (2–8 °C) | Per product | Approx. -5 °C to 1 °C | Resistance to -40 °C or below sufficient | T419 / T629 |
| Long-term frozen | -20 °C ± 5 °C | Per product | Very low | Resistance to -40 °C or below sufficient | T419 / T439 / T629 |
Particular attention should be paid to the -40 °C threshold: materials rated only for -40 °C or below can satisfy 2–8 °C refrigerated and -20 °C ± 5 °C frozen on the temperature dimension, but they do not belong to the hot water 100 °C tier in the official guide table. Therefore, one cannot infer that a material "can also go into a 40 °C/75% RH accelerated chamber" merely because "it can go into a -20 °C freezer." The coexistence of accelerated chambers and refrigerated chambers within the same retention protocol is precisely where this inference is most prone to error.
T629 is the only nylon cloth material in the official guide table checked for all four tiers of LN₂ -196 °C, freezer -80 °C, hot water 100 °C, and autoclaving 121 °C, while also checked for all four application categories of ambient, microscope slide, cryovial, and conical tube. It is therefore one of the few selections capable of covering both the accelerated end and the frozen end simultaneously; T439 features 6-color pre-printing at the top, suitable for distinguishing the four condition types of accelerated, long-term, refrigerated, and frozen by color code, and likewise falls within the hot water tier; T459 with its self-laminating structure featuring a transparent tail can protect printed content from abrasion and condensation water damage, suitable for retention samples affixed to curved bottle surfaces that require long-term readability.
3. The Three Extreme Endpoints of Stress Testing
In addition to formal stability studies, the R&D stage also requires stress testing, which pushes labels into positions more severe than accelerated conditions. The three endpoints given in current guidelines are: high-temperature test at 60 °C for 10 days (sampling on day 5 and day 10; if significant change occurs, reduce to 40 °C and repeat in the same manner); high-humidity test at 25 °C, 90% RH ± 5% for 10 days, with 5% moisture gain as the criterion; if exceeded, repeat at 25 °C, 75% RH ± 5% in the same manner; strong light exposure test at 4500 lx ± 500 lx for 10 days, with the additional requirements that the total illuminance of the light source be no less than 1.2×10⁶ lx·h and the near-ultraviolet lamp energy be no less than 200 W·h/m2.
| Stress test endpoint | Set value | Exposure duration | Specific effect on labels | Countermeasure |
|---|---|---|---|---|
| High temperature | 60 °C | 10 days | Adhesive softening and creep, face stock shrinkage, thermal print fading | Switch to thermal transfer + resin-based ribbon; avoid thermal paper |
| High humidity | 25 °C / 90% RH ± 5% | 10 days | Dew point approx. 23.2 °C; paper-based face stock absorbs moisture and wrinkles, edges lift | Switch to synthetic face stock; wipe bottle wall dry before application |
| Strong light | 4500 lx ± 500 lx | 10 days | Cumulative illuminance ≥1.2×10⁶ lx·h; dye-based printing fades; label blocks the illuminated surface | Resin-based ribbon; apply label to non-illuminated surface |
Among these, the strong light endpoint has an easily overlooked arithmetic relationship: at 4500 lx, reaching a cumulative 1.2×10⁶ lx·h requires approximately 267 hours (about 11.1 days), which essentially matches the "10-day placement" sampling window. This indicates that during these 10 days the label is continuously under high illuminance, and any dye-based print layer carries a fading risk. At the same time, the label itself blocks the illuminated surface—if the label covers the blister pocket of a blister pack or the light-facing surface of a bottle, the sample in the blocked area has effectively not received the specified illuminance. This constitutes an operational deviation that directly affects test validity, and the label must be moved to the bottom of the container or a non-illuminated surface.
4. Sampling Time Points: Reverse-Order Arrangement and "Expired Means Void"
The most fundamental difference between stability retention samples and general inventory retention samples is: each retention unit corresponds to only one sampling time point; once sampled, it is finished—it cannot be reused or made up. The time points for conventional long-term testing are 0, 3, 6, 9, 12, 18, and 24 months, with extension periods up to 36 months or even 60 months; the time points for accelerated testing are 0, 3, and 6 months. For a 24-month long-term protocol, if full testing is performed at each time point, a single batch under a single condition requires 7 retention units (the 0-month baseline is counted separately as backup).
| Time point | Planned sampling date (example) | Permitted sampling window | Fields the label must carry | Action after sampling |
|---|---|---|---|---|
| 0 month | Day of loading | Day of loading | Batch No. / condition code / 000M / serial No. | Test immediately as baseline |
| 3 months | Loading date + 90 days | Per protocol, typically within ±7 days | Same as above, time point changed to 003M | Mark as sampled upon removal; unit void |
| 6 months | Loading date + 180 days | Per protocol, typically within ±7 days | Same as above, time point changed to 006M | Same as above; if accelerated endpoint, re-verify barcode simultaneously |
| 12 months | Loading date + 360 days | Per protocol, typically within ±14 days | Same as above, time point changed to 012M | Same as above |
| 24 months | Loading date + 720 days | Per protocol, typically within ±14 days | Same as above, time point changed to 024M | Same as above; two-person verification recommended for final time point |
Two hard rules follow. The first is reverse-order arrangement: at loading, place the units for the latest time point (24 months) on the innermost side and the units for the earliest time points (0 month, 3 months) on the outermost side, avoiding the need to move the entire batch of samples just to retrieve an early unit—every movement brings label abrasion, position confusion, and additional door-opening condensation. The second is that the planned sampling date must be printed on the label: retention samples labeled only with batch number and no time point cannot be distinguished after two years in the chamber. Once a unit is overdue and not sampled, the data for that time point is void, and samples from adjacent time points cannot be substituted.
There is another frequently overlooked scenario: during the 6-month accelerated test at 40 °C/75% RH, samples are removed for testing, but the retention unit itself remains in the high-humidity environment until removal. In other words, the label must remain readable throughout these 6 months, not merely "readable when placed in."
5. Retention Quantity Calculation: Deriving Label Quantity from Full-Test Quantity and Number of Time Points
Label quantity is not estimated casually; it is determined by multiplying three numbers: number of retention units × labels per unit × backup factor. The number of retention units depends on the protocol: according to current Good Manufacturing Practice, the retention quantity should at minimum suffice to complete two full tests per the registered approved quality standard (excluding sterility testing and pyrogen testing); stability studies add on top of this by number of time points, i.e., number of units ≈ number of time points + backups (typically no fewer than 2 units). Taking the aforementioned 24-month long-term protocol as an example, a single batch under a single condition has 7 time-point units plus 2 backups, totaling 9 units; 3 batches would be 27 units, and if accelerated testing (0, 3, 6 months) is run simultaneously, add another 9 units.
It is recommended to use 2 labels per unit: one affixed to the container body and one to the outer packaging or retention box. The backup factor is recommended at 1.2–1.5 to cover labeling errors and abrasion replacement. Thus 27 long-term units + 9 accelerated units = 36 units × 2 labels × 1.3 ≈ 94 labels. This number directly determines the choice of print batch, ribbon length, and label format.
6. Three Exclusion Zones for Label Placement
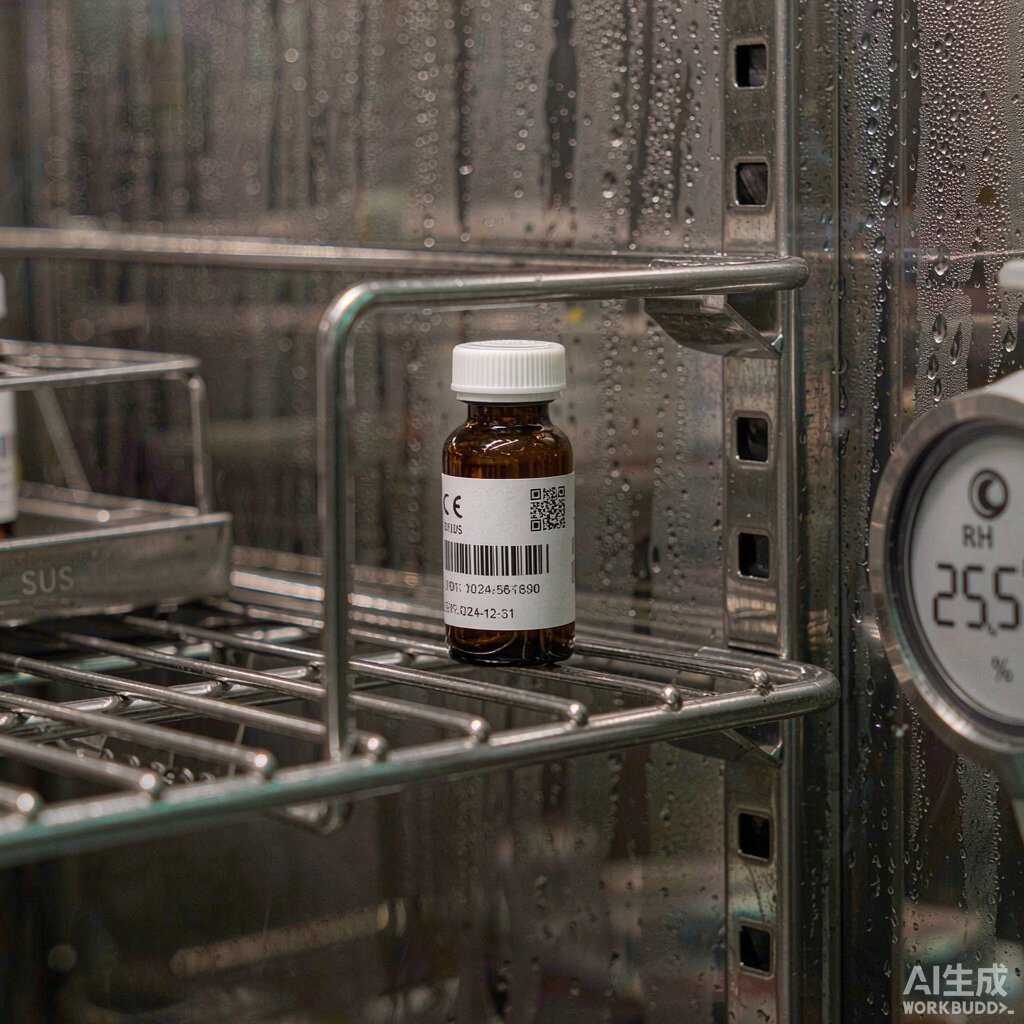
The first exclusion zone is the illuminated surface: in strong light exposure testing and photostability studies, the area covered by the label effectively shields the specified illuminance. Therefore, labels may only be affixed to the bottom of the container, the light-away side of the bottle body, or the non-illuminated surface of the retention box, and must not be affixed above the blister pocket of a blister pack or on the light-facing surface of an ampoule.
The second exclusion zone is native packaging information: the batch number, expiry date, and barcode on commercial packaging are primary information for registration submissions and audit verification. Retention sample labels must not cover, obscure, or tear off this information; they may only be affixed alongside in the blank area left available. If the packaging itself lacks sufficient blank space, the correct approach is to affix the label to the retention box or self-sealing bag and establish a numbering association with the container, rather than placing it over the original manufacturer's printed information.
The third exclusion zone is the seal and opening path: the sealed edge of aluminum-plastic blisters, the rubber stopper and aluminum cap crimp of vials, and the break point of ampoules are all points that the sampling action must pass through. Labels affixed here will be torn during opening, making it impossible to confirm the number at the sampling site. Additionally, when wrapping around a bottle body, the ends must overlap, with the overlap length per official application requirements; wrap-around labels without overlap are more likely to lift at the edges under 40 °C/75% RH conditions.
7. Coding Structure and Symbology Size Calculation
A four-segment coding scheme is recommended for retention samples: batch number - condition code - time point - serial number, for example 20260513-A40-012M-03, totaling 19 characters. The condition code uses A40 for 40 °C/75% RH accelerated, L25 for 25 °C/60% RH long-term, C05 for 2–8 °C refrigerated, and F20 for -20 °C frozen; the time point uses three digits plus M (months); the serial number distinguishes replicate units under the same condition. The advantage of this design is that a single scan yields the batch number, condition, and time point simultaneously, eliminating the need to search the retention ledger.
| Symbology | Size calculation (19-digit code) | Symbol size | 50 × 30 mm label | 80 × 60 mm label | Conclusion |
|---|---|---|---|---|---|
| Code 128 (X=0.19 mm) | Module count = 11×19+35 = 244; width = 244×0.19+10 ≈ 56.4 mm | Approx. 56.4 × bar height | Does not fit | Fits, upper limit approx. 28 digits | 1D barcode for large-format retention boxes |
| Code 128 (X=0.25 mm) | 244×0.25+10 ≈ 71.0 mm | Approx. 71.0 × bar height | Does not fit | Fits, upper limit approx. 23 digits | Preferred for long-distance scanning |
| DataMatrix 20×20 (X=0.30 mm) | Can carry 44 numeric / 31 alphanumeric characters | 6.0 × 6.0 mm | Fits | Fits | Preferred for small containers |
| DataMatrix 24×24 (X=0.40 mm) | Can carry 72 numeric / 52 alphanumeric characters | 9.6 × 9.6 mm | Fits | Fits | Includes check digit and full batch number |
The calculation result is straightforward: a 19-digit four-segment code requires approximately 56 mm of width in a 1D barcode, which does not fit on a 50 × 30 mm label; only formats of 80 × 60 mm or larger can accommodate it. Small containers should directly use DataMatrix. This is consistent with the conclusion for small-diameter tube scenarios in biobanks—once the area is fixed, there is no choice of symbology. Barcode print quality is assessed per ISO/IEC 15416 and 2D codes per ISO/IEC 15415; it is recommended to sample once at first article printing and once before batch completion, and to reprint the entire batch if the symbol grade does not meet requirements.
8. Printing Consumables and Readability Re-Verification After Accelerated Testing Ends
Six months of continuous 40 °C/75% RH places far greater demands on the print layer than on the adhesive layer. Thermal paper fades noticeably at the 60 °C high-temperature endpoint, so stability retention samples should uniformly use thermal transfer printing + resin-based ribbon. Ribbon width is selected by label format: 110 mm width covers both 80 × 60 mm and 50 × 30 mm labels, and 300 m length provides ample margin for the aforementioned batch of 94 labels. The matching adhesive performance can be verified at incoming inspection and compared before and after accelerated testing using GB/T 2792-2014 (peel strength) and GB/T 4851-2014 (holding tack) methods.
It is recommended to fix the re-verification action on the sampling day of month 6 of accelerated testing: after removing the sample, first equilibrate at room temperature for 2–4 hours, wait until surface condensation has completely dissipated before scanning, and record the symbol grade; then perform the same re-verification on the 12-month and 24-month units of long-term testing. If the scan failure rate exceeds the threshold set in the protocol, it indicates that the print layer or face stock selection needs to be upgraded by one tier; the replacement should be completed before the next batch of retention samples is loaded, rather than discovering unreadable numbers at the submission documentation stage.
The records side must also be closed-loop. Constant-temperature/humidity chambers and light exposure chambers are test equipment requiring control; their numbering, calibration status, temperature/humidity distribution validation, and deviation records can be established per ISO 17025:2017 requirements for equipment and technical records; the retention ledger and sampling records should achieve one-to-one correspondence across five fields: "label number — chamber position — planned sampling date — actual sampling date — symbol grade." If retention and near-expiry management in the pharmaceutical distribution segment are involved, the relevant GSP provisions apply separately.
9. Common Failure Modes and Troubleshooting
| Phenomenon | Occurrence condition | Direct cause | Troubleshooting sequence | Action |
|---|---|---|---|---|
| Label edges lifting, curling | After 3 months in accelerated chamber | Condensation or oil on bottle wall at application; insufficient initial adhesion area | ① Wipe before application ② Room-temperature pre-equilibration ③ Pressing force | Re-apply and shorten replacement cycle |
| Barcode unscannable but visually readable | At accelerated end sampling | Surface condensation not dissipated, or print layer damaged by abrasion | ① Re-scan after equilibration ② Check symbol grade ③ Check ribbon | Switch to self-laminating structure or add protective film |
| Overall print fading | After 10 days of strong light testing | Dye-based print layer fades at 4500 lx | ① Confirm printing method ② Confirm ribbon type | Switch to resin-based ribbon |
| Duplicate numbers on two units | At loading/coding stage | Coding only to batch level, without time point and serial number | ① Check coding rules ② Check print template | Recode entire batch and document in ledger |
| Time point overdue and not sampled | Mid-term of long-term testing | Planned sampling date not printed on label; ledger disconnected from physical items | ① Check label fields ② Check reminder mechanism | Data for that point void; explain within protocol |
| Label torn during sampling | When opening aluminum cap or breaking ampoule | Label affixed on seal and opening path | ① Check label placement diagram | Re-affix to bottle body or retention box |
Recommended Products
For the temperature/humidity conditions, sampling time point traceability, and printing consumable requirements covered in this article, the following BradyLAB (BRD) products are available for selection reference (click to view specifications and request a quote):
- Lab096-629/80×60mm LN₂ nylon cloth cryogenic label (¥999/roll)
- Lab014-629/50×30mm LN₂ nylon cloth cryogenic label (¥1890/roll)
- Lab084-439/30×15mm 6-color pre-printed cryogenic classification label (Price on request)
- BRL-110-BK laboratory cryogenic ribbon 110mm×300m (Price on request)
FAQ
Q1: Is it enough for a stability retention sample label to simply go into a -20 °C freezer?
Not enough. Accelerated conditions of 40 °C ± 2 °C/75% RH ± 5% for 6 continuous months place greater stress on the adhesive layer and print layer than -20 °C freezing. Materials rated only for -40 °C or below do not belong to the hot water 100 °C tier in the official guide table, and one cannot infer accelerated performance from frozen performance. The correct approach is to select material by the accelerated end first, then verify the frozen end.
Q2: Will condensation from opening the accelerated chamber door ruin labels?
Not necessarily, but it will significantly shorten service life. The dew point at 40 °C/75% RH is approximately 34.7 °C; condensation occurs whenever the chamber wall or sample surface drops below this temperature. Control measures include reducing door-opening frequency, shortening door-opening time, and staggering sampling times; on the label side, wipe the bottle wall dry before application, ensure sufficient initial adhesion area, and equilibrate for 2–4 hours before scanning at accelerated end sampling.
Q3: Why must the planned sampling date be printed on the label?
Because retention units correspond one-to-one with time points and are finished once sampled. After two years of storage, if the label only has a batch number, it is impossible on site to determine which unit belongs to which time point; once overdue and not sampled, the data for that time point is void and cannot be replaced by samples from adjacent points. The planned sampling date is the only means of固化 the ledger constraint onto the physical item.
Q4: Can a 19-digit four-segment code use a 1D barcode?
It depends on the format. Code 128 has a module count of 11n+35; for n=19 this is 244 modules. At X=0.19 mm, the symbol width is approximately 46.4 mm, and including quiet zones on both sides the total is approximately 56.4 mm, exceeding the usable width of a 50 × 30 mm label. Only formats of 80 × 60 mm or larger can accommodate it. For small containers, DataMatrix 20×20 (X=0.30 mm, side length 6.0 mm) is recommended.
Q5: In strong light exposure testing, will the label affect the results?
Yes. The area covered by the label effectively shields the specified illuminance; the blocked portion does not actually receive the 4500 lx ± 500 lx exposure. The approach is to affix the label to the bottom of the container or a non-illuminated surface, or affix it only to the retention box and establish a numbering association with the container.
Q6: Can thermal printing be used?
Not recommended. The high-temperature endpoint of 60 °C for 10 days is sufficient to cause noticeable fading of the thermal layer. Stability retention samples should uniformly use thermal transfer printing with resin-based ribbon, and symbol grade assessment should be sampled once at first article and once before batch completion.
Q7: How is the adhesive performance of retention sample labels verified?
GB/T 2792-2014 can be used to measure peel strength and GB/T 4851-2014 to measure holding tack, for incoming inspection and before/after accelerated comparison. If peel strength degrades significantly after acceleration, it indicates the adhesive selection needs to be upgraded by one tier.
Q8: How many labels are needed per batch number?
Calculate as number of units × labels per unit × backup factor. A 24-month long-term protocol has 7 time-point units plus no fewer than 2 backups, totaling 27 units across 3 batches; adding accelerated testing at 3 time points × 3 batches = 9 units, the total is 36 units × 2 labels × 1.3 ≈ 94 labels, from which the print batch and ribbon length are determined.
Q9: How should label condition be recorded when transferring from accelerated testing to room-temperature interpretation?
It is recommended to perform a barcode readability re-verification on the sampling day, recording symbol grades per ISO/IEC 15416 (1D barcodes) and ISO/IEC 15415 (2D codes) in the retention ledger; any decline in symbol grade triggers a material and ribbon replacement review.
Q10: Can the same label set be used for -80 °C retention samples in biobanks?
The same material system can be used, but the determination sequence must be reversed. Biobanks prioritize the lowest temperature (-80 °C or -196 °C), while retention rooms prioritize the highest temperature/humidity end (40 °C/75% RH); when sharing materials between the two, unify on materials checked for all temperature tiers in the official guide table to reduce inventory SKUs.