
Conclusion First: The Selection Sequence for Evacuated Blood Collection Tubes Is the Opposite of That for Biobanks
For evacuated blood collection tube label selection, the first constraint is not temperature—the exact opposite of biobanks. The first constraint for biobanks is the lowest temperature across the entire workflow—LN₂ −196 °C, freezer −80 °C, −40 °C, ambient—selecting materials tier by tier upward; whereas the temperature span of evacuated blood collection tubes throughout the entire testing process covers only three tiers: 18—25 °C temporary storage after blood collection, 2—8 °C refrigeration after separation, and −70 °C or lower for long-term retention samples. Although temperature is important, it is not the primary variable determining "whether this tube can be labeled, where to label, and how large the label can be."
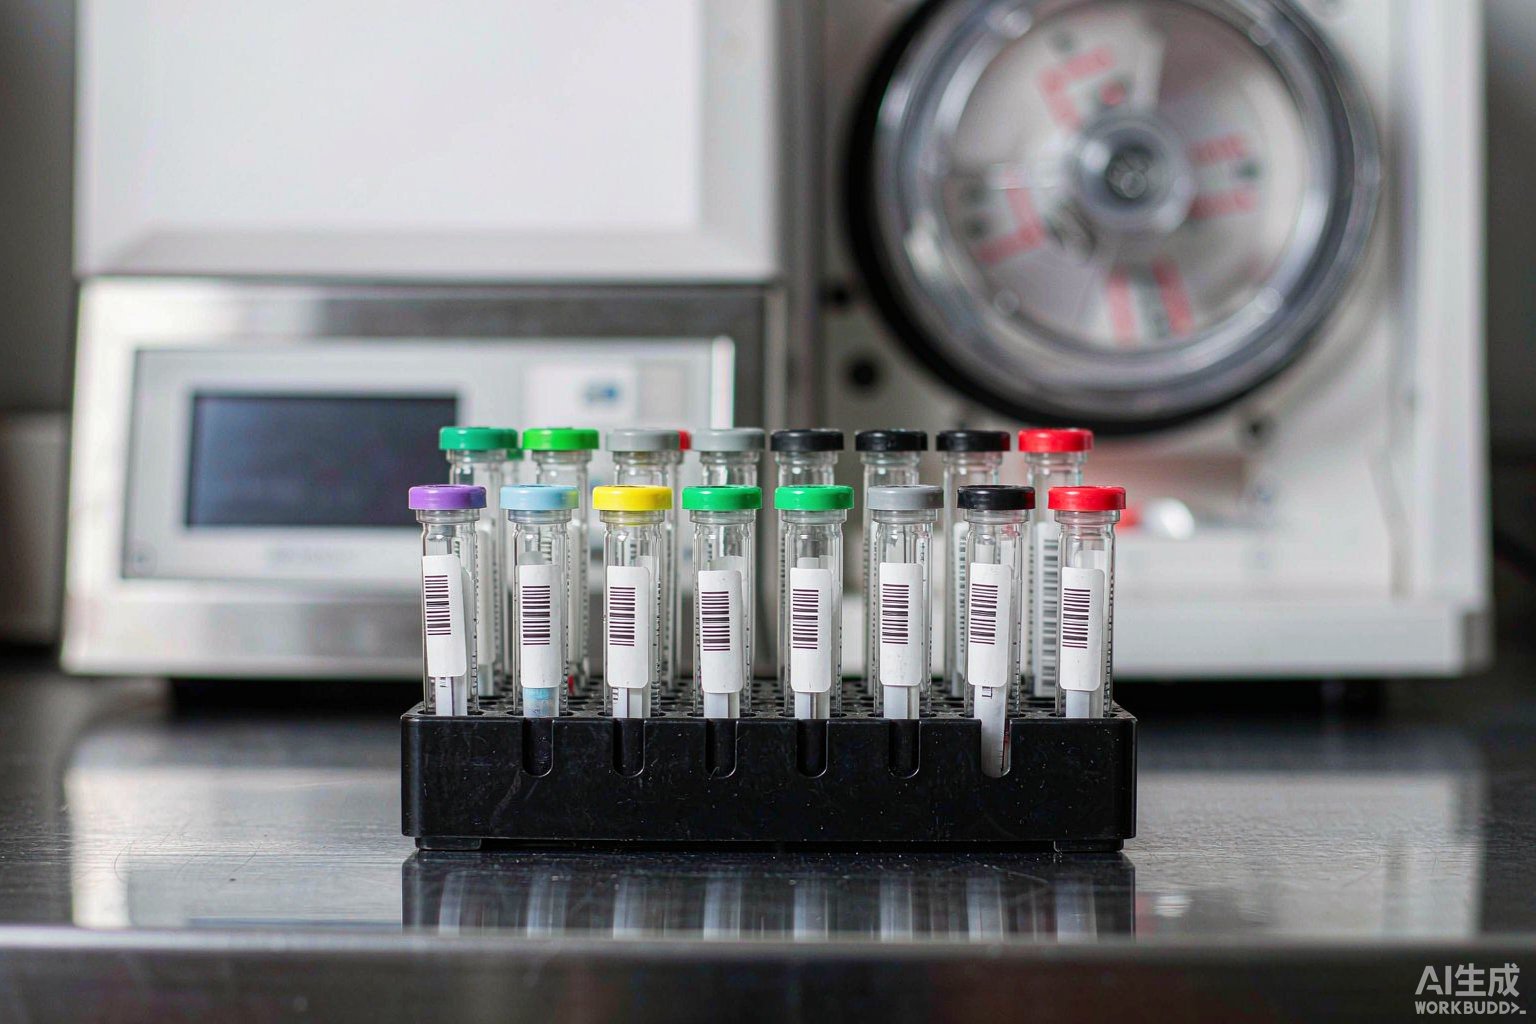
The first constraint for evacuated blood collection tubes is "what this tube is"—that is, the additive type and applicable test items corresponding to the tube cap color code. The reason is that an evacuated blood collection tube is not an ordinary test tube, but a passive pre-analytical device pre-loaded with chemical additives: the anticoagulant, clot activator, and separation gel inside the tube lock in, at the moment of blood collection, what tests this specimen can and cannot undergo subsequently. The tube cap color is the external visual encoding of this chemical system and constitutes primary information that must not be covered or altered. The manufacturer's original label on the tube body, carrying patient identification, barcode, lot number, and expiry date, likewise belongs to the primary layer.
Therefore, the correct selection sequence for evacuated blood collection tube labels comprises six steps:
Step 1: Determine the "non-coverable zones" for labeling based on tube cap color code and additives; Step 2: Determine label dimensions and application method based on tube geometry (13 × 75, 13 × 100, 16 × 100 mm); Step 3: Determine adhesive system and label placement based on centrifugation conditions (separation gel clot activator tubes typically 1300—2000 ×g, 10 min); Step 4: Determine material tier based on temperature chain (18—25 °C / 2—8 °C / −70 °C); Step 5: Determine face stock and ribbon based on disinfection wiping and blood contamination exposure; Step 6: Determine field set based on code system and pre-analytical procedure traceability requirements. The following sections elaborate each layer.
I. Tube Cap Color Code: Primary Information That Must Not Be Covered
The appendix of the current industry guideline for venous blood specimen collection provides the types of evacuated blood collection tubes and applicable test ranges, categorized into more than ten classes by tube cap color. This table is the starting point for blood collection tube labeling design—it determines what the self-adhesive layer can and cannot do. The table below is organized according to that guideline; individual manufacturers may differ in specific hues and additive formulations, and the product instructions shall prevail in practice.
| Tube cap color | Additive | Mode of action | Applicable test range | Labeling notes |
|---|---|---|---|---|
| White | No additive | — | Clinical biochemistry, clinical immunology testing | Record clotting completion time |
| Red | Clot activator | Promotes blood clotting | Clinical biochemistry, clinical immunology testing, cross-matching | Record clotting completion time |
| Dark yellow | Clot activator, separation gel | Promotes clotting, gel separates serum | Clinical biochemistry, clinical immunology testing | Must not cover the separation gel observation zone |
| Dark green | Lithium heparin | Inactivates coagulation factors Xa, IIa | Blood ammonia, hemorheology testing | Anticoagulant tube; mix immediately after collection |
| Light green | Lithium heparin, separation gel | Inactivates coagulation factors, gel separates plasma | Clinical biochemistry testing | Must not cover the separation gel observation zone |
| Brown | Sodium heparin | Inactivates coagulation factors Xa, IIa | Clinical biochemistry testing, cytogenetics testing | Sodium salt interferes with some electrolyte items |
| Purple | EDTA-K2 or EDTA-K3 | Chelates calcium ions | Hematology testing, cross-matching | Must not be used for coagulation and platelet function |
| Light gray | Fluoride and anticoagulant | Inhibits glucose glycolysis | Glucose testing | Must not be used for urease-method urea and similar items |
| Light blue | Sodium citrate 1:9 | Chelates calcium ions | Coagulation function, platelet function testing | Collection volume must be precise to the graduation mark |
| Black | Sodium citrate 1:4 | Chelates calcium ions | Erythrocyte sedimentation rate testing | Insufficient collection volume causes falsely elevated ESR |
| Yellow (ACD) | Citric acid, glucose | Inactivates complement | HLA tissue typing, paternity testing, DNA testing | Mostly send-out items; long retention period |
| Yellow (CPDA) | Citric acid, phosphate, glucose, adenine | Inactivates complement, cell nutrition | Cell preservation | Long retention period; requires low-temperature-resistant material |
| Dark blue | EDTA or lithium heparin or clot activator | Varies by additive | Trace element testing | Sensitive to label material leaching |
This table imposes three direct constraints on labeling. First, the self-adhesive layer must not obscure the tube cap color itself. Nurses at the blood collection window "select tubes at a glance," relying on cap color rather than text; any labeling method that covers the cap color renders this highly constrained visual code useless. Second, the self-adhesive layer must not alter the correspondence between additives and test items. This is the core mechanism of blood collection tubes as "passive pre-analytical devices"; labeling can only supplement, not redefine. Third, the manufacturer's graduation marks, lot number, and expiry date on the tube body must not be covered. Light blue and black tubes have strict requirements for collection volume and must be filled to the specified graduation mark; once the graduation marks are covered by a label, volume ratio errors cannot be detected at the point of collection.
There is also a frequently overlooked mandatory requirement: after blood collection, a dedicated specimen barcode should be applied immediately; wrapping with adhesive tape is prohibited. This is because tape wrapping causes uneven tube diameter, affecting rack insertion and automated analyzer sampling, and tape residue and edge lifting are direct causes of scan failures. The correct carrier for blood collection tube labeling is a dedicated label, not adhesive tape.
II. Tube Geometry: The 40.84 mm Circumference Constraint for 13 mm Tubes
Mainstream evacuated blood collection tube specifications are divided into four types by tube diameter and tube length, corresponding to different collection volume ranges. Tube diameter directly determines the labelable window and is a hard constraint for label dimension design.
| Tube specification (mm) | Nominal collection volume (mL) | Outer diameter (mm) | Circumference (mm) | 90° arc length (mm) | Label width upper limit (mm) |
|---|---|---|---|---|---|
| 10×60 | 1 | 10 | 31.42 | 7.85 | 30 |
| 13×75 | 2—5 | 13 | 40.84 | 10.21 | 40 |
| 13×100 | 4—7 | 13 | 40.84 | 10.21 | 40 |
| 16×100 | 7—10 | 16 | 50.27 | 12.57 | 48 |
| 8×120 | 1.28—1.6 | 8 | 25.13 | 6.28 | 24 |
Taking the most commonly used 13×75 mm tube as an example: outer diameter 13 mm, circumference π×13 ≈ 40.84 mm. This means the label width along the circumferential direction has an upper limit of approximately 40 mm—leaving a gap of no less than 0.84 mm to avoid end-to-end contact or overlap. The 16×100 mm tube has a circumference of 50.27 mm, providing ample margin for a 40 mm width. The 10×60 mm microtube has a circumference of only 31.42 mm, so width must be kept within 30 mm; the 8×120 mm ESR tube has a circumference of 25.13 mm, with an upper width limit of approximately 24 mm.
The recommended window for label height (along the tube axis) is 20—30 mm. This range is bracketed by three constraints: the lower limit comes from barcode geometry—the barcode itself requires no less than 5 mm of quiet zone on each side, plus a minimum barcode height of 7 mm; below 20 mm, a compliant 1D code cannot fit; the upper limit comes from non-coverable zones—the manufacturer's graduation marks, lot number, and expiry date are typically printed on the upper-middle portion of the tube body, and labels taller than 30 mm easily cover them; an observation window must also be preserved in between—serum layer color interpretation (hemolysis appears pink or red, lipemia appears turbid, jaundice appears deep yellow) requires a visible area above the label.
There are also four hard prohibitions regarding application: wrap-around application is not permitted (end-to-end overlap creates bubbles and edge lifting, and uneven tube diameter affects sampling); folded application is not permitted (the fold cuts the barcode, inevitably causing no-read); only one barcode label per tube (multiple labels cause scanning ambiguity, and the machine cannot determine which one it read); must not be placed where it will be obscured by cotton swabs or adhesive bandages (post-collection hemostasis pressure will cover part of the tube body).
III. Centrifugation Conditions: 1300—2000 ×g and the Separation Gel Observation Zone
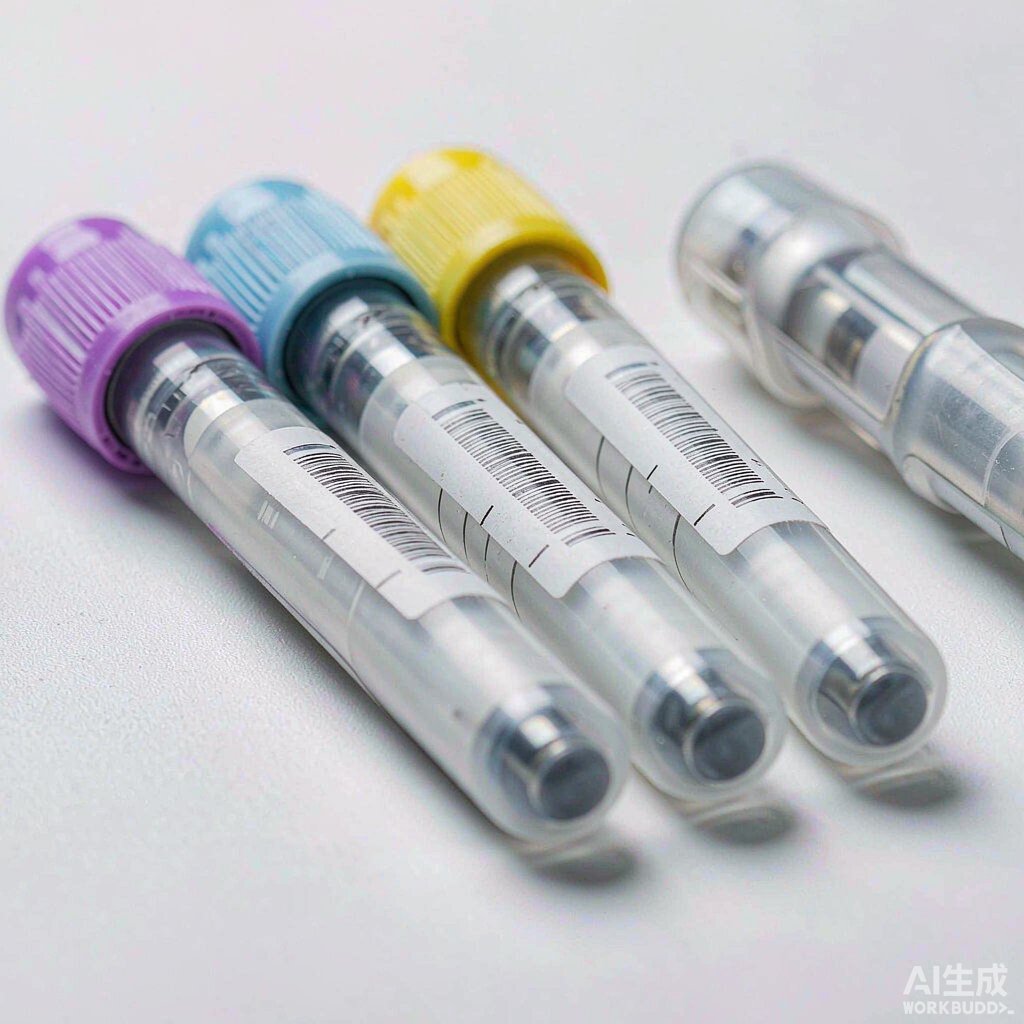
The greatest operational difference between blood collection tubes and cryovials is that centrifugation is a mandatory step. Serum or plasma can only be obtained by centrifugation, which simultaneously subjects labels to three types of physical challenges: adhesive layer shear under centrifugal force, the need to observe the separation gel layer, and mechanical interference with balancing and rack insertion.
Common centrifugation conditions for separation gel clot activator tubes are relative centrifugal force 1300—2000 ×g, time 10 min, temperature approximately 25 °C. It should be noted that different manufacturers' instructions and different laboratory SOPs specify varying ranges; publicly available sources show 800—1000 ×g (some serum separation protocols), 1000—1500 ×g, 1300—2000 ×g, 1800—2200 ×g, and other values. Therefore, this article does not provide a single value; actual parameters should be based on the laboratory's SOP and the blood collection tube manufacturer's instructions. The conversion relationship between relative centrifugal force and rotational speed is:
RCF = 1.118 × 10⁻⁵ × n² × r (n = rotational speed in r/min; r = rotation radius in cm)
Before centrifugation, complete blood clotting must be confirmed—separation gel clot activator tubes typically require 30 min standing, ordinary tubes 45—60 min. Centrifuging before clotting results in incomplete separation, and fibrin clots may clog the automated analyzer's sampling probe; insufficient centrifugal force prevents serum from fully passing through the separation gel; excessive centrifugal force disrupts the gel's network structure, causing blood cells to mix into the serum layer. After centrifugation, three layers form from top to bottom: pale yellow serum layer, silica gel separation layer, and dark red erythrocyte layer.
| Process step | Parameters or requirements | Constraints on labels |
|---|---|---|
| Mixing after collection | Gently invert tubes containing anticoagulant 8—10 times | Label edges must not lift; avoid repeated finger friction during mixing |
| Standing for clotting | 18—25 °C; separation gel tubes 30 min, ordinary tubes 45—60 min | Label material must not leach substances affecting clotting |
| Centrifugation | 1300—2000 ×g, 10 min, approximately 25 °C | Must not shift, lift, or curl; thickness must not affect balancing |
| Post-centrifugation interpretation | Observe hemolysis, lipemia, jaundice | Label must not cover the serum layer and separation gel observation zone |
| Aliquoting and retention | Aliquot into 0.5 / 1.5 / 2 mL cryovials | Aliquots require secondary labeling linked to the primary tube number |
| On-instrument analysis | Automated analyzer sampling probe puncture sampling | Label must not enter the sampling probe path or optical detection zone |
The most typical label failure during centrifugation is shifting and lifting. During centrifugation, the tube body bears radial loads within the tube sleeve; if the adhesive layer has insufficient initial tack or shear resistance, the label will slide circumferentially; after sliding, the barcode may rotate to an angle obscured by the tube sleeve, making it unreadable during on-instrument scanning. Therefore, during the selection phase, "label immediately then centrifuge, observe for shifting" must be listed as one of three mandatory bench tests (the other two being 72 h at 4 °C to observe lifting, and simulated alcohol wiping 20 times to observe sliding or curling).
IV. Temperature Chain: Three Temperature Tiers and Material Tier Matrix
The temperature chain for blood collection tube specimens has only three tiers, with a span far smaller than that of biobanks, but it still determines the material tier selection.
Tier 1, 18—25 °C: Temporary storage after blood collection. Must be delivered for testing within 2 h; the shorter the time, the fewer influencing factors. Tier 2, 2—8 °C: Refrigerated storage of serum or plasma after separation; most items are stable for 7 days; for example, glycated hemoglobin whole blood specimens are stable for 1 week at 2—8 °C. Tier 3, −70 °C or lower: Long-term retention samples, stable for at least 1 year; notably, the industry document for this item explicitly states that long-term storage at −20 °C is not recommended—a tier that is easily mis-filled based on experience.
Mapping these three tiers to the BRD 博锐迪 Lab&HC laboratory medical label material guide table, the selection is as follows:
| Temperature tier | Typical scenario | Temperature range | Available materials (corresponding column in guide table checked) |
|---|---|---|---|
| Ambient tier | Post-collection temporary storage, pre-analytical processing | 18—25 °C | T629 nylon cloth, T625 vinyl cloth label, T419 gloss white PET, T329 matte white PP |
| Refrigerated tier | Serum/plasma refrigerated retention for 7 days | 2—8 °C | T629 nylon cloth, T625 vinyl cloth label, T419 (resistant to −40 °C and above), T329 (resistant to −40 °C and above) |
| Frozen tier | Long-term retention, send-out items | −70 °C or lower | Must select materials checked in the freezer −80 °C column of the guide table, such as T629 nylon cloth |
One point must be clearly stated: in the ambient column of the guide table, only T629, T625, T419, and T329 are checked. For the two most frequent tiers for blood collection tubes—ambient and refrigerated—selection should prioritize these four; other materials enter selection driven by three types of functional requirements—wrap-around geometry, laminate protection, and color-code zoning—not by temperature. Assuming "because refrigeration is needed, low-temperature material must be used" is the most common error in blood collection tube selection—2—8 °C is far above −40 °C; the LN₂ tier is unnecessary.
Specific material characteristics: T629 is a nylon cloth label—easy to apply, resistant to high and low temperatures, with good conformability, used wherever labeling is needed in the laboratory, and the preferred choice for cylindrical curved surface application; T625 is a vinyl cloth label—repositionable, removable, residue-free, and re-stickable, suitable for scenarios requiring label removal after re-examination or rack reuse; T419 is a gloss white PET material for cryovials and microcentrifuge tubes, resistant to −40 °C and above; T329 is a matte white PP pressure-sensitive label, a low-temperature freezer label resistant to −40 °C. For wrap-around application requiring a full circuit around the tube, the durable vinyl label T509 can be used; it is suitable for wrapping with good conformability (requires overlap when used in LN₂ environments).
V. Disinfection and Contamination Exposure: Face Stock and Ribbon
The contamination and disinfection exposure experienced by blood collection tubes throughout the testing workflow is completely different from the purely low-temperature environment of biobanks, mainly comprising four types: blood contamination (the outer wall may be stained with blood during collection), disinfection wiping (75% ethanol, chlorine-containing disinfectants used to periodically wipe bench surfaces and rack exteriors per biosafety requirements), condensation (condensation forms at room temperature after removal from 2—8 °C), and hand sweat and friction (inversion mixing and repeated handling).
These four types of exposure collectively point to the same conclusion: blood collection tube labels must use thermal-transfer printing with resin-based ribbon, not thermal printing or direct printing. Thermal printing fades rapidly under ethanol wiping and condensation; direct printing (such as inkjet) on low-surface-energy substrates like PET and glass does not meet adhesion and wipe-resistance requirements. BRD 博锐迪's laboratory-specific cryogenic ribbons (such as BRL-110-13) are designed for such scenarios.
There is also an easily overlooked detail: the barcode surface should be matte rather than gloss. Fixed-mount scan modules on automated analyzers and assembly lines have fixed light source angles and camera distances; gloss labels produce specular reflection under such fixed geometry, directly causing no-read and triggering whole-batch shutdowns. Therefore, matte materials have a natural advantage in barcode readability—T329 matte white PP belongs to this category; T419 gloss white PET offers better print contrast but requires additional evaluation of reflection risk in fixed-mount scanning scenarios. During selection, the principle of "machine first, handheld second" is recommended: first satisfy readability at the shortest scanning distance scenario (analyzer end), then accommodate handheld scanners.
Additionally, blood collection tube bodies come in both PET and glass, with surface treatment layers varying by manufacturer; theoretical adhesion data is insufficient as a basis for selection. Adhesive compatibility with blood collection tube substrates must be tested empirically; at minimum, three bench tests should be completed: label immediately then centrifuge to observe shifting; 72 h at 4 °C to observe lifting; simulated alcohol wiping 20 times to observe sliding or curling. Only when the three conditions of "sticks securely, scans clearly, peels off cleanly" are met can the material be considered qualified.
VI. Code System and Pre-Analytical Procedure Traceability
The ultimate purpose of blood collection tube labeling is to support the complete traceability chain of pre-analytical procedures. ISO 15189:2022 "Medical laboratories—Requirements for quality and competence" specifies this chain across several clauses: 7.2.4.4 d requires that the primary sample identification method establish a clear and unambiguous association with the collected patient; 7.2.5 requires that samples be transported within appropriate time and temperature limits and maintained within specified temperature ranges; 7.2.6.1 a requires that sample receipt achieve clear and unambiguous traceability through request and identification, and record the date, time, and identity of the receiving person; 7.2.7 requires that pre-analytical processing, preparation (including centrifugation and aliquoting), and storage follow specified procedures and be performed according to stability-based retention limits. The pre-analytical phase is where laboratory errors are most concentrated, and labeling is the key carrier for implementing these clauses.
Regarding barcode geometry, automated equipment has a defined technical window for label barcodes. Taking a common automated platform's code-reading module as an example, its published barcode specifications are: module width 0.127—0.381 mm (5—15 mil), quiet zone no less than 5 mm, barcode height no less than 7 mm, barcode length no more than 64 mm (excluding quiet zones), character count no more than 32, black code on white background, barcode surface matte and clean. Barcode quality grades are assessed per ISO/IEC 15416 (1D codes) and ISO/IEC 15415 (2D codes); higher grades are recommended to ensure reading performance.
| Parameter | Automated code-reading requirement | Feasible range for 13 mm blood collection tubes |
|---|---|---|
| Module width | 0.127—0.381 mm | Recommended 0.19 mm (requires 300 dpi or higher printhead) |
| Quiet zone | ≥ 5 mm (one on each side) | Occupies approximately 10 mm in the label height direction |
| Barcode height | ≥ 7 mm | Along the tube axis; ample within 20—30 mm label height |
| Barcode length | ≤ 64 mm | Circumferentially constrained by 40.84 mm circumference; actual length far less than 64 mm |
| Character count | ≤ 32 | Constrained by circumference; actual recommendation ≤ 10 digits (1D) |
| Surface | Matte, clean, wrinkle-free | Matte materials preferred |
Substituting the circumference constraint into 1D code length calculation yields a very practical conclusion. The module count for Code 128 can be estimated using the empirical formula M ≈ 11n + 35 (n = number of encoded characters, including start, check, and stop characters). Taking module width X = 0.19 mm and total quiet zones of 10 mm on both sides:
When n = 10, M = 145, barcode length 27.55 mm, plus quiet zones totaling 37.55 mm, less than the 40.84 mm circumference of a 13 mm tube—fits; when n = 12, M = 167, barcode length 31.73 mm, plus quiet zones totaling 41.73 mm, already exceeding 40.84 mm; when n = 15, M = 200, barcode length 38.00 mm, plus quiet zones totaling 48.00 mm, clearly does not fit and can only be wrapped—and wrapping is explicitly prohibited.
The conclusion is: for 1D codes on 13 mm blood collection tubes, the encoded digit count should be kept within 10 digits. When longer codes need to be carried (such as composite codes containing patient identification, test panel, and collection time), 2D matrix codes should be used instead. DataMatrix 24×24 at module size X = 0.25 mm has a side length of only 6.00 mm, approximately 6.5 mm with quiet zones—more than sufficient within a 20×30 mm label, while also leaving room for a human-readable numeric zone. This is why laboratories that have already deployed LIS and assembly lines should reserve space for a 2D code on the label layout—it is the only low-cost pathway for future upgrades.
Routine print quality control is also part of the quality management system: barcode printers should print a self-test strip before daily startup to check whether barcode edges are sharp and free of breaks or blurring; if problems are found, stop immediately and replace the ribbon or printer; consumables should be procured uniformly to avoid excessive reflectance differences between label batches; centralized maintenance and calibration by the equipment department or supplier is recommended every six months, with records retained.
VII. Compliance Boundaries of the BRD 博锐迪 Self-Adhesive Layer: Only Four Functions
After clarifying the preceding six layers, what the self-adhesive layer can and cannot do becomes clear. The boundary must first be stated: the tube cap color code, the manufacturer's original label on the tube body (patient identification, barcode, lot number, expiry date), and the manufacturer's graduation marks of blood collection tubes belong to the primary information layer, printed by the blood collection tube manufacturer; 博锐迪 (BRD) does not provide, and must not cover or replace, these with a self-adhesive layer. The self-adhesive layer is dynamic management information superimposed outside the primary layer; the two have different responsibilities and must not substitute for each other.
The self-adhesive layer serves only four functions: First, location numbering—positioning labels for centrifuge rotor positions, freezer shelves, sorting baskets, and assembly line sampling positions; Second, specimen status—operational status markers such as centrifuged, pending re-examination, aliquoted, on-instrument; Third, retention period and aliquot numbering—codifying stability-based retention limits such as "serum 2—8 °C 7 days," "whole blood 2—8 °C 1 week," "−70 °C at least 1 year" into readable fields, and establishing number linkage with the primary tube during aliquoting; Fourth, secondary labeling after aliquoting—after aliquoting from the primary tube into 0.5 / 1.5 / 2 mL cryovials, the aliquots must be re-labeled and linked to the primary tube number; ISO 15189:2022 clause 7.2.6.1 g explicitly requires that all portions of a sample be clearly traceable to the original sample.
One more reminder: cryovials after aliquoting may enter −80 °C or lower temperatures; at this point, the material tier for aliquot labels must be re-selected based on the actual post-aliquot temperature, and the ambient-tier material of the primary tube cannot be carried over. This is the material transition point for the same specimen at two temperature tiers, and the most error-prone step in practice.
VIII. Six-Step Implementation SOP
To codify the above six layers of constraints into an executable process, the following six steps are recommended: Step 1: Determine tube cap color code and tube type by test item, and codify the collection order on the collection list; light blue and black tubes must be filled to the specified graduation mark; Step 2: Determine label dimensions and layout by tube diameter; for 13×75 and 13×100 mm tubes, width not exceeding 40 mm and height 20—30 mm; for 10×60 mm microtubes, width within 30 mm; for 8×120 mm ESR tubes, within 24 mm; Step 3: Determine label placement by centrifugation parameters; labels must not cover the serum layer and separation gel observation zone, and must not enter the sampling probe path; Step 4: Determine material tier by temperature chain; for ambient and refrigerated, prioritize T629, T625, T419, T329; for long-term retention at −70 °C, select materials checked in the freezer −80 °C column of the guide table; Step 5: Determine face stock and ribbon by disinfection and contamination exposure; use thermal transfer with resin-based ribbon; barcode surface preferably matte; Step 6: Determine field set and code system by pre-analytical procedure; keep 1D codes within 10 digits; use DataMatrix for longer codes; reserve a human-readable numeric zone.
There is also an engineering detail in layout design: label spacing. Automated labeling equipment typically requires label spacing within 2—4 mm for precise recognition; some equipment supports zero-gap continuous labels but requires perforations or black mark positioning. If a third-party barcode printer with an automatic labeling module is used, the printer's feed method, black mark detection method, and the labeler's label detection method must be aligned; otherwise, on-site failures of "prints but won't apply" will occur.
IX. Common Failures and Troubleshooting
| Symptom | Possible cause | Troubleshooting and resolution |
|---|---|---|
| Analyzer no-read, whole-batch shutdown | Gloss label reflection; barcode spans a region of excessive curvature | Switch to matte material; place barcode on a flatter area of the cylindrical surface |
| Label shifting after centrifugation | Insufficient adhesive initial tack or shear resistance | Bench test: centrifuge immediately after labeling; change adhesive system or increase bonding area |
| Lifting after 72 h refrigeration | Low-temperature adhesive mismatch; condensation on tube wall during labeling | Bench test: 72 h at 4 °C; wipe tube wall dry before labeling |
| Print fading after ethanol wiping | Thermal printing mistakenly used | Switch to thermal transfer + resin-based ribbon |
| Wrong tube selected at collection window | Label obscures tube cap color code or graduation marks | Move label down; clear the cap color identification zone and graduation zone |
| Aliquot number does not match primary number | No secondary labeling after aliquoting | Label aliquots immediately; link numbers to primary tube |
| Barcode length does not fit | Too many 1D code digits | Reduce to within 10 digits, or switch to DataMatrix |
| Tube jamming during sampling | End-to-end overlap or folded application causing uneven tube diameter | Prohibit wrapping and folding; leave a gap of no less than 0.84 mm in width |
Recommended Products
For the label materials and application scenarios covered in this article, the following 博锐迪 (BRD) products are available for selection reference (click to view specifications and request a quote):
- Lab032-629/30x20mm Biobank cryovial microscope slide -196 °C LN₂ nylon low-temperature label (Request a Quote)
- Lab112-629/35x25mm Biobank cryovial microcentrifuge tube microscope slide -196 °C LN₂ nylon cloth label (¥1490)
- Lab307-419/32x18mm Biobank cryovial microscope slide gloss white low-temperature label (Request a Quote)