
How to Choose Labels for Antibody Aliquot Tubes: Calculate Area First, Then Temperature
Conclusion first: for aliquot tube labels on antibodies, enzymes and recombinant proteins, the first determining factor is not "whether it can withstand -80 °C" but "whether this label fits on the tube wall." The wrappable arc length on the side wall of a 0.2 mL thin-wall tube is only about 12 mm, and a 1.5 mL tube only about 21 mm; once the area is fixed, the symbology, font size and number of fields are all constrained. The second step is the temperature tier: short-term 2-8 °C, medium-term -20 °C, long-term -80 °C; take the intersection of all three and check the official material guide table to confirm the material is marked as suitable for that tier. The third step is the traceable design for freeze–thaw cycles. BRD's approach to laboratory low-temperature identification is: calculate the geometry first, then select the material, and finally define the information structure.
1. Conclusion First: Three Criteria for Aliquot Tube Labels
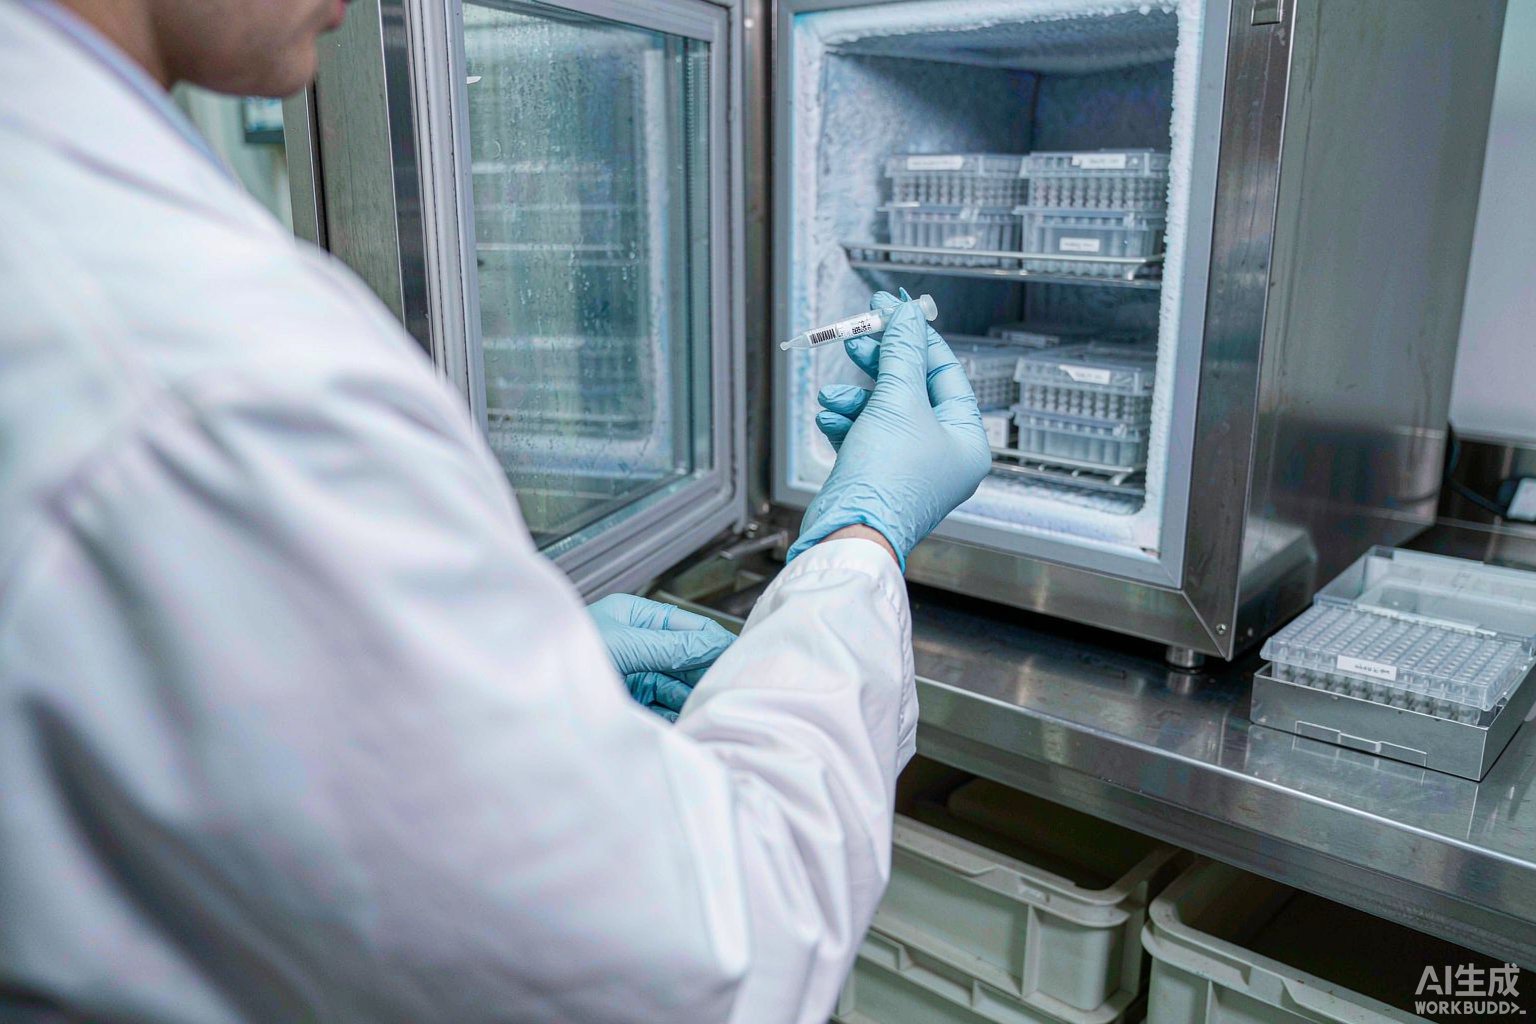
Aliquoting is the operation of dividing a single tube of original reagent into several small tubes by single-use volume. It solves the same problem: avoiding repeated freeze–thaw of the entire tube. Labeling must solve the three derived problems after aliquoting—which tube is what, how many times this tube has been frozen and thawed, and when this tube expires.
Once these three are fixed, selection will no longer waver:
- Criterion 1 (geometry first): Calculate the maximum wrappable arc length from the container's outer diameter, take 60% of the arc length as the maximum label width, and leave the remaining 40% as a window for observing the liquid level and contents inside the tube. The label format is locked in by this step first.
- Criterion 2 (temperature intersection): The life cycle of an aliquot tube spans multiple temperature points—on ice during aliquoting (0-4 °C), short-term storage at 2-8 °C, medium- and long-term transfer to -20 °C or -80 °C, and one room-temperature thaw during retrieval. The material must cover both the "steady-state minimum temperature" and the "thaw back to room temperature" ends; selecting only by the minimum temperature is a common mistake.
- Criterion 3 (freeze–thaw traceability): The freeze–thaw count must be recorded on the label in a way that is "cumulative and not arbitrarily altered"; otherwise the purpose of aliquoting is offset by repeated "can't remember how many times it has been thawed."
2. Why Aliquot: Repeated Freeze–Thaw Is the Main Killer of Potency
Protein reagents (antibodies, enzymes, recombinant proteins, cytokines) are sensitive to temperature cycling. There are two common industry practices: first, aliquot by single-use volume, with typical aliquot volumes of 5-50 µL; second, keep freeze–thaw cycles within 3, beyond which the reagent is either downgraded to non-quantitative experiments or discarded. The reason behind these practices is straightforward—each thaw and rewarming gives the protein a chance to aggregate and lose activity, and aliquoting reduces this from "the entire tube enduring N cycles" to "each tube enduring 1 cycle."
This creates an easily overlooked labeling requirement: the aliquot tube label must be able to record the "count," a quantity that changes over time, not just invariant quantities such as "lot number, concentration, date." Fixed information can be printed once; variable information must have an updatable location or be accumulated by the system. This is the most fundamental difference between aliquot tube labels and cryovial labels.
3. Geometric Constraints of Three Types of Aliquot Containers
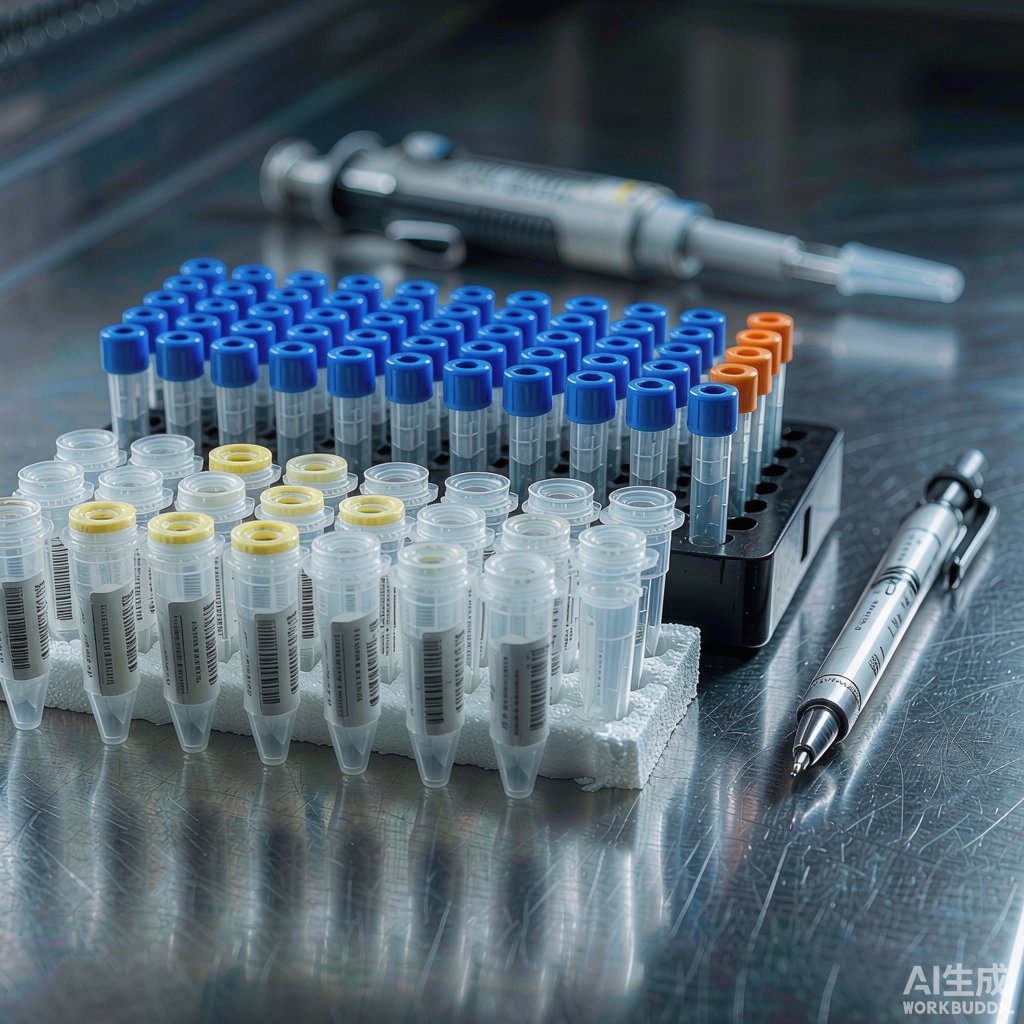
Small tube diameter is the biggest constraint in aliquot tube selection. The table below gives the outer diameter, effective straight side-wall height and maximum wrappable arc length of common aliquot containers. The wrappable arc length is calculated as circumference π×D multiplied by 60%, leaving an observation window.
| Container type | Nominal capacity | Tube outer diameter (mm) | Effective straight side-wall height (mm) | Max. wrappable arc length (mm) | Recommended label format |
|---|---|---|---|---|---|
| Thin-wall PCR tube | 0.2 mL | 6.0-6.5 | 10-12 | 12 | 25×5 mm, 13×6 mm |
| Microcentrifuge tube | 0.5 mL | 8.0-8.5 | 14-16 | 16 | 24×6 mm, 25×5 mm |
| Microcentrifuge tube | 1.5 mL | 10.8-11.2 | 25-30 | 21 | 25×15 mm, 30×15 mm |
| External-thread cryovial | 2.0 mL | 12.5-13.0 | 28-32 | 24 | 30×20 mm, 35×25 mm |
There are two key points when reading this table. First, the label width for 0.2 mL tubes is compressed to within 12 mm; a standard 25×15 mm label simply does not fit and must be replaced with a narrow strip. Second, although the 1.5 mL tube has sufficient arc length, its side wall is a composite curved surface of a cone plus a straight section; a label applied to the conical surface will lift due to curvature change, so it should be applied only to the straight section.
4. Temperature Tiers and Material Matrix
Temperature tiers for aliquot tubes are classified by storage duration: 2-8 °C for short-term turnover of days to weeks, -20 °C for medium-term storage of months to one year, and -80 °C for long-term preservation of more than one year. For scenarios involving cell therapy or clinical specimens, the general requirements for biobanks may refer to ISO 20387:2018; equipment and traceability requirements for testing laboratories refer to ISO/IEC 17025:2017; the pre-examination process in medical laboratories refers to ISO 15189:2022; and if aliquoted reagents are components of in vitro diagnostic products, traceability requirements refer to ISO 13485:2016.
The table below lists, verbatim from the official material guide table, the suitability markings of each material at the four temperature tiers (√ = marked suitable, — = not marked):
| Material code | Material description | LN₂ -196 °C | Freezer -80 °C | Hot water 100 °C | Autoclave 121 °C | Main compatible containers |
|---|---|---|---|---|---|---|
| T629 | Nylon cloth label, easy to apply, resistant to high and low temperatures, good conformability | √ | √ | √ | √ | Cryovials, test tubes, conical tubes, microscope slides |
| T429 | Self-laminating structure; when applied to frozen tube surfaces, ends must overlap by at least 3 mm | √ | √ | √ | √ | Cryovials, test tubes, microscope slides |
| T459 | Ultra-thin structure with transparent tail, protecting printed content while leaving a transparent window to observe the liquid level | √ | √ | √ | √ | Conical tubes, cryovials |
| T509 | Durable vinyl-based label, suitable for wrapping, good conformability | √ | √ | √ | — | Thin tubes, wrap-around scenarios; overlap required in LN₂ environments |
| T439 | Cryogenic freezer label with 6-color pre-printed top band for quick differentiation of container types | √ | √ | √ | — | Cryovials, test tubes |
| T419 | Gloss white PET material | — | — | — | — | Cryovials, microcentrifuge tubes; resistant to environments above -40 °C |
| T329 | Matte white PP adhesive | — | — | — | — | Cryovials, conical tubes, microcentrifuge tubes; -40 °C low-temperature freezer scenarios |
Keep two points in mind when selecting materials. First, -40 °C is a hard boundary: aliquot tubes used only for 2-8 °C and -20 °C turnover do not need LN₂-tier material; but if any -80 °C or LN₂ step is involved, a material marked suitable for both the LN₂ tier and the freezer tier must be selected. Second, overlap is a general requirement for ultra-low temperature scenarios; wrap-around labels must overlap by at least 3 mm at the ends at low temperatures, and the overlap area is not printed—only adhesive-to-adhesive and adhesive-to-face overlap.
5. Information Field Design: How Much Information Fits on a Small Label
When area is limited, fields must be prioritized: required fields ensure "identifiable and traceable," while optional fields are written only if they do not encroach on the barcode area. Reduce according to the table below.
| Field | Required | Recommended character count | Instructions |
|---|---|---|---|
| Target or name abbreviation | Required | ≤12 | Use the laboratory's unified internal abbreviation table to avoid individual variations |
| Concentration | Required | ≤8 | Include units, e.g., 1.0 mg/mL; do not write numbers only |
| Lot number | Required | ≤10 | Match the parent bottle lot number to ensure traceability to the original source |
| Aliquot date | Required | 8 | Fixed 8-digit YYYYMMDD to avoid date format ambiguity |
| Aliquot volume | Required | ≤6 | E.g., 20 µL, used to calculate usable doses |
| Freeze–thaw count | Required | ≤4 | See Section 6; an updatable location is required |
| Buffer or additive | Optional | ≤12 | E.g., PBS, 50% glycerol; affects freezing behavior |
| Host and isotype | Optional | ≤10 | Recommended to retain for antibodies |
| Operator | Optional | ≤6 | Employee ID preferred over name |
Summing the character counts of the required fields, a typical line of human-readable text is 40-50 characters. This magnitude still fits on a 25×15 mm label; on a 25×5 mm narrow strip, optional fields must be cut, retaining only the three essentials "abbreviation + lot number + count," with the rest handled by barcodes and back-end records.
6. How to Record Freeze–Thaw Cycles: Three Traceable Approaches
The freeze–thaw count is the only time-varying quantity in aliquot tube labeling and the most easily失控 link. The three approaches each have applicable boundaries:
| Approach | Implementation | Advantages | Limitations | Applicable scenarios |
|---|---|---|---|---|
| Pre-printed checkbox | Label reserves 3-4 squares; cross out one square with a marker after each thaw | System-independent, offline readable, low cost | Resets when tube is changed; requires manual diligence | 0.2-0.5 mL small tubes, low-frequency retrieval |
| Handwritten count area | Label reserves a hand-writable area; marker directly overwrites the number | Flexible; can write non-integer information | Writing may blur under low temperature and condensation; low-temperature marker required | 1.5-2.0 mL tubes, medium- and long-term storage |
| System scan write-back | Scan at each retrieval; back-end automatically accumulates and writes back the count | Auditable, statistics-capable, immune to label changes | Depends on scan points and system availability | Biobanks, high-throughput laboratories |
The selection advice is simple: the smaller the volume in the tube and the lower the retrieval frequency, the more the count should be kept on the label; the larger the volume and the more frequent the retrieval, the more the count should be kept in the system. The two can also be combined—leave squares on the label for on-site prompts and records in the system for audit evidence. For aliquot tubes involving biologically active materials, operations should also be completed in a biosafety environment compliant with GB 19489-2008; the label itself does not perform the function of determining biosafety level.
7. Barcodes and Font Size: Dimensional Calculation for Small-Area Symbols
Once the area is compressed, 1D barcodes are often the first to become infeasible. Code 128 uses 11 modules per character; including the start, check and stop characters, a 12-digit symbol requires approximately 167 modules; at an X dimension of 0.25 mm, the symbol width is about 41.8 mm, and with 10 modules of quiet zone on each side it approaches 47 mm. This width is completely infeasible for 0.2 mL and 0.5 mL tubes. 2D codes are a better choice.
| Symbology | Data capacity | Symbol specification | X dimension | Symbol side length/width | Quiet zone | Applicability |
|---|---|---|---|---|---|---|
| Code 128 | 12 digits | Approx. 167 modules wide | 0.25 mm | Approx. 41.8 mm; approx. 47 mm including quiet zones | 10X on each side | Only marginally feasible on 1.5-2.0 mL tubes |
| DataMatrix | 20 digits | 20×20 | 0.30 mm | 6.0 mm | 1X on all sides | Feasible on all tube types |
| DataMatrix | 30 digits | 24×24 | 0.30 mm | 7.2 mm | 1X on all sides | Feasible on all tube types; more ample data capacity |
The character height of human-readable text is recommended to be no less than 1.2 mm; below 1.0 mm, reading becomes difficult under low-temperature gloved operation. Barcode print quality is judged by symbol grade per ISO/IEC 15416 (1D) and ISO/IEC 15415 (2D); for low-temperature conditions, it is recommended to raise the target grade one level above room temperature to allow margin for frost, condensation and curved-surface distortion.
Printing consumables must also match. Cryogenic labels should be used with cryogenic-specific ribbons, such as the BRL series laboratory cryogenic ribbon; the ribbon width should cover the label format with margin to avoid printhead edge wear. The combination of print temperature, speed and pressure also affects adhesion; after changing materials, re-proof and verify rather than reusing old parameters.
8. Secondary Labeling After Reconstitution of Lyophilized Powder
Some antibodies and enzymes are aliquoted as lyophilized powder; after reconstitution, both properties and shelf life change. Here is a commonly missed labeling action: reconstitution is a "reset event" and must generate new information, not a check mark on the original label. The recommended practice is to reprint a label to cover the original after reconstitution, stating the reconstitution date, post-reconstitution concentration, recommended post-reconstitution shelf life and operator; the original lot number remains unchanged for traceability to the original source.
If dry powder remains unused in the container, the label should also note "reconstituted" and "remaining dry powder" status to prevent the next user from treating the reconstituted liquid as unopened dry powder. Such status-change information should also be written back to the system, in the same record as the freeze–thaw count.
9. Six-Step Selection and Application SOP
Step 1: Define the container. Confirm tube type, nominal capacity, tube outer diameter and material (PP or PE), and record the effective straight side-wall height.
Step 2: Calculate the area. Calculate circumference as π×D, take 60% to obtain the maximum label width, and compare with the available specification table to select the smallest usable format not exceeding this limit.
Step 3: Define the temperature tier. List all temperature points this tube will experience, take the minimum and maximum values, and check the official material guide table to confirm the candidate material is marked suitable at both ends.
Step 4: Define the information structure. Reduce to required fields per the field table in Section 5, confirm the barcode area and human-readable area do not overlap; use 2D codes instead of 1D codes whenever possible.
Step 5: Print and verify. Print with cryogenic-specific ribbon and measure symbol grade once per ISO/IEC 15416 or ISO/IEC 15415; adhesive performance can be verified for incoming or batch validation using the peel strength method of GB/T 2792-2014 and the holding tack method of GB/T 4851-2014.
Step 6: Apply and let stand. Wipe the tube surface dry, remove frost and oil; wrap-around labels must overlap by no less than 3 mm at the ends; after application, let stand at room temperature for 24 hours before transferring to low temperature to allow the adhesive to complete wetting. For PP tubes, whose surface energy is typically lower than conventional plastics, this standing step must not be skipped.
10. Common Failures and Troubleshooting
| Symptom | Possible cause | Action |
|---|---|---|
| Label edges lift after low-temperature storage | Frost or condensation on the tube during application; insufficient room-temperature standing time | Rewarm, wipe dry and reapply; let stand a full 24 hours before low-temperature storage |
| Low first-read rate or unreadable barcode | Symbol too small, curved-surface distortion, frost coverage | Switch to DataMatrix and increase X to 0.30 mm or above; retest grade per ISO/IEC 15415 |
| Freeze–thaw count lost or inconsistent | Handwriting wiped off by condensation; information not transferred when changing tubes | Switch to pre-printed checkboxes or system write-back; reprint labels when changing tubes |
| Label edges whitening and curling | Face stock does not match tube curvature; wrap angle skewed | Switch to cloth-based or wrap-around material with better conformability; realign |
| Blurred print or toner flaking | Ribbon does not match face stock; print energy too high or too low | Switch to cryogenic-specific ribbon; readjust print temperature and speed combination |
| Individual labels fall off within the same batch | Mold release agent or fingerprint oil residue on tube surface | Wipe with ethanol before application and let it evaporate; wear gloves during operation |
Recommended Products
For the label materials and application scenarios covered in this article, the following BRD products are available for selection reference (click to view specifications and request a quote):
- Lab005-629/25×15mm laboratory cryovial -196 °C LN₂ nylon biological sample bank label (¥999/roll)
- Lab336-429/25×5mm 2-column laboratory cryovial microscope slide low-temperature adhesive label (Price on request)
- Lab115-459/9.53+65×9.53 biological sample bank conical tube low-temperature cryovial self-laminating label (Price on request)
- Lab084-439/30×15mm sample bank cryovial low-temperature biological sample bank classification label (Price on request)
- BRL-110-BK Borjer LAB laboratory cryogenic ribbon 110mm×300m (Price on request)
FAQ
Q1: Can aliquot tubes directly use the label specifications of cryovials?
Direct reuse is not recommended. Cryovials commonly come in 1.0-5.0 mL formats, with side-wall arc length and straight-section height much more ample than 0.2-0.5 mL aliquot tubes; the same 35×25 mm label that fits a cryovial will wrap more than a full turn around a 0.2 mL thin-wall tube or even completely envelop it, making the liquid level invisible and easily snagged when opening and closing the cap. Aliquot tubes should have their maximum arc length recalculated based on container outer diameter, then select a narrow-strip format.
Q2: If only storing at -20 °C, is LN₂-tier material needed?
Judge by the actual temperature endpoints experienced, not by the "target temperature." If the tube will definitely not enter -80 °C or LN₂ during its life cycle, a material covering the -40 °C range is sufficient; there is no need for LN₂ tier. But if there is any possibility of transfer to -80 °C, take the intersection at the most stringent tier to avoid the information migration risk of secondary relabeling.
Q3: If the freeze–thaw count is written on the label, what happens when changing tubes?
Changing tubes means starting over; the count cannot be migrated from memory. The correct practice is: reprint the label when changing tubes, carry the original lot number, concentration and aliquot date unchanged to the new label, calculate the freeze–thaw count from the actual cycles experienced by the new tube, and mark the old tube as voided in the system. If no system support is available, at least keep a tube-change record in the laboratory notebook noting the correspondence between old and new tube numbers.
Q4: If a 2D code does not fit on a 0.2 mL tube, how else can traceability be achieved?
Three fallbacks. First, switch to 8-10-well strip tubes or 96-well plate aliquoting, moving the labeling object from individual tubes to the strip or plate body; the plate body outline follows the footprint requirements of ANSI/SLAS 1-2004, significantly increasing the labelable area. Second, compress the information into a very short 6-8 digit internal code, human-readable only, with detailed fields stored in the back-end. Third, use dual labeling on top and side: a 9.53 mm diameter round label on the cap top, and only abbreviation and count on the side.
Q5: How long after applying a cryogenic label can it be placed in the freezer?
It is recommended to let it stand at room temperature for 24 hours before transferring to low temperature. Adhesive wetting and initial tack build-up take time; sudden cooling before sufficient wetting causes the adhesive to generate stress at the interface due to uneven contraction, manifesting as edge lifting or even complete detachment. For batch aliquoting, schedule application on day one and storage on day two, building the standing time into the workflow rather than deciding on site.
Q6: Will handwritten counts fade at low temperatures?
Ordinary markers can indeed fade or be wiped off under low temperature and condensation. If using a handwritten approach, select a low-temperature-resistant laboratory marker, and before application, test-write on a blank area of the label, freeze once and then observe. A more reliable approach is to switch to pre-printed checkbox ticking, where the marks do not depend on ink adhesion and are more reliable than handwritten numbers.
Q7: If the same batch of antibody is divided into 20 tubes, should the code reflect the tube sequence number?
Yes. The tube sequence number is the only field in the aliquoting scenario that distinguishes "different tubes of the same batch," and it is the prerequisite for the freeze–thaw count to be tied to a specific tube. The recommended code structure is "lot number + two-digit tube sequence number," e.g., LOT20261012-07 means tube 7. This way, scanning can trace back to the parent batch and locate the specific small tube, avoiding lumping the entire batch together.