
When selecting labels for viral vectors such as lentivirus and adeno-associated virus, the first criterion is not whether the label can stick to the cryovial, but whether the three fields—"titer, single-use volume, freeze–thaw count"—can be preserved from the moment of aliquoting all the way through the -80 °C freezer, dry ice shipping box, and LN₂ tank. These three factors determine the selection: more fields consume more area, limited area forces the barcode size to shrink, and shrinking the barcode size necessitates a change of symbology; and since vectors must switch between multiple cryogenic temperature levels, the material must be determined by the checked boundaries in the official material guide table. The order is "fields—area—symbology—material"; doing it in reverse leads to repeated rework.
Conclusion up front: single-use aliquoting elevates the label to the primary variable
The biggest difference between viral vectors and other biological specimens is that they are aliquoted by single-use volume—one vial used once, then discarded. Industry operating manuals are quite consistent: viral stocks are stored long-term in -80 °C freezers, and for longer storage go into LN₂; repeated freeze–thaw progressively lowers titer, with roughly 10% titer loss per freeze–thaw cycle; after more than 6 months at -80 °C, retitering before use is recommended. For short-term use, 4 °C is acceptable, typically used within 1 to 3 days, with common aliquot volumes of 10 µL, 25 µL, or 50 µL per use.
This operating logic directly elevates the label from an "accessory" to the "primary variable." Because there are many vials, each with a small volume, and each must be tracked independently, the label must simultaneously serve three functions: first, state what this vial is and its titer; second, state the single-use volume of this vial; third, record whether this vial has been freeze–thawed. If any one of these cannot be answered, the vector's use must rely on manual recall or ledger lookup—and the freeze–thaw status of a vector is precisely the information most easily misremembered.
Why the freeze–thaw count must be written on the vial label
Recording freeze–thaw counts in a ledger or spreadsheet seems convenient but is actually the most error-prone point. In the chain of removing the vector from the freezer, using it, and returning it, a single failure to log immediately disconnects the ledger number from the physical item; and titer follows the physical item, not the ledger. Do the math: a vector with a nominal titer of 1×10¹² vg/mL subjected to three freeze–thaw cycles, compounding at 10% loss each time, has a remaining titer of 1×1012×0.93≈7.29×10¹¹ vg/mL—about 27% below nominal. If the experimenter still calculates multiplicity of infection based on the nominal titer, the actual amount added will be systematically low, and downstream infection efficiency and expression levels will deviate accordingly.
The correct approach, therefore, is to build the count into the label: reserve freeze–thaw count boxes on the label, mark one box per thaw along with the thaw date. The label itself then becomes the history card for that vector—the QR code scan reads the most recent update, and the paper surface allows manual verification. It must be emphasized that the writing instrument used for counting must remain legible after rewarming from -80 °C; ordinary ballpoint ink tends to blur in low-humidity, high-temperature-differential environments, and this should be specified in the standard operating procedure.
From packaging to pre-use: the four temperature gates a viral vector must pass
Before a vector is released, it must pass through four temperature gates, each with different label requirements:
- Gate 1: Harvest and clarification: ambient or 4 °C operation, contacting culture supernatant and filtration consumables; the label must resist minor liquid splashes.
- Gate 2: Concentration and buffer exchange: mostly ultrafiltration or column purification, all at 4 °C in a cold room, with conical tubes and ultrafiltration centrifugal tubes; condensation is the norm.
- Gate 3: Aliquoting: performed on ice or in a clean bench—first, ice-bath temperature control; second, protection from light; the label establishes adhesion at ambient temperature first, then immediately transfers to low temperature.
- Gate 4: Storage and transport: long-term -80 °C; short- or long-distance transport mostly on dry ice, whose sublimation temperature at atmospheric pressure is -78.5 °C; cross-center transfer or biobanking goes into LN₂ tanks.
Among the four gates, the third determines label success or failure: adhesion must be established at ambient temperature—if the edges are not pressed down at ambient, they will immediately lift once the deep cold causes contraction; and the ambient window is typically only a few to a dozen minutes, so the procedure must allow sufficient pressing time—do not freeze immediately after aliquoting.
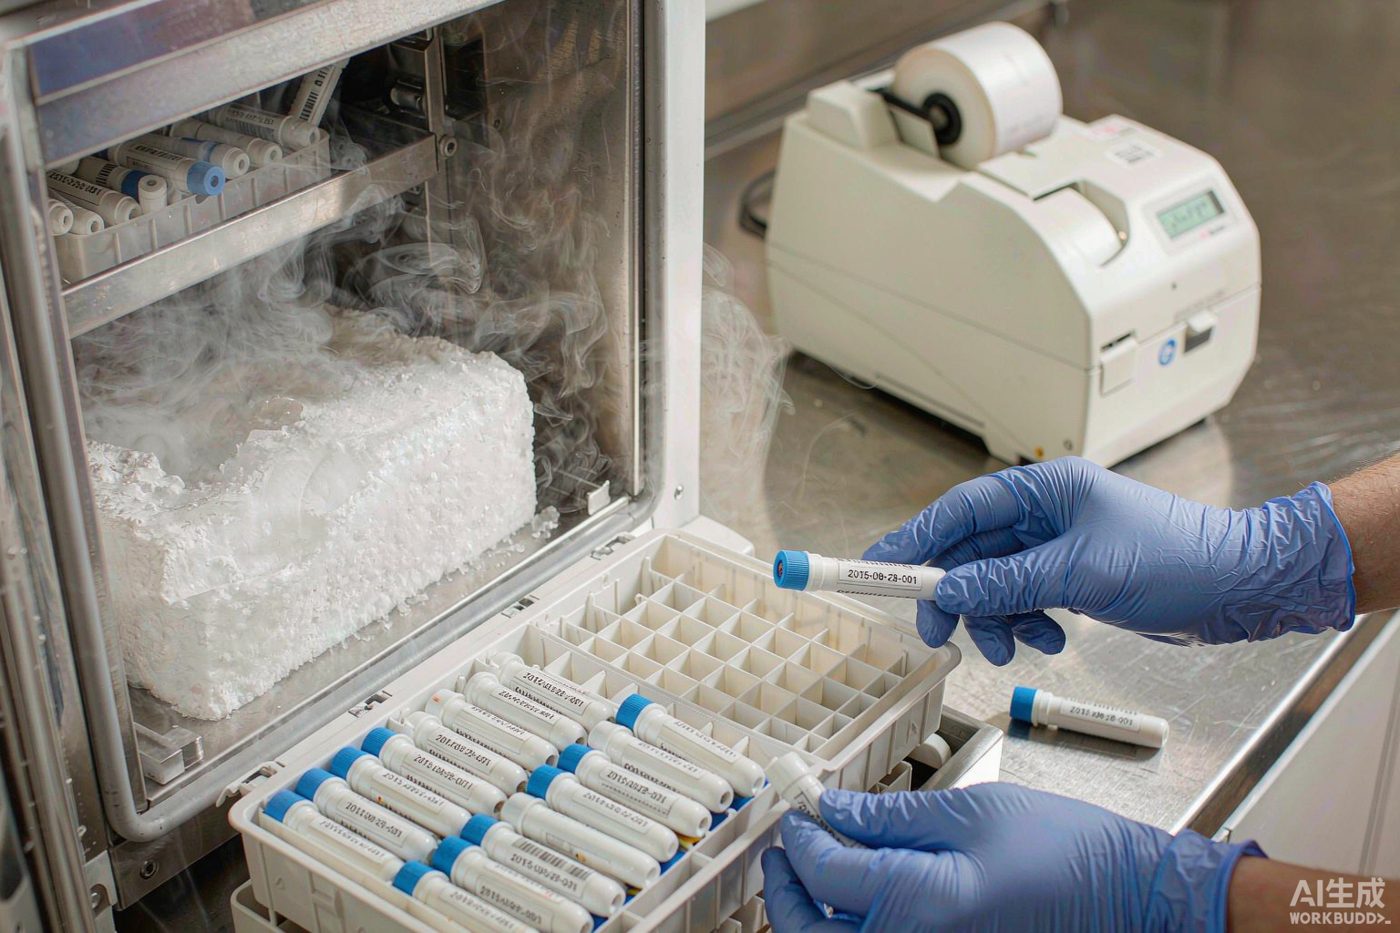
Container geometry: labeling window for 0.5, 1.0, and 2.0 mL cryovials
Single-use vector volumes are typically only tens of microliters, landing in 0.5 mL, 1.0 mL, or 2.0 mL cryovials. The tube diameter determines the maximum labelable width—this is the starting point for all subsequent choices. Estimating from common externally-threaded cryovial specifications: 0.5 mL tubes have an outer diameter of about 10.0 mm and circumference of about 31.4 mm; 1.0 mL and 2.0 mL tubes have an outer diameter of about 12.5 mm and circumference of about 39.3 mm. Cylindrical curvature weakens adhesion, so the labelable width is generally taken as 80% of the circumference, leaving margin for curvature and application tolerance.
Converted: 2.0 mL tubes have a usable width of about 31 mm, so a 25 mm-wide label still has margin; 0.5 mL tubes have a usable width of only about 25 mm, and a 25 mm-wide label is already at the limit—width should be kept within 25 mm, with height taken from narrow-strip formats such as 9.53 mm, avoiding the step at the cap thread area. Height is often limited by the cap: an externally-threaded cap, when tightened, pushes up the top edge of the label, so sufficient margin should be left between the label top and the tube opening.
| Cryovial specification | Approx. OD (mm) | Circumference (mm) | Usable labeling width 80% (mm) | Recommended label size | Labeling position |
|---|---|---|---|---|---|
| 0.5 mL | 10.0 | 31.4 | 25.1 | 25.4×9.53 | Tube body circumference, avoid threads |
| 1.0 mL | 12.5 | 39.3 | 31.4 | 25×15 | Tube body circumference + cap-top short code |
| 2.0 mL | 12.5 | 39.3 | 31.4 | 25×15 or 30×20 | Tube body circumference + cap-top short code |
| 0.2 mL PCR tube | 6.0 | 18.8 | 15.0 | QR code only or handwritten short code | Cap top surface |
| 15 mL / 50 mL conical tube | — | — | — | Self-laminating wrap-around | Tube body, end-to-end overlap |
Should the cap top be labeled? Recommended, but only with a short code. Cryoboxes are arranged in arrays, and when retrieving tubes one can usually only look down from above; a cap-top short code lets the operator lock onto the target tube at a glance, then pull it out and scan the tube-body QR code for full information. The cap top has a small area—only a 3- to 5-digit short code or a small QR code is needed; the unique identifier always goes on the tube body circumference—the cap is a detachable component, and the identifier must not be placed where it can be unscrewed.
Symbology selection: why 1D barcodes are eliminated first at small diameters
Viral vector identifiers carry more information than ordinary specimens: vector type, serotype, lot number, aliquot sequence number, titer, single-use volume—after compression, typically still 15 to 25 characters. Fitting these onto a 0.5 mL cryovial label, a 1D barcode simply fails mathematically.
Using the common Code 128 estimate, symbol width M = 11n + 35 modules, where n is the number of data characters, plus quiet zones on both sides. Taking a common print module width X = 0.19 mm and total quiet zones of about 10 mm: a 25 mm-wide label minus quiet zones leaves only about 15 mm usable, which converts to only about 79 modules, back-calculating to n of only about 3 characters. In other words, on a small-diameter label, a 1D barcode cannot even fit a single tube's sequence number. On a 30 mm-wide label, usable width is about 20 mm, and n is still only around 6 characters.
Therefore, 2D barcodes must be adopted for small diameters. DataMatrix is a square symbol with a small footprint and high redundancy, suitable for small curved labels: at X = 0.20 mm, a 20×20 module symbol has an edge length of only 4.0 mm; at X = 0.25 mm, a 24×24 module symbol has an edge length of 6.0 mm—both leave ample quiet zone and margin within a 25×15 mm label, and information capacity far exceeds a 1D barcode of the same area. Regarding print resolution, 300 dpi has a dot pitch of about 0.085 mm; a 0.20 mm module width corresponds to about 2.4 print dots, within the range that conventional thermal-transfer printers can output reliably.
| Symbology | Module width X (mm) | Symbol width / edge length (mm) | Usable on 25 mm-wide label | Application |
|---|---|---|---|---|
| Code 128 | 0.19 | n=3 about 15.0; n=6 about 20.0 | Usable but very few characters | Short sequence number only |
| Code 128 | 0.19 | n=10 about 27.6 | Does not fit | Requires 30 mm+ label |
| DataMatrix 16×16 | 0.20 | 3.2 | Usable | Short ID + verification |
| DataMatrix 20×20 | 0.20 | 4.0 | Usable | ID + lot number |
| DataMatrix 24×24 | 0.25 | 6.0 | Usable | ID + titer + count |
The acceptance criteria for symbol quality must be applied correctly: 1D barcodes are graded per ISO/IEC 15416, 2D codes per ISO/IEC 15415, with batch sampling symbol grade recommended no lower than 3.0. Small labels like those for vectors especially require immediate post-print sampling, because once module width narrows due to low print density, the symbol grade drops across the board—and at small sizes there is almost no tolerance for error.
Material selection by temperature level: implementing the official guide table
The sole basis for material selection should be the checked boundaries in the official material guide table, not hearsay or what was used in the last batch. The BradyLAB (BRD) Lab series material guide divides application environments into five levels: LN₂ -196 °C, freezer -80 °C, hot water 100 °C, autoclave 121 °C, and ambient. Whichever levels are checked after each material number define its usable boundary; unchecked levels must not be used across levels, and temperature figures must not be rounded. Among them, T629 nylon cloth label is the only all-scenario option with all four temperature levels checked, covering cryovials, test tubes, conical tubes, and microscope slides—it can generally serve as the baseline material for the aliquoting step, with other models added or removed per special requirements.
| Material No. | Material description (official) | LN₂ -196 °C | Freezer -80 °C | Hot water 100 °C | Autoclave 121 °C | Ambient | Compatible containers |
|---|---|---|---|---|---|---|---|
| T629 | Nylon cloth label, easy to apply, high/low temperature resistance, good conformability | √ | √ | √ | √ | √ | Cryovials, test tubes, conical tubes, microscope slides |
| T439 | 6-color cryogenic label, pre-printed color top for quick differentiation | √ | √ | √ | — | — | Cryovials, test tubes |
| T429 | Freezer flat label, end-to-end overlap of at least 3 mm when applied to frozen tube surface | √ | √ | √ | √ | — | Cryovials, test tubes |
| T459 | Ultra-thin self-laminating label with transparent tail and liquid-level viewing window | √ | √ | √ | √ | — | Conical tubes, cryovials |
| T509 | Vinyl wrap-around label, good conformability, overlap required in LN₂ environments | √ | √ | √ | — | — | Thin tubes, conical tube wrapping |
| T419 | Glossy white PET material, for cryovials and microcentrifuge tubes, resistant above -40 °C | — | — | — | — | √ | Ambient containers |
| T329 | Matte white PP adhesive, -40 °C low-temperature freezer label | — | — | — | — | √ | Ambient containers |
The most critical line in this table is the -40 °C boundary: T419 and T329 are positioned for environments above -40 °C; their levels cannot cover -80 °C and LN₂, and good refrigerated performance must not be extrapolated to deep cold. Once a vector is confirmed for long-term -80 °C storage or LN₂, a material with the corresponding level checked must be selected. Conversely, for intermediate specimens only doing 4 °C short-term turnover and used within days, using a fully-equipped high-end cryogenic model is wasteful—reasonable segmentation is the essence of selection.
Material recommendations for three storage and transport conditions
The same batch of vectors often undergoes more than one condition; select material to the strictest segment to avoid mid-process label changes—changing labels means one identifier transcription, and transcription is precisely the highest-error action.
| Condition | Typical temperature | Time scale | Recommended material | Application notes |
|---|---|---|---|---|
| Short-term turnover | 4 °C | 1 to 3 days | T629 | Press firmly at ambient before cold storage |
| Long-term storage | -80 °C | From 6 months; retiter after expiry | T629, T439, T429 | Complete three acceptance checks before storage |
| Dry ice transport | -78.5 °C (sublimation point) | Designed by box type and load, typically 24 to 48 hours | T629, T429 | Reinforce tube opening with sealing film; apply transport marks on outer box |
| LN₂ storage | -196 °C | Months to years | T629, T429, T439 | Overlap requirements must be followed in LN₂ environments |
| Waste inactivation | 121 °C | Per institutional biosafety manual | T629, T429, T459 | Label must not detach or deform at high temperature |
The dry ice segment is often overlooked. Dry ice sublimates at -78.5 °C at atmospheric pressure—only about one degree from -80 °C, seemingly the same level; but the real problem inside a dry ice shipping box is not low temperature but condensation and CO₂ desublimation—the moment the box is opened, air enters, frost rapidly forms on the box and tube walls, then rewarming follows, and the water film lifts adhesive edges that were not properly pressed. Therefore, specimens shipped on dry ice should, in addition to using a material covering the corresponding temperature level, have the tube opening reinforced with sealing film or heat-shrink tubing—turning single-layer labeling into a double safeguard of "adhesion + mechanical locking."
Release status and biosafety layer: the second category of information the label must carry
Beyond traceability fields, there is another layer of information on vector containers that is easily merged away: release status and usage restrictions. Before release, vectors typically undergo mycoplasma, sterility, and endotoxin testing; pass/fail determines whether they can be used for cell or animal experiments. If this layer exists only in test reports, the operator cannot judge at the moment of picking up the tube, and mixing could invalidate an entire batch of cell experiments.
| Label field | Example format | Necessity | Notes |
|---|---|---|---|
| Vector type and serotype | — | Required | Determines tropism and infection conditions |
| Lot number | — | Required | Unique index to release report |
| Titer and unit | vg/mL or TU/mL | Required | Unit must be stated; never value alone |
| Single-use volume | 10 / 25 / 50 µL | Required | Prevents multiple withdrawals from one vial |
| Freeze–thaw count and date | Count boxes + date | Required | Mark once per thaw |
| Release status | Released / Pending | Required | Unreleased vectors must not be stored for use |
| Biosafety notice | Mark per level | Per institutional requirement | Specified by institutional biosafety manual |
| QR code index | DataMatrix | Recommended | Links to electronic release records |
There is no need to pile up compliance references here; three lines suffice: quality management in viral vector production and release can correspond to the documentation requirements for identification and traceability in ISO 13485:2016; if titer reports are issued by an external testing laboratory, that laboratory's competence is typically based on ISO 17025:2017; after vectors enter long-term biobank preservation, the bank's traceability requirements can reference ISO 20387:2018. At the biosafety level, general laboratory requirements follow GB 19489-2008, and safety guidelines for microbiological and biomedical laboratories can reference WS 233-2002; specific classification is determined by the institution's biosafety committee and manual, and biosafety notices on labels should be consistent with institutional regulations.
Color-code management: separating serotypes and lots with six-color pre-printing
When multiple serotypes and multiple lots of vectors sit in the same freezer, finding tubes by reading text is the slowest and most error-prone method. A more effective approach is to introduce color as the first-level filter: assign colors by serotype or by lot, so the operator first narrows the range to one grid by color, then reads the number to confirm.
Top-color pre-printed freezer labels are suited to this layer. T439 is a cryogenic label with 6-color pre-printed top; the official guide checks LN₂, freezer, and hot water levels, and it covers both cryovial and test tube applications—the integrated color zone + print area structure eliminates the separate step of applying color dots. In implementation, it is recommended to reserve the maximum-color combinations for long-term stable classification dimensions such as serotype, while rolling dimensions such as lot number go to the print-area text, avoiding confusion from reassignment when colors run out.
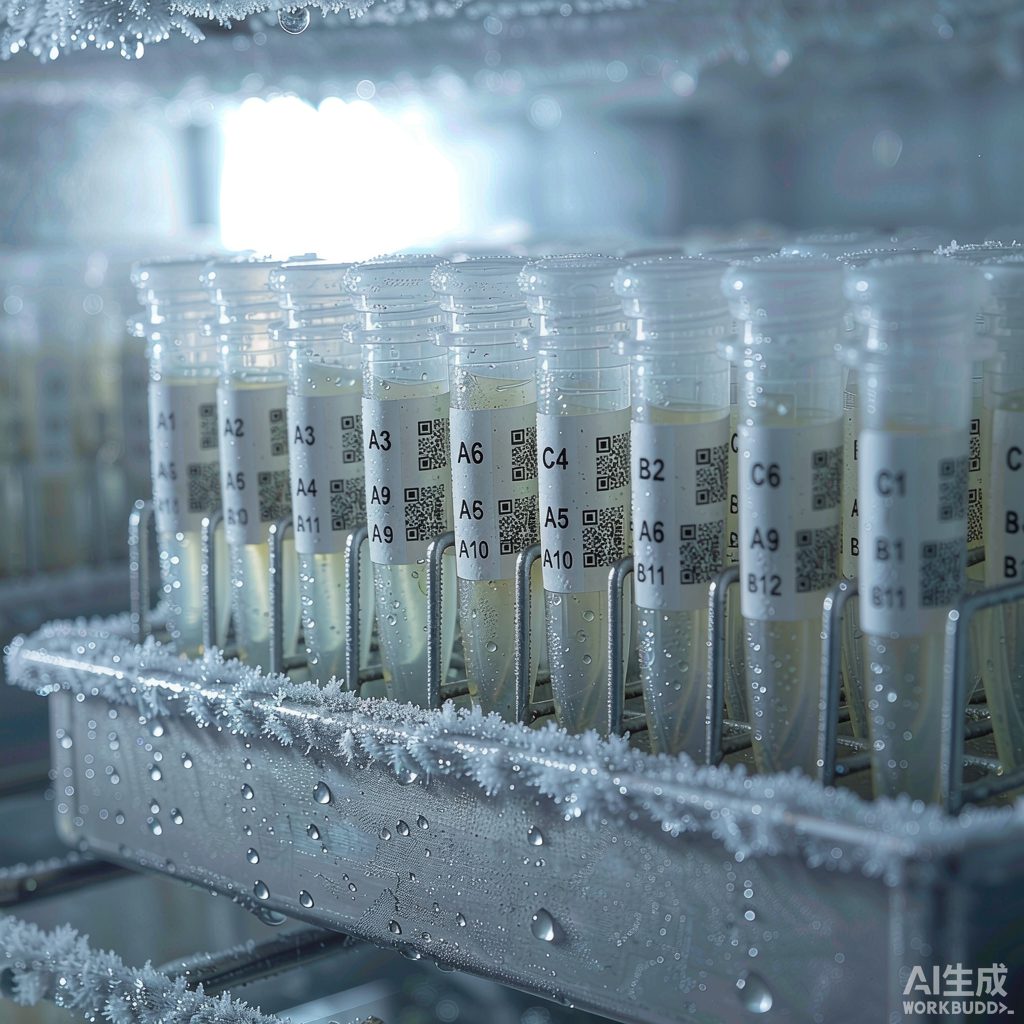
Printing and ribbon: solvent resistance requirements under cryogenic conditions
Vector workbenches cannot do without disinfection: 70% ethanol wiping and chlorine disinfectant soaking are routine, and virus-contacted disposable consumables must be handled per institutional requirements before disposal. If the label's printed layer cannot withstand these reagents, the identifier will fade or disappear after the first wipe—often after the specimen has already been used, with no remedy.
Therefore, the writing method should be thermal transfer rather than direct thermal, with resin-based ribbon rather than wax or wax-resin. Resin ribbon's solvent and abrasion resistance is markedly superior to the other two types and is the default configuration for cryogenic labels. The site offers LAB laboratory-specific cryogenic ribbons, commonly in 80 mm×300 m and 110 mm×300 m specifications, selected by the printer's maximum ribbon width. Quantitative evidence for adhesion and weathering is also essential: peel strength can reference the method of GB/T 2792-2014, and holding tack can reference the method of GB/T 4851-2014, with one set each at ambient and low temperature.
96-well plates and micro-volume assays: constraints from microplate dimensions
Vector titer determination and infection pilot experiments are mostly done on 96-well plates, and this layer's numbering also has hard boundaries. Per ANSI/SLAS 1-2004 conventions for microplate dimensions, 96-well plates have a well pitch of 9.0 mm and a plate body of approximately 127.76 mm×85.48 mm. The clear width left on the plate edge for numbering labels is limited; once a label exceeds the plate outline, it will jam the pipetting workstation or plate reader carrier.
A feasible approach is to apply plate-level numbering on the side skirt rather than the top surface: the side height is usually sufficient to accommodate a QR code strip of 6 mm or less, without conflicting with well positions. For scenarios requiring batch reading of whole plates, options such as RFID microplate labels can be evaluated, but full-plate read-rate validation must be performed before going live, and actual low-temperature read distances must be measured and written into the procedure—ambient data must not be copied directly.
Box, box, tube three levels: how identifiers pass down the chain
The final layer is container hierarchy. After storage, vectors are typically kept in three levels—"freezer / LN₂ tank—cryobox—tube"—and the identifier system should correspond to three levels: position-level identifiers mark box positions, tube-level identifiers mark the vector itself. A common mistake is embedding box position into the tube-level identifier—positions change constantly with inventory, consolidation, and retrieval; once the identifier contains position information, every move requires reprinting labels, introducing new error opportunities. The correct approach is to decouple position from identity: box labels and tube labels are independently encoded; at retrieval, scan the box code first, then the tube code, and let the system establish the association at that time.
A verification step should also be added at retrieval: when removing a tube, read both the box code and tube code to confirm they belong to the same group in the system; read again on return to prevent the tube from going back to the wrong box position. This routine seems to cost a few extra seconds but blocks the vast majority of mis-picks and mis-placements—and once vectors are mixed, the loss is an entire packaging cycle.
Acceptance methods: readability, adhesion, and freeze–thaw—three gates
Selection cannot remain on paper; it must translate into quantifiable acceptance. It is recommended to write the following four items into the standard operating procedure and specify retest requirements when changing material lot numbers:
- Readability acceptance: grade symbol quality per ISO/IEC 15416 for 1D barcodes and ISO/IEC 15415 for 2D codes, with batch sampling grade no lower than 3.0; after 24 hours at -80 °C, remove and retest immediately—grade drop should not exceed half a grade.
- Adhesion acceptance: measure peel strength per GB/T 2792-2014 and holding tack per GB/T 4851-2014, with one ambient group and one low-temperature group; the low-temperature group is tested after constant-temperature treatment at the actual use temperature.
- Freeze–thaw cycle acceptance: design cycle count per actual use frequency, generally no fewer than 3 to 5 round trips between -80 °C and ambient; after the final cycle, check edge lifting, barcode readability, and whether adhesive has transferred.
- Transport simulation acceptance: perform one dry ice simulated shipment per actual packaging method, and immediately retest readability and adhesion upon arrival. This item is often omitted, yet dry ice transport is precisely where labels most easily fail.
Only after all four items pass may the material be written into the procedure. Note that the thresholds above are industry-standard practice; specific values should be adjusted to the institution's risk level and vector value—especially for clinical-grade vectors or those intended for regulatory submission, thresholds should be tightened.
Recommended Products
For the label materials and application scenarios covered in this article, the following BradyLAB (BRD) products are available for selection reference (click to view specifications and request a quote):
- Lab005-629/25x15mm laboratory cryovial -196 °C LN₂ nylon cloth label (¥999/roll)
- Lab112-629/35x25mm biobank cryovial microcentrifuge tube microscope slide -196 °C LN₂ nylon cloth label (¥1490/PCS)
- Lab084-439/30x15mm cryogenic biological sample bank six-color pre-printed classification label (Price on request)
- Lab115-459 conical tube cryogenic cryovial self-laminating label (Price on request)
- BRL-80-BK Boerjie LAB laboratory-specific cryogenic ribbon 80mm×300m (Price on request)
FAQ
Q1: What label size should be chosen for viral vector aliquot tubes?
A: Take 80% of the tube's outer circumference as the usable width. 2.0 mL and 1.0 mL cryovials have an outer diameter of about 12.5 mm and circumference of about 39.3 mm, giving a usable width of about 31 mm—a 25×15 mm label fits; 0.5 mL tubes have an outer diameter of about 10.0 mm and circumference of about 31.4 mm, giving a usable width of about 25 mm—a narrow strip such as 25.4×9.53 mm is recommended, avoiding the cap thread step. 0.2 mL PCR tubes have a circumference of only about 18.8 mm, so typically only a cap-top short code fits.
Q2: Why can't 1D barcodes be used on small diameters?
A: The math makes it clear. Code 128 symbol width is about 11n + 35 modules; with X = 0.19 mm and total quiet zones of about 10 mm, a 25 mm-wide label minus quiet zones leaves only about 15 mm, or about 79 modules, back-calculating to only about 3 data characters—not enough for vector ID, lot number, and titer. Switching to DataMatrix, a 20×20 symbol at X = 0.20 mm has an edge length of only 4.0 mm, and a 24×24 symbol at X = 0.25 mm is 6.0 mm—still ample margin within the same label.
Q3: Do tubes stored short-term at 4 °C also need cryogenic-resistant material?
A: Not necessarily. If used within 1 to 3 days and never entering -80 °C or LN₂ levels, a material with the ambient level checked in the official guide table is sufficient—avoid over-configuration. The key is clear boundaries: T419 and T329 are officially positioned for environments above -40 °C; their boundaries cannot cover -80 °C and LN₂. As long as the specimen will later enter -80 °C, switch directly at the aliquoting step to a material with the corresponding temperature level checked—do not count on changing labels mid-process.
Q4: Why is dry ice transport prone to problems?
A: Dry ice sublimates at -78.5 °C at atmospheric pressure—only about one degree from -80 °C; temperature itself is not the difficulty. The difficulty is the frost at the moment of opening and the subsequent rewarming—the water film lifts adhesive edges that were not properly pressed. In addition to using a material covering the corresponding temperature level, it is recommended to reinforce the tube opening with sealing film or heat-shrink tubing, turning single-layer adhesion into a double safeguard of "adhesion + locking," and to perform one dry ice simulated transport acceptance before the first official shipment.
Q5: How should the freeze–thaw count be written on the label for practicality?
A: Reserve 3 to 5 count boxes on the label layout; mark one box per thaw and write the date; the scan reads the most recent update. The reason it must be on the tube rather than in a ledger is that titer drops about 10% per freeze–thaw—compounding at 0.9 three times leaves only about 73%—and the operator needs to know at the moment of picking up the tube how much activity remains.
Q6: Why is direct marking with a marker pen not recommended?
A: Marker ink tends to blur or rub off under ethanol wiping and low-temperature condensation, and viral vector workbenches inevitably require disinfectant wiping. The more reliable method is thermal transfer with resin-based ribbon, validated through the peel strength of GB/T 2792-2014 and the holding tack of GB/T 4851-2014. When handwritten supplementation is truly needed, choose low-temperature- and alcohol-resistant marking tools, and specify the timing and location of supplementation in the operating procedure.
Q7: Should box position information be written into the tube-level identifier?
A: No. Positions change frequently with inventory, consolidation, and retrieval; once the identifier contains position information, every move requires reprinting labels, making errors more likely. The correct approach is to decouple position from identity: box labels and tube labels are independently encoded; at retrieval, scan the box code first, then the tube code to establish the association; on return, rescan to confirm, with the system maintaining the real-time correspondence.