
Bottom line up front: The core of laboratory equipment labeling is not "sticking on an asset number sticker," but enabling assessors, internal auditors, and equipment users to determine four things while standing within 1 meter of the equipment without consulting the ledger—who this equipment is (unique ID), whether it can currently be used (calibration status), the time boundaries of the last and next calibration, and any restrictions on use. These four items correspond to the verifiable requirements of ISO/IEC 17025:2017 Clause 6.4 (Equipment) and Clause 6.5 (Metrological Traceability), and are also among the most frequent locations of nonconformities in laboratory accreditation on-site assessments. This article presents an executable plan in five sections: "type classification—material selection—barcode acceptance—implementation SOP—failure troubleshooting."
I. Equipment labeling must answer four questions, not one
The most common on-site mistake is equating equipment labeling with a fixed asset number plate. Asset numbers address "financial and ledger ownership," while technical compliance must address "measurement value credibility." Both must exist simultaneously, but their information content and replacement cadence are entirely different:
- Uniqueness: Among five centrifuges of the same model and batch, it must be possible to identify exactly which one has deviated. Once the equipment number is assigned, it does not change throughout the lifecycle.
- Calibration status: Whether the equipment's current measurement value is credible. Status changes with calibration results, typically updated every 12 months; for high-use-frequency instruments such as pipettes and balances, this may be shortened to 6 months.
- Restrictions: Under approved-for-use status, the label must state "limited to ×× range" or "excluding ×× function"; otherwise the yellow label loses its meaning.
- Time boundaries: The label must show both the calibration date and the next calibration date—neither can be omitted. With only a date and no expiration, users cannot determine whether it is overdue.
Medical laboratories must also align with ISO 15189:2022 Clause 6.4 (Equipment) requirements for equipment labeling and calibration status; biobanks must likewise ensure equipment is identifiable and in a controlled state when meeting the equipment clauses of ISO 20387:2018; and testing equipment at medical device manufacturers falls within the control of monitoring and measuring devices under ISO 13485:2016 Clause 7.6. The three systems differ in wording, but their requirements for "labeling + status + interval" are consistent.
II. Division of responsibilities and replacement cadence for four types of equipment labels
Combining all four label types onto a single label is the most typical design flaw on site. Calibration status changes annually, while the unique ID remains unchanged for life; putting both on the same label means the number must be re-created every year, increasing the risk of transcription errors. The correct approach is to split into four types and apply them in layers.
| Label type | Information carried | Replacement cadence | Typical placement | Selection key |
|---|---|---|---|---|
| Equipment unique ID label | Equipment number, equipment name, responsible person/department | One-time, for equipment lifetime | Upper right of equipment front, avoiding nameplate and vents | Long-term adhesion, UV-resistant, non-fading |
| Calibration status tri-color label | Status color block, calibration date, next calibration date, calibration body | Every 12 months (or 6 months) with calibration update | 5–10 mm below the ID label, same visual zone | Removable, no residue, can cover old labels |
| Out-of-service / sealed label | Out-of-service date, reason, approver | Status-triggered, non-periodic | Center of equipment front or above control panel, must be conspicuous | High-contrast color, difficult to accidentally tear off |
| Intermediate check label | Check date, check items, result determination | Between two calibrations, typically quarterly or monthly | Equipment side or record card location | Repositionable, writable or printable |
One on-site discipline must be emphasized: old status labels must be removed before applying new ones. Stacking three layers of labels creates conflicting information and will be directly judged as "calibration status cannot be clearly determined" during assessment—a typical nonconformity.
III. Color-code logic and on-site interpretation rules for tri-color status labels
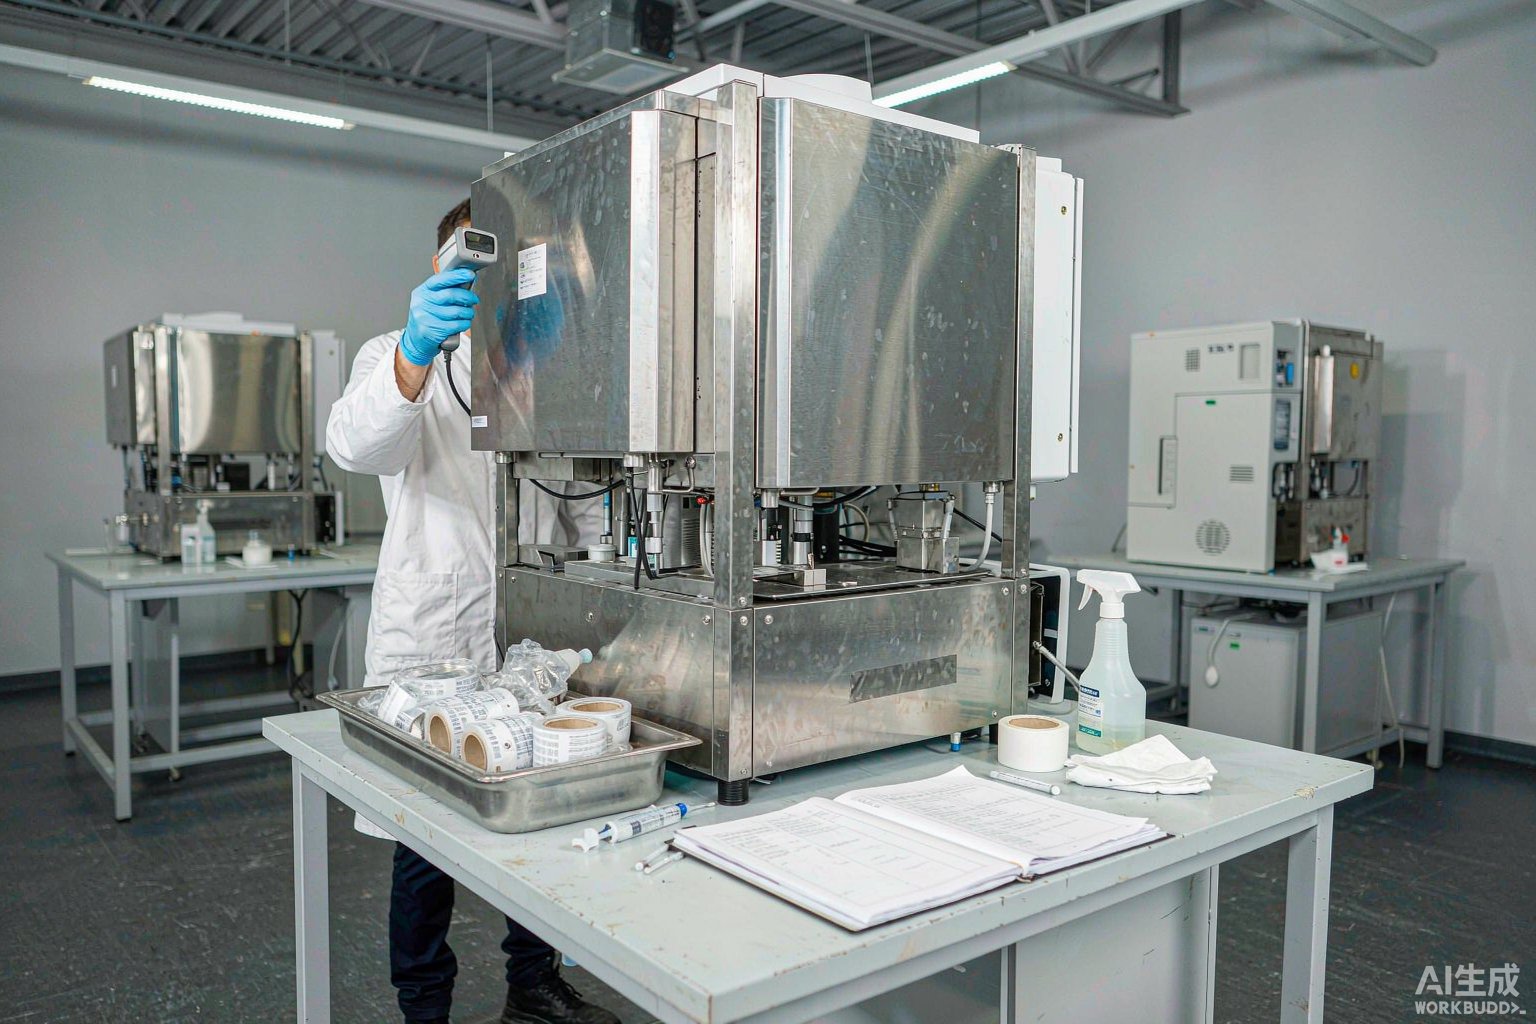
The value of the tri-color logic lies in compressing judgment time from "reading text" to "seeing color." Green indicates qualified for use; yellow indicates approved for use or restricted use, and the restriction scope must be stated; red indicates out of service, prohibited, or beyond calibration validity. Color is only the entry point; text is the basis—a solid-color sticker alone without any text is not valid during assessment.
There are three practical constraints on size and position:
- Balance between information density and area: Common specifications range from 50 mm × 30 mm to 70 mm × 50 mm. Below 45 mm × 25 mm, a 1D barcode plus quiet zones will not fit; a 2D barcode solution should be used instead.
- Position consistency: Label positions should be uniform across all equipment in the department (recommended: upper right of front or left of control panel), so the visual path during inspection is fixed and missed inspections are reduced.
- Avoidance principle: Must not cover manufacturer nameplates, ventilation grilles, emergency stop buttons, indicator lights, or door handles; must not be placed on door seal edges that require frequent opening and closing.
Regarding fading: laboratories commonly use fluorescent lighting and UV disinfection; under long-term exposure, ordinary coated paper labels show noticeable color degradation within 3–6 months, especially red. Equipment status labels should use face stocks with better weather resistance, and large blank areas above color blocks should be avoided to reduce color-difference interpretation disputes.
IV. Equipment housing material determines bonding success
When equipment labels fall off, 80% of the time it is not because the adhesive is poor, but because the surface energy of the face stock and substrate do not match. Laboratory equipment housings are mainly made of four material types, each requiring completely different bonding treatment.
| Housing material | Typical equipment | Surface characteristics and challenges | Pre-bonding treatment | Recommended face stock direction |
|---|---|---|---|---|
| Brushed stainless steel | Biological safety cabinets, clean benches, sterilizers, centrifuge chamber housings | High surface energy, but brushed texture reduces actual contact area; prone to fingerprint oil residue | Degrease with 75% ethanol and allow to dry completely (≥2 min); press firmly with squeegee along the grain direction | Flexible face stock with good conformability; press along grain |
| Powder-coated steel | Incubators, drying ovens, pharmaceutical cabinets | Dense coating, medium surface energy; adhesion drops sharply after coating ages and chalks | Confirm coating has no chalking or peeling; wipe with isopropanol and press firmly | General-purpose face stock; avoid prolonged contact of strong solvents with coating |
| ABS / PC engineering plastics | PCR instruments, small centrifuges, pipette stands | Medium-low surface energy; some housings have mold release agent residue | Wipe with ethanol to remove mold release agent; silicone-containing cleaners prohibited | Medium-adhesion face stock; avoid stress concentration at corners |
| PP / PE low surface energy plastics | Wash bottles, reagent containers, some transfer containers | Surface energy approximately 29–31 mN/m; general adhesives struggle to wet out | Requires specialized low-surface-energy adhesive or surface pretreatment | Low-surface-energy specific solution; perform 24 h trial application first |
Two general application parameters are worth writing into the SOP: control application environment temperature at 10–35 °C; below 10 °C, initial tack drops significantly and corners lift first. Final bond strength is reached 24 hours after application; handling and wiping during this period will weaken final adhesion. Long-term adhesion performance can be verified against GB/T 4851-2014 (Test method for holding power of adhesive tapes) and GB/T 2792-2014 (Test method for peel strength) for incoming inspection comparison.
A high-frequency but easily overlooked pitfall: silicone-containing cleaners. Silicone components form an extremely thin, invisible silicone film on equipment surfaces that significantly reduces adhesion of all subsequent labels. Use ethanol or isopropanol when cleaning equipment housings; silicone-containing care products are prohibited.
V. Temperature conditions determine material grade: first check which temperature range the equipment is labeled in
The actual temperature range of equipment housings varies greatly: centrifuge housings in ambient zones are approximately 20–25 °C; the area around door seals of -80 °C ULT freezers can drop below -40 °C; hot zones on dry heat sterilizers and autoclave housings can exceed 60 °C. During selection, use the measured temperature at the label location as the basis, not room temperature.
The cryogenic label system for laboratory and medical scenarios is typically divided into four official temperature grades: liquid nitrogen -196 °C, freezer -80 °C, hot water 100 °C, and autoclaving 121 °C. Different materials do not all pass at these grades; selection must be verified grade by grade and cannot rely on the experience-based judgment that "all cryogenic labels are about the same."
| Temperature condition | Typical equipment location | Condition characteristics | Available materials (per official guide, four grades) |
|---|---|---|---|
| Liquid nitrogen -196 °C | LN₂ tank outer walls, gas-phase canister rack area | Extreme low temperature + frost + repeated lifting friction | Nylon cloth label; ultra-thin polyester self-laminating label (with transparent window); freezer label with ≥3 mm overlap; vinyl wrap-around label (requires overlap when used in LN₂); six-color pre-printed cryogenic label |
| Freezer -80 °C | ULT freezer inner door seals, cryobox labeling | Long-term low temperature + condensation | Nylon cloth label; self-laminating label; ultra-thin polyester self-laminating label; six-color pre-printed cryogenic label; chemical-resistant abrasion-resistant label; vinyl wrap-around label |
| Hot water 100 °C | Water bath housings, areas adjacent to cleaning/disinfection equipment | Alternating high temperature and high humidity | Nylon cloth label; self-laminating label; ultra-thin polyester self-laminating label; six-color pre-printed cryogenic label; chemical-resistant abrasion-resistant label; vinyl wrap-around label |
| Autoclaving 121 °C | Areas adjacent to steam sterilizer hot zones; labels that must go into the chamber with instruments | 121 °C saturated steam + 100% relative humidity + alternating pressure | Nylon cloth label; self-laminating label; ultra-thin polyester self-laminating label (passes this grade) |
One boundary in this table must be remembered: the materials that pass all four grades in the official guide are nylon cloth labels and self-laminating labels; chemical-resistant abrasion-resistant labels, vinyl wrap-around labels, and six-color pre-printed cryogenic labels pass the -196 °C, -80 °C, and 100 °C grades but do not pass the 121 °C autoclaving grade. Misapplying three-grade materials in sterilizer scenarios is the most common cause of rework on site.
VI. Economical choices for ambient and above -40 °C scenarios
Not all equipment operates at extreme temperatures. A large number of ambient-temperature devices—balances, PCR instruments, external working surfaces of biological safety cabinets, centrifuge bodies, microscopes—operate long-term at 15–30 °C, where using cryogenic materials is over-specification. The economical route given in the official guide is gloss white polyester face stock and matte white polypropylene face stock, both technically positioned as "suitable for environments above -40 °C," fully covering ambient-temperature equipment labeling needs.
| Face stock | Appearance | Temperature positioning | Compatible scenarios | Notes |
|---|---|---|---|---|
| Gloss white polyester face stock | High whiteness, high print contrast | Above -40 °C | Ambient-temperature equipment unique ID labels, barcode labels | Not for freezer environment labeling |
| Matte white polypropylene face stock | Matte, good writability | Above -40 °C | Record-type labels requiring handwritten supplementary information | Not for freezer environment labeling |
Another category of need deserves separate mention: status labels that require repeated peel-and-stick. Vinyl cloth labels offer repositionability, removability, no residue, and repeat adhesion, making them suitable for calibration status labels, intermediate check labels, and temporary equipment loan registration—occasions with short lifecycles and frequent updates. They solve the long-standing pain point of "not peeling cleanly," not the temperature resistance issue.
VII. Disinfectant wipe resistance: the underestimated adhesive challenge
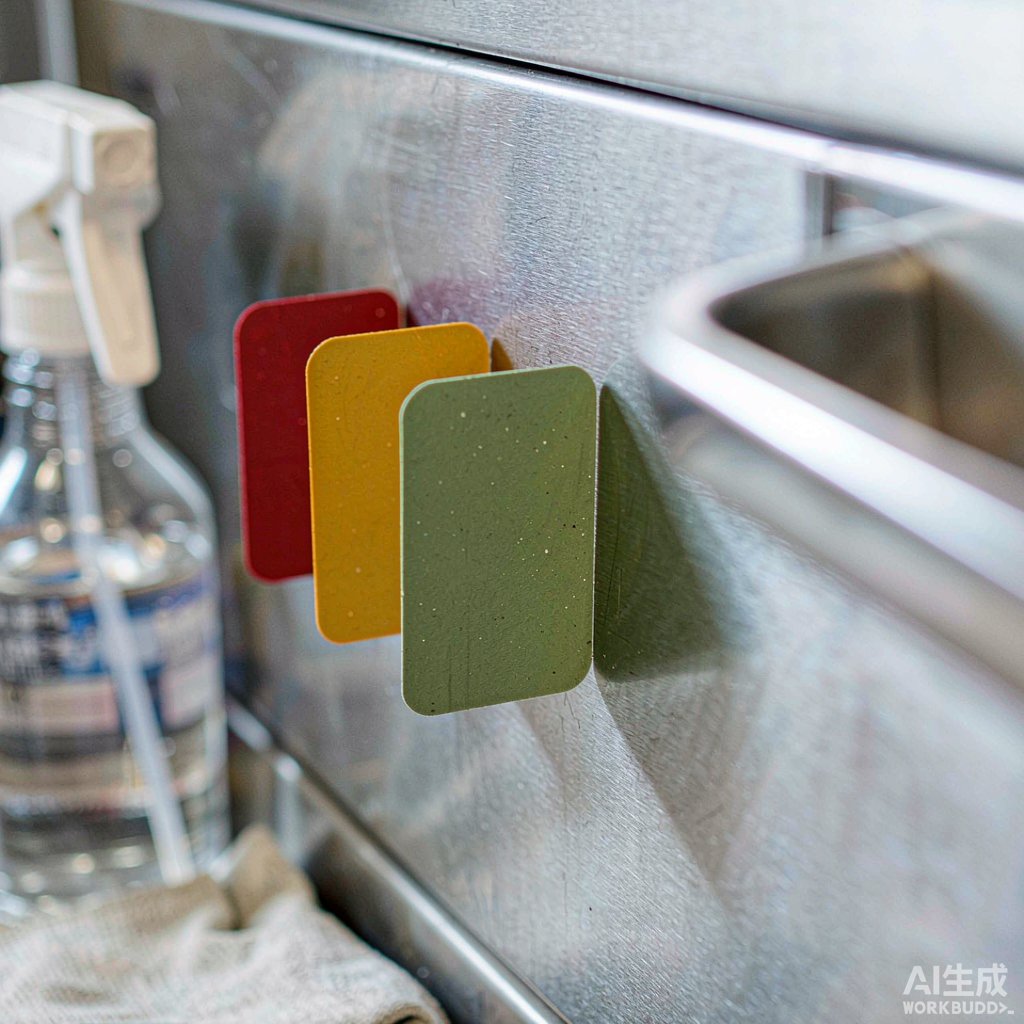
Laboratory equipment housings are cleaned far more frequently than ordinary office equipment. Biological safety cabinets and clean benches under the biosafety management requirements of GB 19489-2008 and WS 233-2002 are typically wiped once before and after experiments each day; based on 250 working days, cumulative wipes exceed 500 times per year. Each wipe imposes peel stress on label edges and chemical attack on the adhesive layer.
Three types of disinfectants have different mechanisms of impact:
- 75% ethanol: Strong penetrability, easily seeps into the adhesive layer from label edges, causing edge whitening and lifting. Particularly noticeable on labels without edge pressing.
- Chlorine-containing disinfectants (available chlorine 500–2000 mg/L): Oxidizing; can yellow some face stocks and fade printed content; long-term use reduces barcode contrast.
- Peracetic acid and hydrogen peroxide: Stronger oxidizing capability; cumulative damage to exposed face stocks during space disinfection.
There are two directions for countermeasures. First, face stock side: select materials explicitly described in official documentation as having excellent chemical resistance and abrasion resistance. Second, structural side: use self-laminating construction to encapsulate printed content beneath a transparent protective layer, so wiping contacts the protective film rather than the ink layer; self-laminating labels with transparent windows also satisfy observation needs. On the printing side, match with resin-based ribbons, whose rub resistance and solvent resistance significantly outperform wax-based and mixed-based ribbons.
A simple rule can be set for on-site acceptance: 24 hours after applying a new label, wipe back and forth 30 times with a 75% ethanol pad at approximately 500 g pressure; after 5 minutes, inspect—no edge lifting, no printed content detachment, and barcode still readable = pass.
VIII. Calibration labels replaced every 12 months: why "removable with no residue" is a hard requirement
Calibration intervals are typically 12 months, shortened to 6 months for high-use-frequency instruments, meaning a piece of equipment in service for 8 years will have its status label replaced at least 8 times. If residue is left each time, the consequences go beyond appearance:
- Residue attracts dust and microorganisms, creating hygiene dead zones on equipment requiring cleaning validation, such as biological safety cabinets and incubators;
- Residue significantly reduces adhesion of new labels, creating a vicious cycle of "the more you replace, the more easily they fall off";
- Organic solvents commonly used to remove residue may damage equipment coatings; some precision equipment housings explicitly prohibit strong solvents.
Therefore, the selection criteria for equipment status labels, in addition to temperature resistance and wipe resistance, must include a third: removable and residue-free. Vinyl cloth labels are the clearly corresponding solution in this dimension—repositionable, removable, no residue, repeat adhesion—ensuring adhesion during use while leaving no trace upon replacement. This is also why status labels and unique ID labels should use two different materials: the former pursues removability, the latter pursues long-term adhesion.
Replacement operations should be standardized into three steps: ① When removing old labels, pull slowly and evenly at 180° to avoid tearing the face stock with a sudden 90° pull; ② If a small amount of residue remains, soak with ethanol for 1–2 minutes then wipe; blade scraping is prohibited; ③ The new label position should exactly coincide with the old position to avoid multiple adhesive marks on the equipment surface.
IX. Coding and barcodes: making labels go from "readable" to "scannable"
Relying solely on manual transcription of equipment numbers puts both efficiency and accuracy on the user. Equipment labels should also carry machine-readable codes, integrated with the equipment ledger, calibration records, and maintenance work orders.
A four-segment coding rule is recommended: department code — equipment category code — serial number — year of commissioning, for example a structure like QC-04-017-2023. The advantages: the number carries classification information, so during inventory, sorting by category code enables grouped verification; the year of commissioning directly indicates equipment age, supporting replacement decisions.
| Symbology | Applicable label size | Information capacity | Quality acceptance standard | Notes |
|---|---|---|---|---|
| 1D barcode (Code 128) | Width ≥45 mm | 15–25 characters such as equipment number | ISO/IEC 15416 | Requires left and right quiet zones; small labels cannot accommodate |
| 2D barcode (DataMatrix / QR) | ≥15 mm × 15 mm sufficient | Number + calibration date + next calibration date | ISO/IEC 15415 | Small area, high redundancy; preferred for equipment labeling |
| RFID tag | Same size as ordinary labels | Writable and rewritable | ISO 15693 / ISO 18000-3 | Suitable for batch inventory; specialized models required for metal environments |
Three barcode application disciplines: the barcode area must not be covered by tri-color status color blocks; when applying self-laminating labels, no bubbles or wrinkles may remain in the barcode area, as this directly degrades the grade; after printing, test with a barcode scanner on site rather than judging by eye that "it should scan." Quality grade determination is based on ISO/IEC 15416 (1D barcodes) and ISO/IEC 15415 (2D barcodes); it is recommended to write the grade threshold into the equipment labeling work instruction.
X. Six-step on-site implementation SOP
| Step | Action | Key parameters | Acceptance method |
|---|---|---|---|
| 1 | Equipment ledger review and number assignment | One machine, one number; number unchanged for life | 100% correspondence between ledger and physical items |
| 2 | Determine temperature condition and housing material for each piece of equipment | Measure temperature at label location, not room temperature | Record per unit, form selection list |
| 3 | Match face stock and ribbon by condition | Three criteria: four temperature grades + wipe resistance + removability | List confirmed by equipment responsible person |
| 4 | Surface pretreatment and trial application | Ethanol degreasing, 10–35 °C application, 24 h trial | No edge lifting after trial |
| 5 | Formal application and edge pressing | Squeegee press along grain, focus on four corners | No bubbles or lifting at edges |
| 6 | Barcode scan acceptance and ledger write-back | Barcode grade meets standard, scanner test passes | Scan results match ledger |
XI. Common failure phenomena and troubleshooting
| Failure phenomenon | Most likely cause | Troubleshooting action | Corrective measure |
|---|---|---|---|
| Corner lifting | Application temperature below 10 °C or edges not pressed | Check application environment temperature records | Re-pretreat and reapply at 10–35 °C, press corners firmly |
| Complete detachment | Mold release agent or silicone cleaner residue on surface | Wipe with isopropanol and re-test adhesion | Change cleaning process; silicone-containing products prohibited |
| Edge whitening and seepage | Long-term 75% ethanol seepage from edges | Count daily wipe frequency | Switch to chemical-resistant face stock + self-laminating construction |
| Blurred printed content | Ribbon-face stock mismatch or chlorine disinfectant oxidation | Verify ribbon type and disinfectant concentration | Switch to resin-based ribbon; reduce available chlorine concentration |
| Barcode unscannable | Insufficient label size, occupied quiet zone, or bubbles in barcode area | Perform grade testing per applicable standard | Switch to 2D barcode solution; eliminate bubbles during reapplication |
| Residue left upon replacement | Face stock lacks removable properties | Record old label material | Switch status labels to removable, residue-free vinyl cloth labels |
XII. Interface between equipment labeling and safety/chemical labeling
The equipment labeling system is often confused with two other labeling systems; boundaries must be clarified:
- Biosafety labeling: Per GB 19489-2008 and WS 233-2002, set under the ISO 7010 W009 biohazard symbol system; addresses "risk warning" and is fixed facility labeling that does not change with calibration intervals.
- Chemical safety labels: Per GB 15258 preparation regulations, affixed to reagent containers; addresses "substance hazards and protection."
- Equipment labels: Address "measurement value credibility and equipment control."
The three must avoid conflicts in physical position and color semantics: equipment status uses green/yellow/red; safety warnings use yellow-background black-border triangles; mandatory signs use blue-background circles. When a red "out of service" status label and a red fire equipment color code appear simultaneously on the same equipment front, they should be distinguished by shape and text to avoid on-site misinterpretation.
Recommended Products
For the label materials and application scenarios covered in this article, the following BRD products are available for selection reference (click to view specifications and request a quote):
- Lab096-329-.6-OR-80x60mm生物样本库彩色标分类识别低温液氮签BRD博锐迪(询价)
- Lab096-329-600-RD/80x60mm生物样本库彩色标分类识别低温液氮签BRD博锐迪(询价)
- T439样本库-80℃度液氮聚酯PET冷冻低温液氮彩色标签贴纸化验采样(询价)
- Lab208-509/25.4x63.5缠绕式冻存管生物样本库细管液氮分类标签(询价)
FAQ
Q1: Can the equipment unique ID label and calibration status label be combined into one?
Not recommended. The ID remains unchanged for life while status updates every 12 months; combining them means the number must be regenerated with each replacement, increasing transcription error risk and interrupting the continuity of the long-term number. With layered application, the ID label remains untouched when replacing the status label.
Q2: Why must the yellow "approved for use" label state the restriction scope?
Because yellow itself only expresses "usable but conditional." For example, if a multi-range balance's 0.1 mg range is out of tolerance while the 1 mg range is qualified, without stating the restriction scope, users cannot determine whether it can be used for the current weighing task—the metrological traceability chain breaks at this point.
Q3: Can ambient-temperature equipment labels directly use cryogenic materials?
Technically yes, but it is over-specification, and cryogenic face stocks cost more. For equipment labels in ambient and above -40 °C environments, gloss white polyester or matte white polypropylene face stock with the corresponding temperature positioning is sufficient, provided it is confirmed that the label location will not experience condensation or low-temperature radiation.
Q4: How to select labels for placement near the door seal of a -80 °C ULT freezer?
First measure the temperature and frost conditions at that location, then select per the four-grade temperature system. If the label location temperature falls within the -80 °C grade range, use materials that pass that grade, and note the interfacial displacement effect of condensation water from melting frost on the adhesive layer; press the four corners firmly during application.
Q5: Three layers of status labels were applied and flagged during assessment—how to handle?
Remove all layers down to the base layer only; soften with ethanol soak before peeling; blade scraping is prohibited. After confirming no residue on the surface, apply a new status label. Also write "old labels must be removed before replacement" into the equipment labeling work instruction to prevent recurrence.
Q6: What to do when barcodes cannot be scanned on small equipment?
Abandon 1D barcodes and switch to 2D barcodes. A 15 mm × 15 mm 2D barcode can accommodate the number and two dates, with error-correction redundancy, and is more reliable than squeezing a 1D barcode with quiet zones into 45 mm width. After switching, perform grade acceptance per ISO/IEC 15415.
Q7: How to achieve no residue on status labels that need annual replacement?
At the selection stage, make "removable, no residue" a hard requirement, choosing vinyl cloth labels explicitly marked as repositionable, removable, and repeat-adhesive; at the application stage, control at 10–35 °C; at the replacement stage, peel slowly at 180°. With all three in place, no trace is typically left.
Summary: The selection sequence for equipment labeling should be—first define the information structure (four label types in layers), then determine the temperature grade (verify grade by grade across the four-grade temperature system), and finally determine the bonding and wipe-resistance solution (housing material + disinfection frequency). Writing these three steps into a checklist and embedding it in the equipment ledger is more effective than after-the-fact remediation. For more materials and specific applications, please contact the product manager for selection assistance.