
I. Conclusion First: The Primary Cause of Microcentrifuge Tube Label Failure Is Centrifugal Shear, Not Low Temperature
In failure attribution for laboratory labels, low temperature is almost always the first suspect, but for microcentrifuge tubes this judgment is often wrong. The most common failure of microcentrifuge tube labels is not being frozen off, but being sheared off in the centrifuge. A benchtop high-speed refrigerated centrifuge at 12,000 rpm with a rotor radius of 8 cm generates a relative centrifugal force (RCF) of approximately 12,900 ×g; under sustained unidirectional loading of this magnitude, combined with radial deformation of the tube wall and interfacial stress from freeze–thaw cycles, the label adhesive layer undergoes slip, edge lift, and delamination.
This distinction matters because the countermeasures for the two are completely different. Selecting labels solely for low-temperature scenarios—looking only at the lower temperature limit and the low-temperature initial tack of the adhesive—may perform well in a -80 °C freezer but show edge lift or overall slip after the first 4 °C, 12,000 ×g centrifugation, or even cause the label to be drawn into the rotor bore, resulting in rotor contamination and cross-contamination of specimens. Conversely, treating centrifugation conditions as the primary constraint for selection and then layering on low-temperature and chemical resistance is the only way to arrive at a truly workable solution.
This article provides a directly actionable decision framework: first quantify centrifugation conditions into RCF and shear load, then determine label orientation and position constraints by rotor type (fixed-angle / swinging-bucket), and finally use ISO/IEC 15416 barcode quality grades for pre- and post-centrifugation comparative verification. Compliance anchors involved in the full workflow include GB/T 2792-2014 (pressure-sensitive tape 180° peel strength test), GB/T 4851-2014 (pressure-sensitive tape holding tack test), ISO/IEC 15416 (linear barcode print quality), ISO/IEC 15415 (2D barcode print quality), ISO 15189:2022 (medical laboratories—quality and competence), ISO 20387:2018 (biobanking—general requirements), and GB 19489-2008 (general requirements for laboratory biosafety).
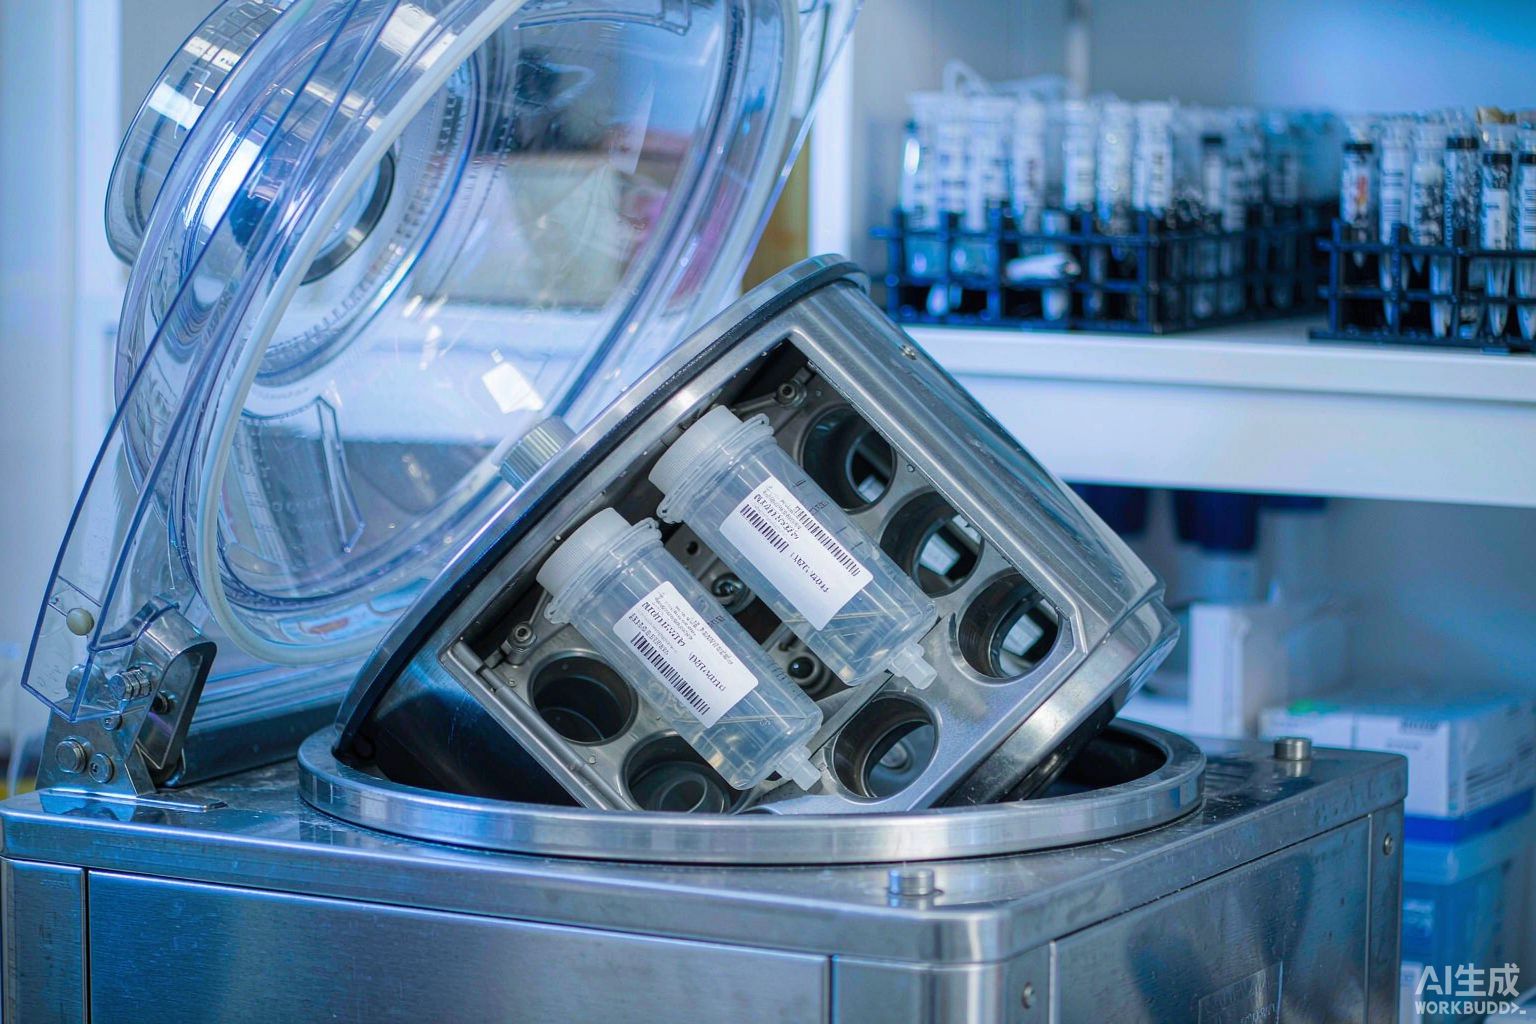
II. What Centrifugation Conditions Actually Impose on Labels: Quantifying RCF, rpm, and Shear Load
Conditions must be quantified before selection. "12,000 rpm" itself is not a comparable load metric—the same rotational speed at different rotor radii can produce centrifugal forces differing by several times. The industry-standard conversion relationship is:
RCF = 1.118 × 10⁻⁵ × r × (rpm)² (r is the rotation radius in cm)
From this, the load magnitudes for common laboratory instruments can be derived: a fixed-angle rotor with an 8 cm radius at 12,000 rpm yields approximately 12,900 ×g; a swinging-bucket rotor with a 10 cm radius at 4,000 rpm yields approximately 1,789 ×g; and an ultracentrifuge with a 6 cm radius at 60,000 rpm can exceed 240,000 ×g. Label selection must be anchored to RCF, not rpm—this is the first engineering discipline: the same label performs on completely different orders of magnitude at 1,789 ×g versus 12,900 ×g.
Next, consider how the load acts on the label. It is actually a superposition of three components:
Component 1: The centrifugal mass force of the label itself. A 25 mm × 13 mm polyester face stock label, including the adhesive layer, has a mass of approximately 10 mg. At 12,900 ×g, it experiences a centrifugal force of approximately F = 1×10⁻⁵ kg × 12,900 × 9.8 m/s² ≈ 1.26 N, distributed uniformly over an adhesive area of approximately 325 mm². This value may seem small, but the key is that it is a sustained unidirectional tensile load lasting 10–30 minutes, constant in direction, and repeated each run. For pressure-sensitive adhesives—viscoelastic materials—creep under sustained small loads is precisely the most dangerous failure mode: it does not detach immediately but accumulates visible displacement over dozens of cycles.
Component 2: Interfacial shear induced by radial deformation of the tube wall. This is the more significant component. When polypropylene (PP) microcentrifuge tubes rotate at high speed, the centrifugal pressure generated by the liquid inside causes radial bulging of the tube wall, with deformation increasing as RCF rises. The elastic modulus of the label face stock (PET or PP) is not matched to that of the PP tube wall, and the label itself provides local reinforcement to the tube wall, resulting in shear strain from deformation mismatch at the interface. This strain is transmitted through the adhesive layer in shear mode and is the mechanical root cause of edge lift and slip.
Component 3: Vibration, resonance, and mechanical contact. During acceleration and deceleration, the centrifuge passes through the system's resonance zone, where the tube body undergoes high-frequency, low-amplitude vibration; the swinging-bucket rotor's buckets also swing from vertical to horizontal during acceleration, causing contact and friction between the tube body and the bucket inner wall. If the label edge has even a 0.2 mm initial lift, friction will rapidly tear it open into complete peeling.
Superimposing these three components, the conclusion is clear: the challenge that centrifugation conditions pose to labels is essentially a triple coupling of "sustained unidirectional shear + cyclic deformation + surface friction," not merely low-temperature resistance. This also explains why certain labels that perform excellently in -196 °C liquid nitrogen fail on room-temperature high-speed centrifuges.
III. Three Typical Failure Modes: Shear Slip, Edge Lift, and Face Stock Delamination
Attributing label problems observed in the field, the vast majority fall into the following three categories. The mechanisms differ, and so do the identification methods and countermeasures.
Mode 1: Adhesive shear slip. Manifested as overall displacement or rotation of the label along the tube wall, barcode position offset, and in severe cases the barcode being scratched by the rotor bore wall to the point of unreadability. The mechanism is insufficient holding tack of the adhesive—GB/T 4851-2014 is precisely the test standard for this performance, measuring the resistance of pressure-sensitive tape to slip under constant load. If the adhesive's holding tack at 4 °C is significantly lower than at room temperature, high-speed centrifugation will inevitably cause slip. Note that low temperature significantly increases the modulus of pressure-sensitive adhesives and reduces their creep rate, so refrigerated centrifugation (4 °C) is actually a more dangerous condition than room-temperature centrifugation: the adhesive hardens, initial tack decreases, and the centrifugal load is undiminished.
Mode 2: Edge lift / peel. Manifested as one edge of the label (almost always the leading edge facing the direction of rotation) lifting first, followed by complete peeling under airflow and friction. The mechanism is peel stress concentrated at the edge stress singularity. The 180° peel strength test specified in GB/T 2792-2014 measures resistance to this type of peeling, in units of N/25 mm. From engineering experience, labels used for high-speed centrifugation should have a 180° peel strength at the target operating temperature significantly higher than labels used only for static low-temperature storage. Edge lift is also strongly correlated with the labeling process—if insufficient pressure is applied during labeling (typically requiring roller pressure rather than finger pressure), the actual contact area between the adhesive and tube wall is far below the nominal area, and the edge becomes a natural starting point for lift.
Mode 3: Face stock and print layer delamination. Manifested as the barcode pattern itself becoming mottled or missing while the label remains firmly attached. The mechanism is that the thermal-transfer ribbon layer, or the protective layer of a self-laminating structure, separates from the base face stock under shear and deformation. This type of problem is directly related to print parameters: insufficient print temperature (heat setting) prevents the ribbon resin from fully melting and anchoring to the face stock; excessive print speed shortens contact time; insufficient printhead pressure causes incomplete transfer. The solution to delamination lies at the printing end, not the material end—the same label can be resolved with a correct set of print parameters.
A summary of field identification and countermeasures for the three failure modes is provided below as a first-look troubleshooting table for laboratories:
| Failure Mode | Field Characteristics | Dominant Mechanism | Key Verification Standard | Primary Countermeasure |
|---|---|---|---|---|
| Adhesive shear slip | Overall label displacement or rotation; barcode scratched by rotor bore wall | Insufficient holding tack; creep under sustained unidirectional load | GB/T 4851-2014 | Switch to adhesive with better low-temperature holding tack; reduce single centrifugation duration or split into stages |
| Edge lift / peel | Leading edge facing rotation direction lifts first, then complete peeling | Peel stress concentrated at edge singularity; insufficient labeling pressure | GB/T 2792-2014 | Use roller pressure labeling; keep label width ≤ 1/3 of tube circumference; confirm upper edge below thread |
| Face stock and print layer delamination | Label remains attached but barcode pattern is mottled or missing | Thermal-transfer ribbon not fully anchored, or self-laminating layer detached | ISO/IEC 15416 | Adjust print temperature, speed, and printhead pressure; switch to face stock with protective layer |
IV. Fixed-Angle vs. Swinging-Bucket Rotors: Different Load Directions Require Different Labeling Strategies
Rotor type is the most easily overlooked variable in selection but has the most direct impact. Fixed-angle and swinging-bucket rotors impose nearly opposite load directions on labels, and labeling strategies cannot be used interchangeably.
Fixed-angle rotor tube bores are at a fixed angle to the rotation axis, commonly 25°, 34°, or 45°. During centrifugation, the tube remains tilted, and the pellet slides along the tube wall toward the bottom side wall. For the label, the centrifugal force direction is oblique relative to the tube axis, so a label applied parallel to the tube axis has its long edge roughly parallel to the load direction, and the shear component on the adhesive layer is relatively controllable. The primary risk to labels in fixed-angle rotors comes from contact pressure with the tube bore wall and vibration during acceleration/deceleration.
Swinging-bucket rotor buckets are vertical at rest and swing to horizontal at high speed. This means the label undergoes a 90° directional flip during a single run—from vertical under gravity to horizontal under centrifugal force, a fundamental change in load direction. More demanding still, the tube body contacts and slides relative to the bucket inner wall during the swing; if the label edge has an initial lift, it will be directly torn open. Typical RCF for swinging-bucket rotors is generally lower than for fixed-angle rotors (mostly in the 1,500–5,000 ×g range), but the mechanical contact risk is actually higher.
This yields two actionable labeling rules:
Rule 1: Label orientation must be parallel to the tube's central axis. This is consistent with SZDB/Z 91-2014 requirements for cylindrical specimen containers. The engineering logic is: centrifugal force acts on the specimen along the tube axis (from bottom to mouth); when the label is applied parallel to the central axis, the shear component on the adhesive layer is minimized; if applied circumferentially, centrifugal force applies shear perpendicular to the label's long edge, and the adhesive layer's failure rate accelerates significantly under repeated centrifugation–freezing cycles. Additionally, axial labeling facilitates linear scanning along the tube axis by barcode scanners, avoiding reflection scatter caused by curved-surface arc scanning.
Rule 2: Label position should avoid tube bore contact zones and bucket friction surfaces. For 15 mL / 50 mL conical-bottom tubes, the label should be applied to the cylindrical section of the tube body, not the conical section, and the upper edge should be at least 3–5 mm below the tube mouth thread to avoid mechanical interference during cap tightening; for 1.5 mL / 2.0 mL microcentrifuge tubes, the label should be applied to the tube wall, not the cap—the cap bears the greatest load during centrifugation and is frequently opened separately, so labeling on the cap leads to separation of specimen and identification.
V. Coupled Centrifugation–Cryopreservation Conditions: Cyclic Fatigue from -80 °C to 12,000 ×g
Real specimen processing rarely involves "centrifugation only" or "cryopreservation only" but rather alternation between the two. A typical biobank workflow is: retrieve from -80 °C → thaw at room temperature or 4 °C → centrifuge at 12,000 ×g for separation → collect supernatant → resuspend pellet → re-cryopreserve. This cycle is far more destructive to labels than any single step alone.
The particularity of coupled conditions lies in three aspects. First, frost and condensation: tubes retrieved from -80 °C rapidly develop a surface water film or even frost; if labeled directly at this point, the water film forms an isolation layer between the adhesive and tube wall, drastically reducing peel strength; if a label is already present, the water film and subsequent drying repeatedly alter the interface state. Second, glass transition of the adhesive: pressure-sensitive adhesives experience a sharp increase in modulus at low temperatures and lose viscoelasticity, at which point their ability to resist impact and deformation actually deteriorates; centrifuging before thawing is complete is the most dangerous operation. Third, thermal expansion coefficient mismatch: PP tubing has a linear expansion coefficient of approximately 100–150 ×10⁻⁶/K, while PET face stock is approximately 20–30 ×10⁻⁶/K—nearly a fivefold difference; across a temperature differential of nearly 100 K from -80 °C to room temperature, considerable residual shear strain accumulates at the interface.
Therefore, the operating discipline for coupled centrifugation–cryopreservation scenarios should be: labeling must be performed after complete thawing and surface drying; before centrifugation, confirm that specimens have warmed to above 4 °C and that there is no condensation on the tube wall; if re-cryopreservation is needed after centrifugation, visually inspect label edge condition first. Typical freeze–thaw cycle counts in biobank scenarios are 3–10, while QC and methodology validation scenarios can exceed 50; selection should use the actual cycle count as the accelerated aging verification condition.
VI. Face Stock and Adhesive Selection Matrix
Translating the above condition constraints into selection parameters, the following matching can be made by RCF magnitude and temperature range. The table below provides condition-adaptation references organized by the site's existing product series; selection should be based on the intersection of actual RCF, temperature, and chemical exposure:
| Series | Typical Face Stock | Temperature Range | Recommended RCF Limit | Typical Applications | Centrifugation Notes |
|---|---|---|---|---|---|
| T629 | Nylon cloth | -196 °C to +121 °C | > 20,000 ×g | Ultracentrifugation, centrifugation after autoclaving, extreme conditions | Face stock is highly rigid; ensure sufficient roller pressure during labeling to eliminate edge residual stress |
| T509 | Vinyl | -196 °C to +100 °C | 12,000–15,000 ×g | 4 °C high-speed centrifugation, serum/plasma separation, friction-resistant scenarios | Self-laminating layer resists centrifugal scratching, but verify no initial lift at laminate edges |
| T449 | Polypropylene (PP) | -80 °C to +120 °C | 8,000–12,000 ×g | Routine centrifugation of 15 mL / 50 mL conical-bottom tubes, PCR plate centrifugation | Same material as PP tubes; good thermal expansion match; clear advantage in freeze–thaw cycles |
| T249 | Polyolefin | -40 °C to +80 °C | ≤ 6,000 ×g | Room-temperature/refrigerated low-speed centrifugation, 2D barcode traceability scenarios | Not recommended for coupled conditions involving direct centrifugation after -80 °C cryopreservation |
| T189 | Synthetic paper | -20 °C to +80 °C | ≤ 3,000 ×g | Room-temperature low-speed centrifugation, short-cycle specimens | Relatively high moisture absorption; not suitable for frost environments |
Beyond the table, there are three selection details that are easily overlooked. First, the adhesive is more critical than the face stock. The same face stock with different adhesives can perform with several-fold differences under centrifugation conditions; during selection, request 180° peel strength (GB/T 2792-2014) and holding tack (GB/T 4851-2014) data at the target temperature from suppliers, rather than looking only at room-temperature specifications. Second, label size should match tube diameter. If label width exceeds 1/3 of the tube circumference, it cannot fully conform to the curved surface, creating a natural lifting edge; this is especially pronounced on 1.5 mL microtubes. Third, label thickness affects balance. Although a single label weighs only about 10 mg, in ultracentrifugation scenarios requiring precise balancing, the mass difference between labels on symmetrically positioned tubes should be factored into balancing considerations.
VII. Post-Centrifugation Barcode Readability Verification: Implementing ISO/IEC 15416 and 15415 Criteria
A label staying attached is only the passing grade; being scannable is the actual qualification. The reason barcodes are unreadable after centrifugation is usually not that the label fell off, but that the barcode surface has been scratched or the bar-space ratio distorted due to curved-surface deformation. Such problems require standardized verification methods, not just "scan it and see."
Linear barcodes (Code 128, etc.) are subject to ISO/IEC 15416, which grades six parameters—decode, symbol contrast, minimum edge contrast, modulation, defects, and decodability—into five overall grades: A / B / C / D / F (0.0–4.0). 2D barcodes (DataMatrix, QR) are subject to ISO/IEC 15415, with a slightly different parameter system but the same criteria. Establishing pre- and post-centrifugation comparisons is the key step in turning "centrifugation resistance" from a subjective description into a verifiable metric.
| Verification Step | Test Item | Criterion | Pre-Centrifugation Baseline | Post-Centrifugation Requirement | Primary Troubleshooting Direction on Failure |
|---|---|---|---|---|---|
| Visual integrity | Edge lift / slip displacement | Visual + vernier caliper | No lift, displacement 0 mm | Lift < 0.5 mm, displacement < 1 mm | Insufficient labeling pressure; insufficient low-temperature initial tack of adhesive |
| Adhesion performance | 180° peel strength | GB/T 2792-2014 | Record per supplier nominal value | Degradation ≤ 30% | Wrong adhesive selection; labeling surface not cleaned |
| Slip resistance | Holding tack (displacement under constant load) | GB/T 4851-2014 | Record per supplier nominal value | No continuous slip | Adhesive modulus increase at 4 °C |
| Barcode quality | ISO/IEC 15416 overall grade | ISO/IEC 15416 | Grade C (2.5) or above | Grade drop ≤ 1 level | Barcode scratched; delamination due to improper print parameters |
| Read stability | First-read rate (20 consecutive scans) | Internal SOP | ≥ 99% | ≥ 95% | Curved-surface reflection scatter; improper scan angle |
| Data consistency | Scan result vs. LIMS record comparison | ISO 20387:2018 / ISO 15189:2022 | 100% match | 100% match | Encoding rule or template field error |
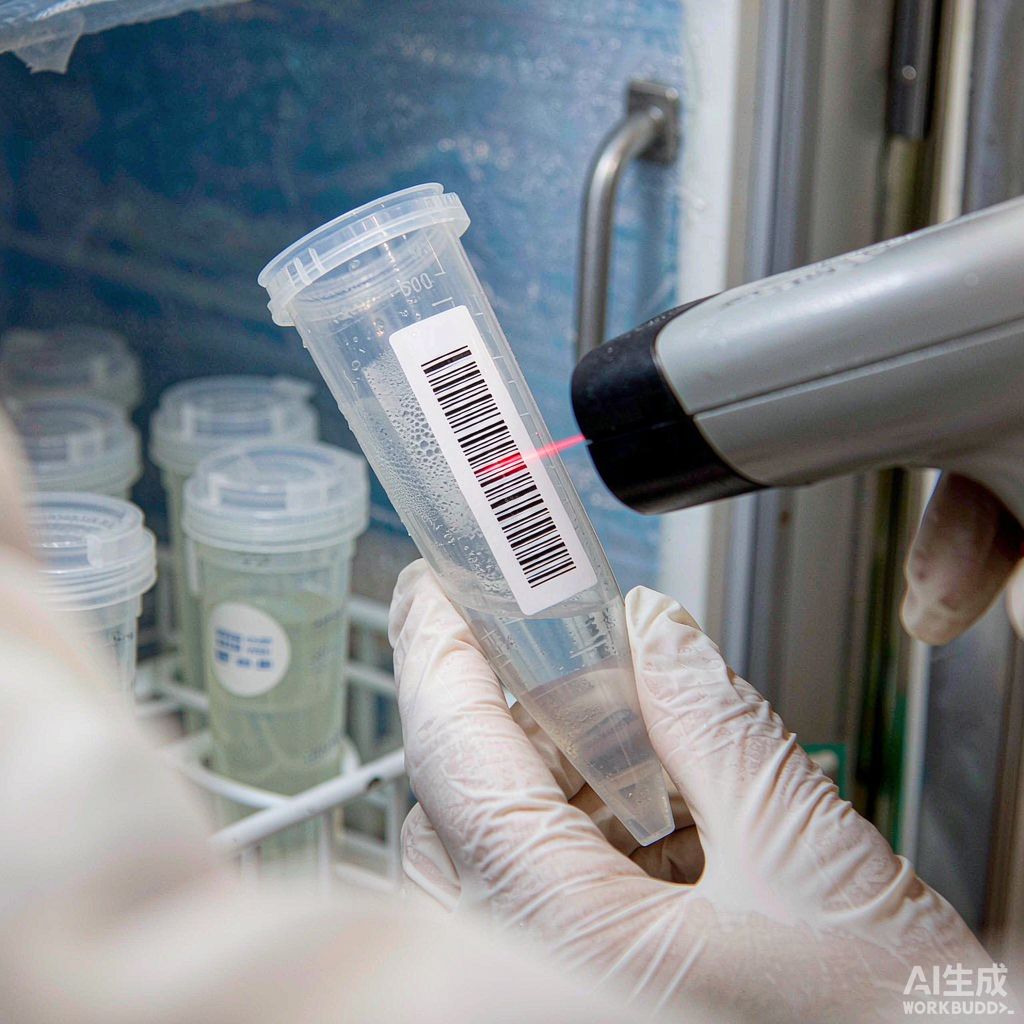
For verification frequency, it is recommended to follow a "mandatory first-run inspection for each new label batch + sampling inspection every N batches" approach, and incorporate inspection records into the equipment and consumables management files under ISO/IEC 17025:2017 or ISO 15189:2022 systems. For biobanks, ISO 20387:2018 explicitly requires traceability of specimens and their associated data; barcode read failure is essentially a break in the traceability chain, so this verification is not optional.
VIII. Full-Workflow SOP: Eight-Step Control from Labeling to Centrifugation to Archiving
Stringing together all the above constraints yields an operating procedure that can be written directly into laboratory SOP documents:
Step 1 — Condition registration. Record the centrifugation RCF (not rpm), temperature, single-run duration, expected cycle count, and rotor type (fixed-angle angle / swinging-bucket) for each specimen type. This is the input for all subsequent selection decisions.
Step 2 — Selection matching. Select face stock and adhesive based on the intersection of RCF limit and lower temperature limit; request measured GB/T 2792-2014 and GB/T 4851-2014 data at the target temperature.
Step 3 — Surface preparation. Confirm the tube wall is dry, free of condensation, free of frost residue, and free of oil. Tubes retrieved from -80 °C must be completely thawed and wiped dry before labeling. If necessary, wipe with anhydrous ethanol and allow to fully evaporate.
Step 4 — Standardized labeling. Apply parallel to the tube's central axis; apply to the cylindrical section, not the conical section; upper edge 3–5 mm below the tube mouth thread; avoid exceeding 1/3 of tube circumference; apply uniform pressure with a roller or dedicated press to ensure the adhesive fully wets the tube wall.
Step 5 — Settling and curing. The bond strength of pressure-sensitive adhesives increases with wetting time; after labeling, allow sufficient settling time (typically 24 hours recommended at room temperature) before exposure to low-temperature or centrifugation conditions. This is the step most frequently compressed and most likely to cause early failure.
Step 6 — Pre-centrifugation inspection. Visually inspect edge condition of each tube before loading; confirm balancing; confirm labels do not exceed the allowable dimensional envelope of the tube bore; for swinging-bucket rotors, additionally confirm labels will not contact the bucket inner wall.
Step 7 — Post-centrifugation verification. Inspect edges and displacement; sample-test barcode grades per ISO/IEC 15416; record first-read rate.
Step 8 — Archiving and traceability. Compare and archive scan results against LIMS / biobank information system records, forming a complete traceability chain of "label batch—specimen—centrifugation record" that satisfies ISO 20387:2018 and ISO 15189:2022 requirements. Centrifugation operations involving biosafety specimens must also comply with GB 19489-2008 provisions on centrifuge lid opening, aerosol protection, and rotor disinfection—this item is unrelated to labels but falls within the same compliance scope for centrifugation operations.
Recommended Products
For the label materials and application scenarios covered in this article, the following 博锐迪 (BRD) products are available for selection reference (click to view specifications and request a quote):
- T629样本库-196℃尼龙布耐低温试管生物样本库签化验采样液氮标签(¥999/卷)
- Lab208-509/25.4x63.5缠绕式冻存管生物样本库细管液氮分类标签(询价)
- Lab127-449/60x30生物样本库医疗器皿标识亮白PET生物样本库标签(询价)
IX. FAQ
Q: The label is fine in the -80 °C freezer, but the edges lift as soon as it's centrifuged—is the label's temperature resistance insufficient?
A: In the vast majority of cases, it is not a temperature resistance issue but insufficient holding tack and peel strength under shear load. Low temperature increases the modulus of pressure-sensitive adhesives and reduces initial tack, making 4 °C high-speed centrifugation more demanding than room-temperature centrifugation. Request GB/T 4851-2014 holding tack data and GB/T 2792-2014 peel strength data at the target temperature from suppliers, rather than looking only at the lower temperature limit.
Q: Same rotational speed—why do labels fail when I switch to a different centrifuge?
A: Because the load depends on RCF, not rpm. RCF = 1.118 × 10⁻⁵ × r × (rpm)²; with different rotor radii, the centrifugal force at the same rotational speed can differ by several times. Convert all conditions to RCF before selecting labels.
Q: Swinging-bucket rotors have lower RCF—aren't they friendlier to labels?
A: Not necessarily. The swinging-bucket rotor's buckets swing from vertical to horizontal during acceleration, causing contact and relative sliding between the tube body and bucket inner wall; if the label edge has an initial lift, it will be directly torn open. In terms of mechanical contact risk, swinging-bucket rotors are actually higher than fixed-angle rotors.
Q: The barcode won't scan, but the label is still firmly attached—where is the problem?
A: It is face stock and print layer delamination, or the barcode surface has been scratched. The former is a print parameter issue (print temperature, speed, printhead pressure) requiring recalibration; the latter is a friction resistance issue—consider switching to face stock with a wrap-around conformable layer (such as the T509 series), or adjusting label position to avoid contact surfaces.
Q: Can I cryopreserve or centrifuge immediately after labeling?
A: Not recommended. The bond strength of pressure-sensitive adhesives increases with wetting time; after labeling, allow sufficient settling time (typically 24 hours recommended at room temperature) for the adhesive to fully wet the tube wall before exposure to low-temperature or centrifugation conditions. Compressing this step is a high-frequency cause of early failure.
Q: How do I write "centrifugation resistance" into acceptance criteria instead of relying on subjective judgment?
A: Convert subjective descriptions into measurable metrics: specify that after N cycles under defined RCF and temperature conditions, edge lift < 0.5 mm, displacement < 1 mm, GB/T 2792-2014 peel strength degradation ≤ 30%, ISO/IEC 15416 barcode grade drop ≤ 1 level, and first-read rate ≥ 95%. All five items are quantifiably acceptable.